


Showing posts with label Scraps. Show all posts
Cutting Heat Transfer Vinyl Scraps with Silhouette Pixscan
Tuesday, October 25, 2022
Wondering what to do with HTV scraps? Don't throw them away!
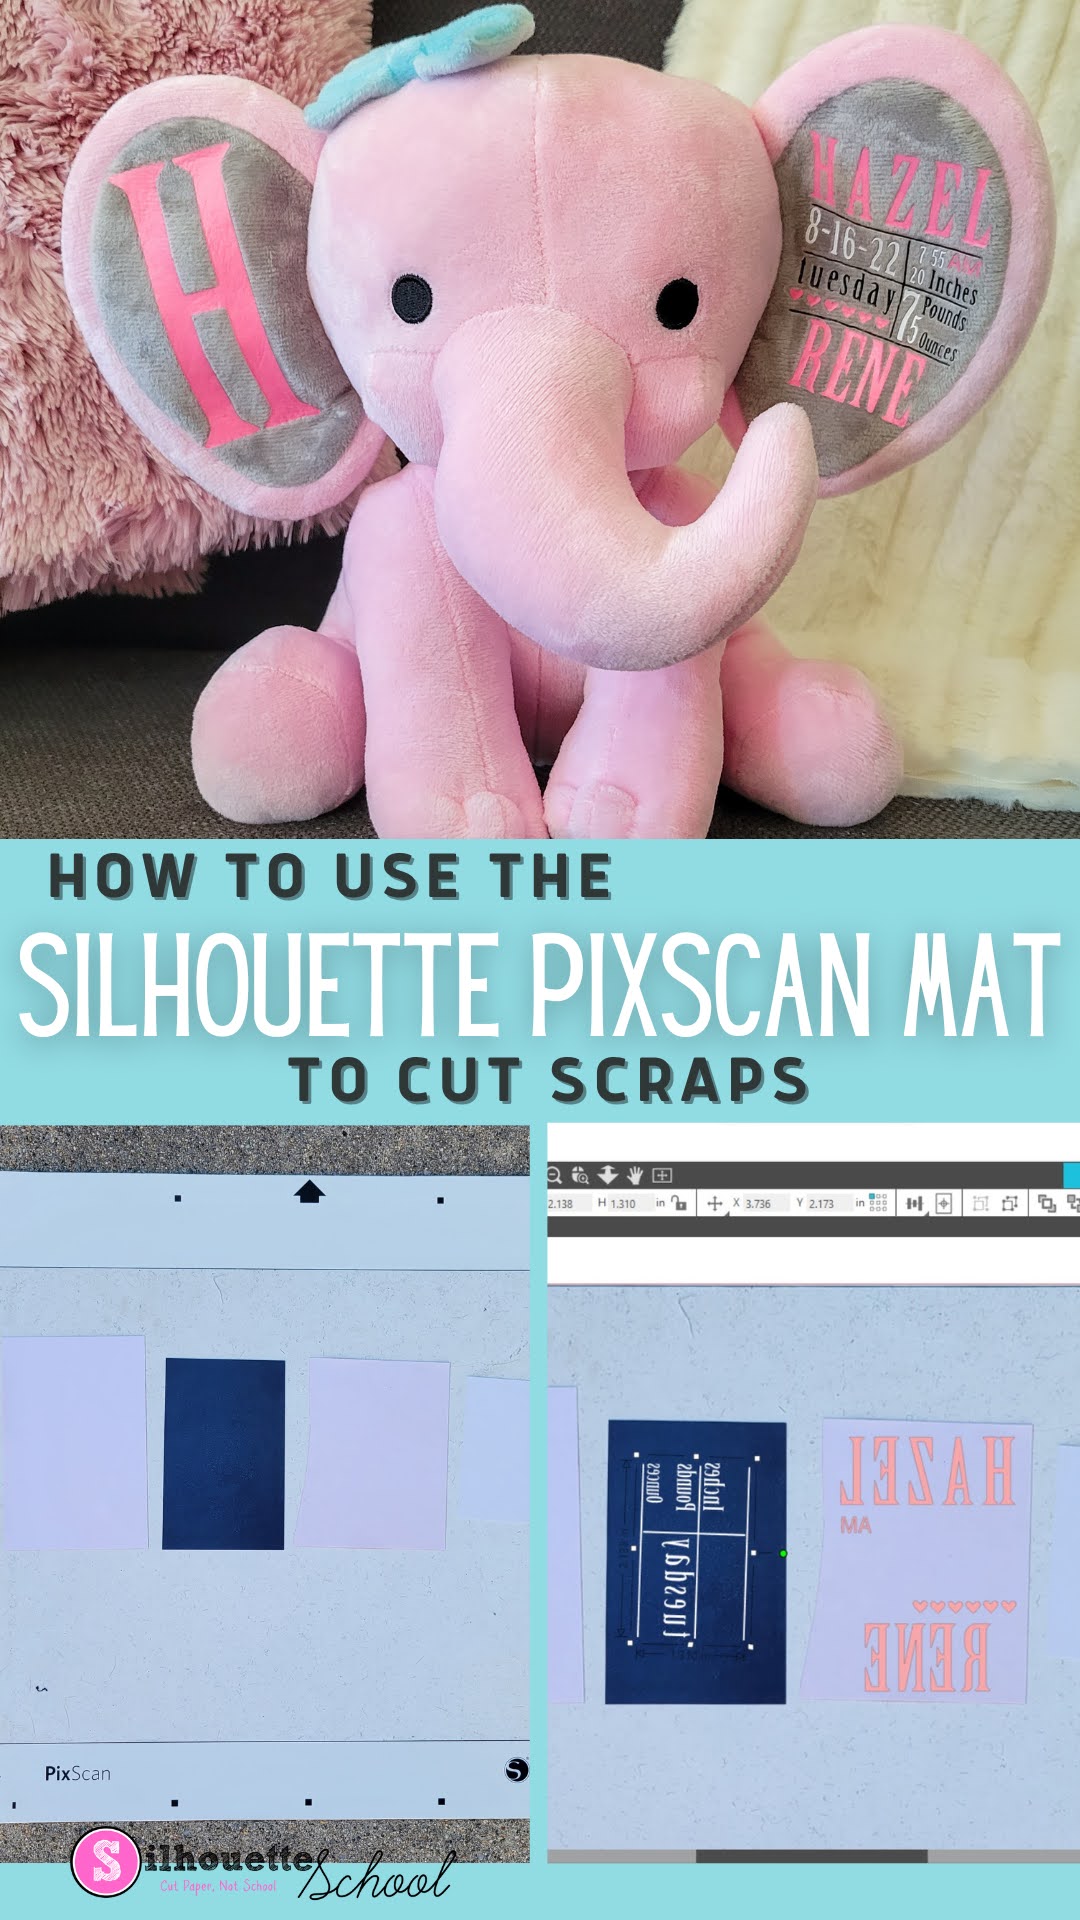
In this Silhouette Pixscan tutorial, learn how to use the Silhouette Pixscan mat to cut even the smallest heat transfer vinyl scraps.
How to Cut Scrap Vinyl with your Silhouette CAMEO
Tuesday, March 1, 2022
Did you know you can cut different color vinyl scraps on the same Silhouette cutting mat at the same time? You can!

Small pieces of vinyl are perfect for small projects like making a spring farmhouse themed tiered tray. Check out how to cut on small scrap vinyl with your Silhouette CAMEO.
Trick for Using Vinyl Scraps for a Vinyl Decal
Tuesday, February 8, 2022
Are you a vinyl scrap saver? Then, this project using vinyl scraps is for you!

3 Tricks to Avoid Wasting HTV Scraps: Silhouette Tutorial
Wednesday, December 12, 2018
If you're like me and you hate wasting material - including scraps - there are some tricks to making sure you get the most out of your materials.
Heat Transfer Vinyl is not cheap at anywhere from $3 to $3.25 per 12x15" sheet of solid color Siser Easyweed. Patterns and glitter HTV typically cost even more.
 |
| This is a sponsored post, but all opinions are my own. |
Heat Transfer Vinyl is not cheap at anywhere from $3 to $3.25 per 12x15" sheet of solid color Siser Easyweed. Patterns and glitter HTV typically cost even more.
Silhouette Hack: How to Print and Cut on Scraps (Without Registration Marks)
Thursday, February 25, 2016
We've all been there - you print on a piece of printable material (sticker paper, printable htv/vinyl, or transparency) and then you end up throwing the rest of the piece out. Today Silhouette School weekly contributor Becky is here with a clever trick for maximizing scraps after you print and cut on them!

Today I'm sharing a Silhouette tip rather than a full blown tutorial. Many of you may have already figured this out but for me it was one of those "ah ha" moments. I love being able to put together a quick last minute gift using printable media. I've used printable vinyl, white and clear sticker sheets, transparencies and heat transfer material but I'm sure there are a gazillion more materials that I haven't discovered yet.
My only hang up is that once I print my full sheet with the registration marks it can't be put through the printer again because the registration marks won't line up. This means I have to fill up the page with designs or all the blank space on the sheet is wasted. At that point my quick last minute gift turns into a huge time guzzler.
Getting back to my tip, I wanted to place a personalized wine label on a bottle of champagne for an anniversary gift only to discover that I had no full sheets of printable vinyl or sticker paper left. {UGH} But I did have some scraps that for whatever reason I was
hoardingsaving for a rainy day. And that's when it hit me. My printer settings adjust to accommodate various paper sizes including 4" x 6" (and other various sizes!).
That's when it hit me - cut the scrap to size, print on it and then use Pixscan to cut it! And that means no registration marks are required!
I pulled out my handy dandy paper cutter and cut the scrape of printable vinyl to 4" x 6". I adjusted by printer settings to accommodate the smaller size material and then printed my image.
I then followed Melissa's post Silhouette PixScan Tutorial for Beginners. And yes, I confess, I had never used my PixScan mat before this (yikes!). Her step by step instructions made this so easy.

The short of it is: I placed by printed image directly onto the Pixscan mat and took a picture of the entire mat. The image was imported it into Silhouette Studio using the Pixscana tool in Silhouette Studio. I simply traced the outer edge of the design, since I was working with a simple rectangle, in this case. Without moving my image on the mat I loaded the PixScan mat into the Silhouette CAMEO and got the perfect cut.

Excited by my first successful experiment, I tried it again with a small piece of transparency I had left from making Floating Christmas Ornaments. Even the transparency printed perfectly at this size. I can't tell you how many times I cut one template for an ornament and threw out the rest of the sheet - and these transparencies can be expensive!

So now you really have a reason to save your scraps - and some money! When you can't print registration marks, you can always print and use Pixscan for scraps!

Note: This post may contain affiliate links. By clicking on them and purchasing products through my links, I receive a small commission. That's what helps fund Silhouette School so I can keep buying new Silhouette-related products to show you how to get the most out of your machine!
Thanks for coming to class today at Silhouette School. If you like what you see, I'd love for you to pin it!



Get Silhouette School lessons delivered to your email inbox! Select Once Daily or Weekly.

Silhouette Hack: Why You Should Purposely Cut Through the Vinyl Backing or HTV Carrier Sheet
Thursday, January 28, 2016
If you've ever cut a large vinyl or heat transfer vinyl decal - especially one that is a frame - you know how much material you end up wasting when you weed. The entire middle section or negative space ends up in the trash....but today, weekly Silhouette School contributor Becky Dykes from My Paper Craze, is here to show you how your vinyl can HTV cuts can pull double duty and eliminate ALL waste!

When I started working on this design for my daughter's Valentine's shirt, I immediately knew I wanted to try a new experiment: I wanted to intentionally cut through the clear HTV carrier sheet in an effort to save the middle part of the design that I would normally weed out. Usually when that happens it's a mistake, but I wanted to do it purposefully in this case to make use of that negative vinyl space in the middle of the heart.
So the first thing we're going to do is set up the design in Silhouette Studio. In this design, the heart is a frame...it's just the border of a heart
which means the middle area will be removed and weeded out after
cutting. That middle area (the negative space) would all be wasted
normally, but with this little Silhouette hack, we are going to save it
and put it to good use on another shirt!

The design has been mirrored in Studio since it's being cut on HTV. Since I want the middle of the heart cut out, I'll need to cut through the carrier sheet just at that spot - which means that cut line needs to have slightly different cut settings. To make it easier on myself, I make that line black and all others transparent - this way I can Cut by Color when I go to cut.

Now it's on to the Cut Settings window and the Advanced Cut Settings, which is where the Cut by Color comes in. Since we discussed Cut by Color in great detail in this 101 tutorial, I'm going to fly through this part. But if you need a refresher on Cut by Color, check out this tutorial.
Under normal circumstances, once I send a design to the Silhouette to be cut, it all cuts on the same settings. When utilizing the Cut by Color function and inserting a pause, I can cut part of the design in one setting, then change it during the pause for the rest of the design.
 First, I want to cut all the regular cut lines (those are the transparent lines) for the design using the normal HTV cut settings for smooth htv.
Then the machine will pause cutting and (to cut the middle heart through the carrier sheet), I will change the settings to flocked HTV (for the black line) so it'll be a deeper cut. It's important to cut through the carrier sheet last because it will compromise the ability to make any more cuts. You'll also need to cut this vinyl on a mat.
So you may be asking yourself, why the big deal about using Cut by Color? It's because you don't want to take the chance of having to re-cut the middle heart and have it not line up exactly. That would ruins both designs and you've wasted even more vinyl than you were trying to save to begin with.
So here's how it looked coming off the mat. It was a perfect cut and I had absolutely no problems at all!

Here's what the two separate pieces looked like after weeding. Is it making a little more sense now? I have two usable elements!

And here's the final designs. What do you think? It's kind of a two-for-one, which is always a win-win in my book. Hopefully you find a few projects to use this new technique on!

Thanks for coming to class today at Silhouette School. If you like what you see, I'd love for you to pin it!


Get Silhouette School lessons delivered to your email inbox! Select Once Daily or Weekly.
Using Silhouette PixScan to Maximize Scraps
Thursday, April 9, 2015
 If you're like me you have a whole drawer (or two) full of scraps. I have one of paper, another of fabric, another of HTV and yet another of adhesive vinyl. That's a lot of scraps. Many of the scrap pieces are odd shaped which makes cutting on them difficult because you have to line up the design and the scrap exactly on the cutting mat to hit the target. Well....the Silhouette PixScan mat makes cutting scraps a whole lot easier.
 If you're not familiar, read my PixScan 101 tutorial here to fully understand how it works. In a nutshell, PixScan utilizes a special mat with pre-printed registration marks that the software and machine can read to cut out a very precise design. Usually you'd trace the design in the software, but in the case of scraps, we're going to place a design instead of tracing. You'll see what I mean in a minute.
Subscribe to:
Posts (Atom)


.png)


