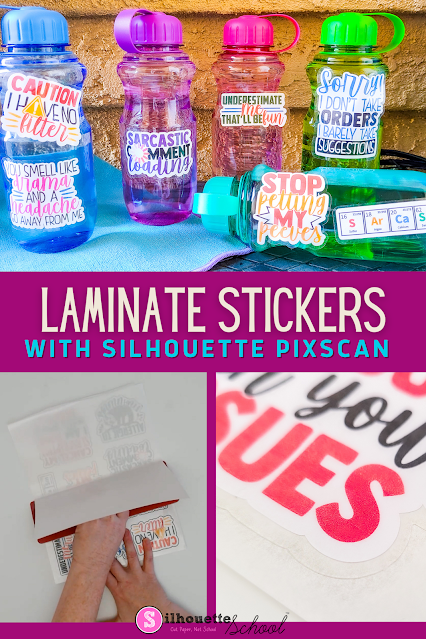
Looking to protect your printable stickers? In this post, we'll show you how to laminate your printable stickers so they'll look great for even longer!
The method explained in this tutorial uses the PixScan Mat. For a beginning PixScan mat tutorial, check out this blog post here.
How to Setup Stickers with Laminate in Silhouette Studio
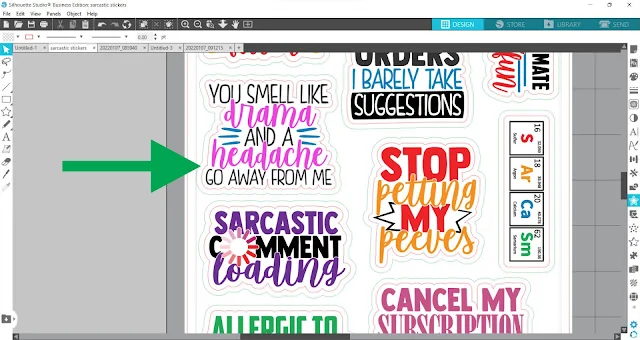
Open your designs and set them up in Silhouette Studio with an offset of about 0.125 inches.
This offset will be the "white border" around the printed stickers so you can make the offset bigger or smaller depending on how much white space you want around the stickers.
You can find these designs in the Big Sarcastic Bundle at So Fontsy.
Make a second offset (an offset of the previous offset). 0.125 inches is good size.
This is going to be the size of the cut laminate around the stickers. Change the line color of these outer offsets to something different than the "inner" offsets (we changed them to green).
How to Print and Cut Sticker with Silhouette Pixscan Mat
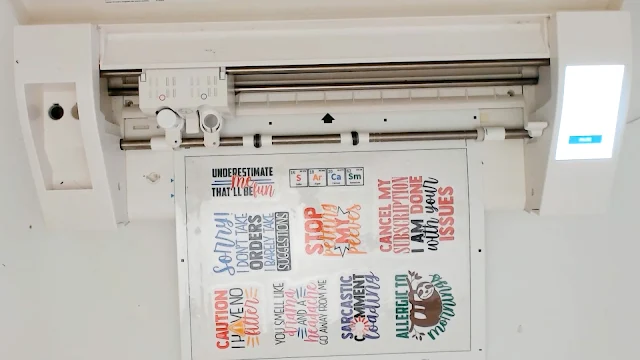
Print the stickers on white sticker paper. I'm using standard white matte stickers paper. (The offset lines should not print).
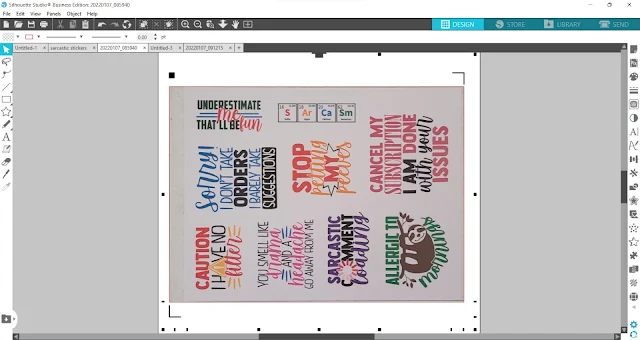
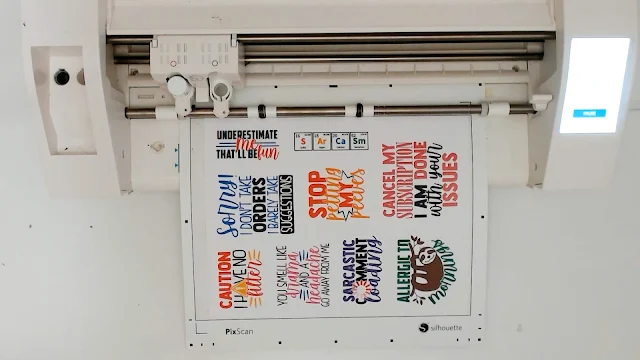
Load the sticker sheet onto the Silhouette PixScan Mat. Then, take a picture of the sticker sheet on the PixScan mat.
Upload the photo into a new document in Silhouette Studio through the Pixscan tool on the right side.
Go back to the original design document and select all the "inner" offsets (with the red line color). This is easiest to do in the Select by Color panel. Group them all together then copy.
Paste it into the PixScan picture of the stickers. Rotate and align the offsets around the stickers.
Do a kiss cut of the offset around the stickers with your Silhouette CAMEO.
Peel off the excess sticker paper around the stickers.
How to Apply Laminate Sheets to Stickers and Labels
To apply the laminate, you're going to apply a clear, self-adhesive laminate sheet or clear sticker paper over the entire sticker sheet.
The easiest way to do it is to expose just the top 1/2 inch of the laminate. These self-adhesive laminate sheets already have a precut strip of the backing that is easy to remove.
If yours does not, just fold back the first 1/2 inch of the backing to expose the adhesive side.
Align the edge of the laminate to the edge of the sticker sheet.
Using a scraping tool, remove the rest of the backing while simultaneously scraping the adhesive over the stickers. Burnish really well.
Return to Silhouette Studio and this time grab the "outer" offsets (the green) from the original design workspace and paste into the pixscan work area.
Paste and position them around the stickers in the new PixScan photo. Be sure to remove the red offset lines.
Do a kiss cut of the outer offset around the stickers. For the self-adhesive laminate sheets, I did the same cut kiss cut settings as the sticker paper.
Then, remove the excess laminate or clear sticker paper from around the stickers.
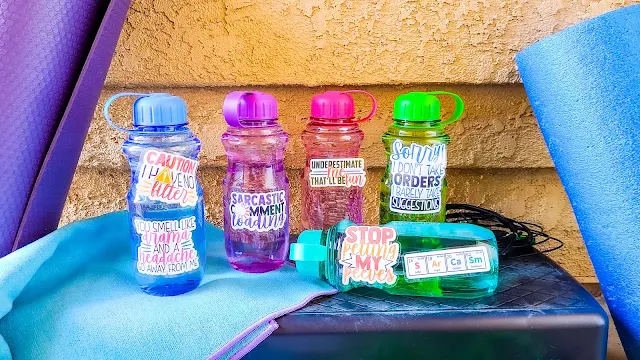
What you'll have is the sticker cut out of the sticker paper, with the clear, protective layer over the top that extends beyond the sticker which acts to seal the entire sticker to the surface, protecting it from moisture.
Grab these designs (and more) for yourself in the Big Sarcastic Bundle at So Fontsy.
Get Silhouette School lessons delivered to your email inbox! Select Once Daily or Weekly.














.png)


What laminate sheets did you use? Are they U-verse protected?
ReplyDeletePokey
how do you put or have backing for the outer offset to ship or package the sticker since there is no backing after removing the original white sticker paper?
ReplyDelete