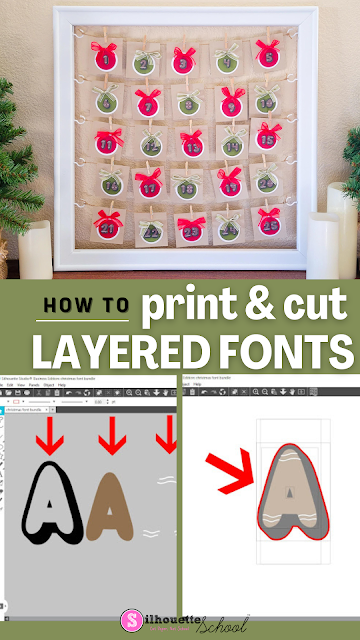
Layered fonts are perfect for printing because they usually have lots of fun design elements to them and you can make them really colorful - but what if you want to print and cut them?
You can print and cut layered fonts with a few modifications to the file. This tutorial will explain.
Take a look at this super cute and fun gingerbread font.
Like most layered fonts, this font is actually three separate fonts layered together to create the fun gingerbread text.
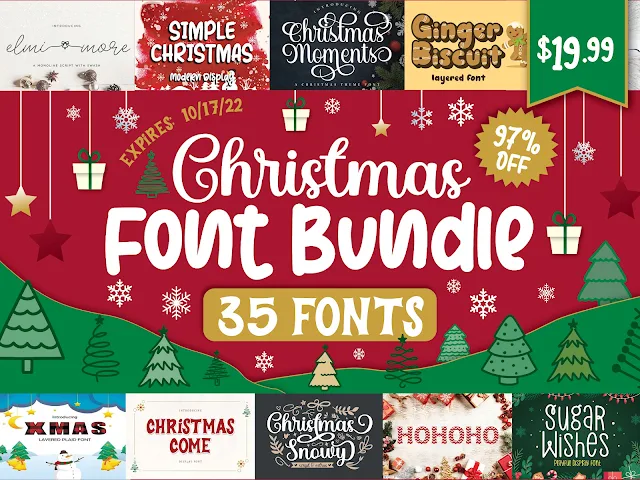
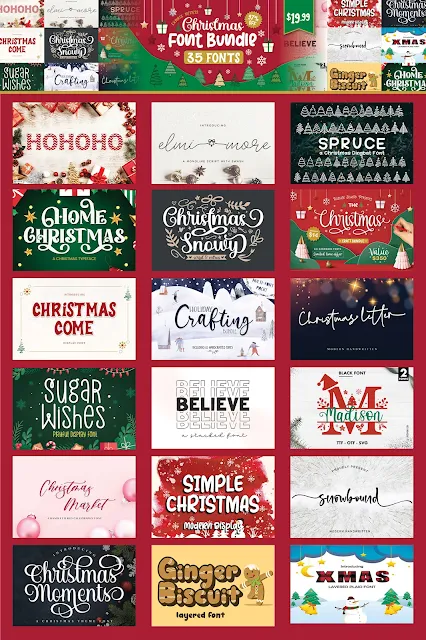
You can grab this font (and lots of other Christmas fonts) in the Christmas Font Bundle at So Fontsy!
To use the gingerbread font for a print and cut, type out each letter in each of the font styles. Change the fill and line colors of each as desired.
Don't forget to turn on the registration marks and set up the page to match your printer as well.
Now, before we go further, take a look at what happens when you go to the Send panel with the font as it is now - each element of the design has red cut lines around it (which is NOT what we want!). We want to cut out the letter as one piece.
The issue is with that bottom layer because even without those two top layers, and selecting Cut Edge for the bottom layer - it would still cut with a big hole in the middle! We want the number to be cut as one entire piece. So, here's what you have to do. You have to get rid of that "hole" in the middle of the bottom layer.
Go back to the Design panel and select ONLY the layer you want to cut - in this case the black shadow A.
Right-click and select release compound path.
Delete everything except the outermost cut line from the black A.
Pull the other layers back on top - in this case the brown then white layers.
Return to the Send panel.
Select everything and click on No Cut. Then ONLY select the black layer and click "Cut Edge"
Go back to the design panel and you'll have to do these steps for every letter (or number) you're printing and cutting in this layered font.
You can then print out the page on cardstock and send to your Silhouette for cutting!
The result is these colorful individual cardstock numbers (or letters) that are perfect for your project like a scrapbook page, card making, a journal layout or a Christmas countdown calendar!
If you want to see how to use this print and cut layered font to create a Christmas countdown calendar, head on over to the So Fontsy blog to check out the following blog post.
And then grab these Christmas fonts for yourself in the Christmas Font Bundle at So Fontsy.
Note: This post may contain affiliate links. By clicking on them and purchasing products through my links, I receive a small commission. That's what helps fund Silhouette School so I can keep buying new Silhouette-related products to show you how to get the most out of your machine!
Get Silhouette School lessons delivered to your email inbox! Select Once Daily or Weekly.


.jpg)

.jpg)
.jpg)
.jpg)
.jpg)
.jpg)
.jpg)
.jpg)
.jpg)
.jpg)
.jpg)
.jpg)
.jpg)
.jpg)


.png)


Wouldn't it be easier to change the line color of the bottom layer, choose to cut by Line in the SEND page and only choose the color of the bottom layer?
ReplyDelete