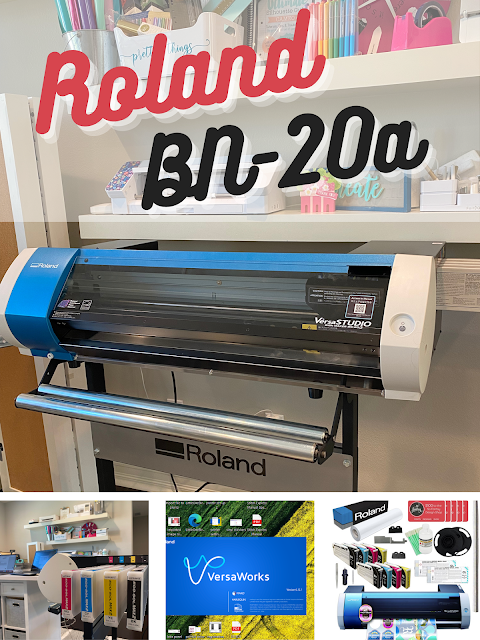
If you are a Silhouette CAMEO user who is adding a Roland BN-20A to your business - I am here to help you quickly cut the learning curve.
I'm also here to tell you - you have a huge advantage already with your understanding of Silhouette Studio.
The Roland BN-20A and Roland BN-20 run off the Roland Versaworks software, however you will NOT need another software to create the cut lines. You guessed it - Silhouette Studio is part of that equation. Read on for how to seamlessly transition from Silhouette CAMEO to Roland BN-20A in five easy steps.
Step 1: Understand How the Silhouette CAMEO and Roland BN-20A Fit into Your Business
The Roland BN-20A is of course a printer and cutter in one machine which means you no longer need to layer multi color vinyl stickers or heat transfers. This is a huge advantage over the Silhouette CAMEO where layering multi colored vinyl decals and HTV design is a time consuming process.
While the Silhouette CAMEO can contour cut images printed on a separate printer, it's also a multi-step process and most often not with the high quality ecosolvent ink or materials that the Roland takes advantage of.
In addition the Roland BN-20A is a 20" wide ecosolvent printer and cutter which means you can create larger designs or print and cut at a higher volume increasing production.
With that being said - the Silhouette CAMEO, 15" CAMEO Plus, and 24" CAMEO Pro still have their place! The CAMEO is a much faster cutter. It's also better suited for single color vinyl designs, single color heat transfers, stencils, and paper die cuts where printing isn't needed and you simply want to cut.
Some people even prefer to print on the Roland BN-20A and then cut on the Silhouette CAMEO or another cutter such as the Mimaki C6-60AR or Roland GS-24 for the simple fact that the cutters are faster and the Roland BN-20 or BN-20A can keep printing without being tied up cutting.
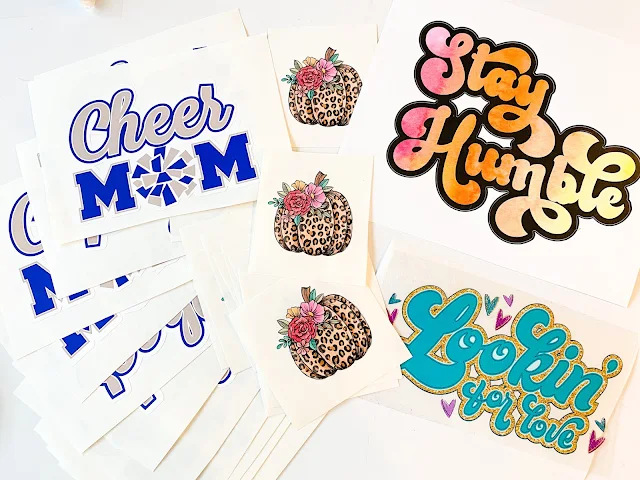
If you're wondering what all the Roland BN-20A can do...everything from full color vinyl stickers to glitter heat transfers to stained glass window clings, banners, canvas prints and full sheets of printed vinyl and wrap templates. I will continue to add to this Roland project gallery. You can click on any of the images for a tutorial or more info.
Step 2: Master Tracing and Offsets in Silhouette Studio
I can't stress enough how important it is to have a firm understanding of how to trace in Silhouette Studio AND how to use the offset tool. Tracing is what creates cut lines in Silhouette Studio and offsets are what create contour cut lines and bleeds.
It's crucial you master both of these tools in order to be effective with the Roland BN-20A which heavily relies on contour cut lines.
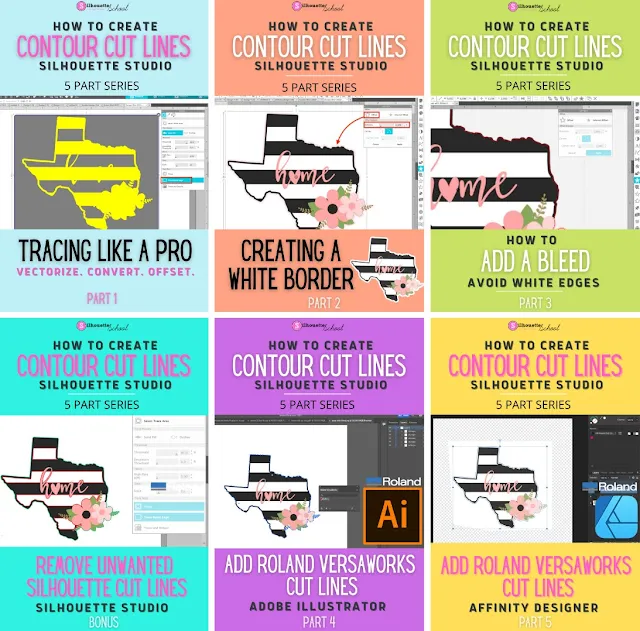
I have created a five six part series on mastering tracing and contour cut lines in Silhouette Studio. While this information is beneficial to anyone using Silhouette Studio, I designed it specifically with Roland Versaworks users in mind.
Step 3: Understand What Designs Make Good Cut Files
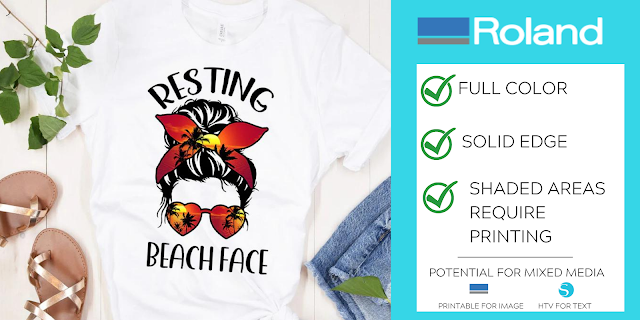
Not all designs make good cut files. As with any cutting machine, designs with a solid edge and minimal distressing make the best and easiest files to cut.
When looking for art and images to cut, you can look for "sublimation designs" however it's best to stay away from any that have a faded, feathered, or distressed edge. Those are better for sublimation where cutting is not required.
Instead look for designs that are full color color but have a solid edge or that would work well with an offset contour cut creating a border.
Keep in mind, with the BN-20A designs are printed on white materials which means you will need to deal with bleeds to avoid white edges. The smaller the design or the more intricate the trickier this can be.
Remember, there's no rule that says you can't combine cut HTV cut on your Silhouette CAMEO (where you're not dealing with bleeds and white edges) with a heat transfer printed and cut on the Roland BN-20.
Step 4: Picking the Right Software is Key
If you're reading this I assume you're already a Silhouette users and therefore have a firm grasp on Silhouette Studio. If that's the case - and even if you're NOT a Silhouette machine users - you can use Silhouette Studio Business Edition to create contour cut lines for Roland Versaworks.
That means you don't even need to learn or pay for another software when going from Silhouette to Roland! This is really a game changer!
If you're looking for other software options, I highly suggest you pair Silhouette Studio with Affinity Designer as your software workflow for creating Roland Versaworks cut lines.
Your max out of pocket cost - if you are still on the basic free Silhouette Studio - will be $130. That software bundle will include upgrading to Silhouette Studio Business Edition and adding on Affinity Designer. Neither of these software is a recurring subscription and both play well with SVGs, PNGs, JPEGs, and PDFs.
Unfortunately there's one step that Silhouette Studio can't do as far as naming the stroke line which Roland Versaworks needs to recognize where to cut and that's where Affinity Designer comes in. Affinity Designer doesn't trace or offset quite as easily as Silhouette Studio and that's why Studio is still so important in the workflow.
Step 5: Learn How to Add Roland Versaworks Contour Cut Lines with Silhouette Studio
If you use Silhouette Studio to set up your BN-20A cut lines you will spend just a few minutes and a few clicks in Roland Versaworks turning on the contour cut lines in the Job Assistant tab. Once you get this step of the workflow down it will be very fast.
Of course I have a step by step tutorial and video for you on how to add Roland Contour Cut lines in Silhouette Studio
I also have other videos on how to add Versaworks Cut Contour lines in other other softwares including Affinity.
Finding Tutorials and Help Going from Silhouette CAMEO to Roland BN-20A
Remember any new machine or software you add to your business is going to have a learning curve. I have added many new machines, printers, and softwares over the years and can honestly say the Roland BN-20 has one of the smallest learning curves if you can focus on these five important steps when going from Silhouette CAMEO to Roland BN-20A.
You can find all of my Roland BN-20A tutorials, videos and help here and if you need 1:1 Roland help or Silhouette help you may want to consider joining Silhouette U where we have recently added a new Business section as part of the many member benefits.
Note: This post may contain affiliate links. By clicking on them and purchasing products through my links, I receive a small commission. That's what helps fund Silhouette School so I can keep buying new Silhouette-related products to show you how to get the most out of your machine!
Get Silhouette School lessons delivered to your email inbox! Select Once Daily or Weekly.









.png)


No comments
Thanks for leaving a comment! We get several hundred comments a day. While we appreciate every single one of them it's nearly impossible to respond back to all of them, all the time. So... if you could help me by treating these comments like a forum where readers help readers.
In addition, don't forget to look for specific answers by using the Search Box on the blog. If you're still not having any luck, feel free to email me with your question.