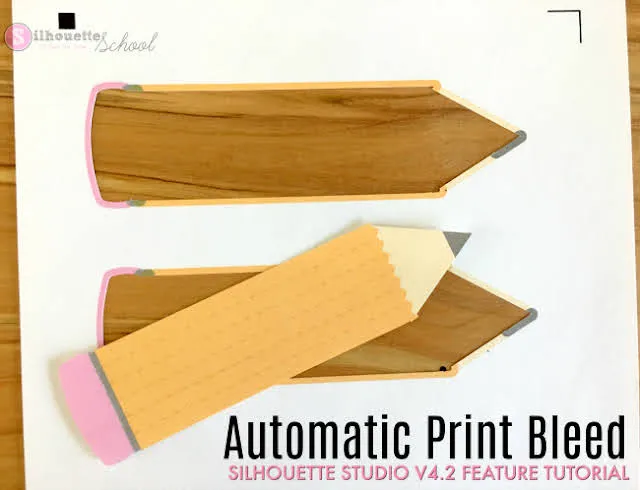
No matter how precise your Silhouette print and cut is, you can still get a very sight white edge around your design...and it's even more obvious against a dark background. This trick in Silhouette Studio will help you avoid the white line every time!
When using Inkjet Printable HTV for darks you use print and cut registration marks to print then cut your design on the sheet then apply the full decal onto your surface. The decal sits on top of the shirt, bag or towel - or whatever you're using. It's different than Inkjet Printable HTV for lights which you flip onto the design and transfer the ink and then remove the transfer paper - with no cutting required.
The issue with Starcraft Inkjet printable for darks or whatever brand you're using is that inevitable white edge. Against the dark background it just pops. A simple print bleed works for designs with just a single edge (and no internal compound paths).

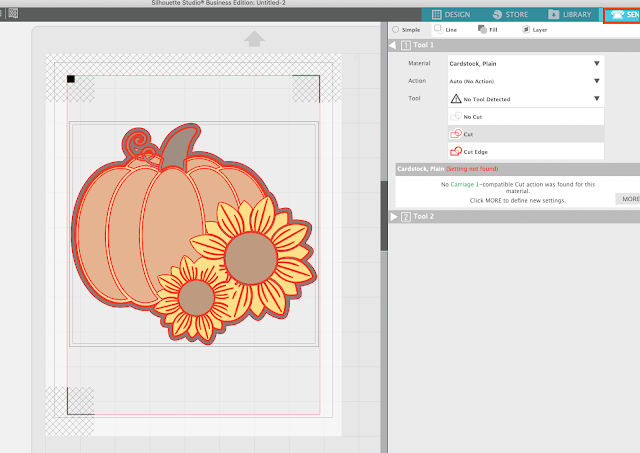
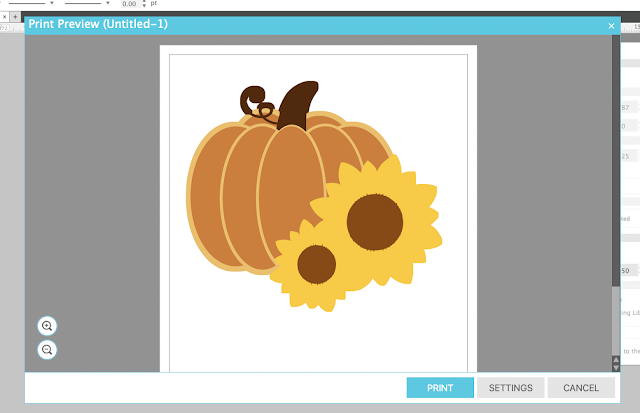
There are times when the print bleed option won't work like in this case due to internal cut lines created by compound paths. See how this area is transparent?
When we use print bleed on a design that has compound paths or internal cut lines like this design, for example...
...the print bleed applies to EVERY edge which distorts the design and leaves it looking like this.
When print bleed won't work and you want to avoid the white edge you can add a solid color-filled offset around your design in Silhouette Studio. This is a two step process using a double offset.
The offset color should closely match the color of the surface where your design is going..and you should still cut to the edge of the design, not the offset.
Here's how this works.
Start in the Design area and from the Page Setup panel set up your page for a print and cut adjusting the Media Size to printer, turning on the Show Print Border and adding registration marks.
Open your design in Silhouette Studio by dragging and dropping or going to File > Open.
Now that you know where the cut lines are we need to make some adjustments: 1) So we can cut a solid piece and 2) So we can avoid the white edge.
Creating a Solid Edge Cut Line
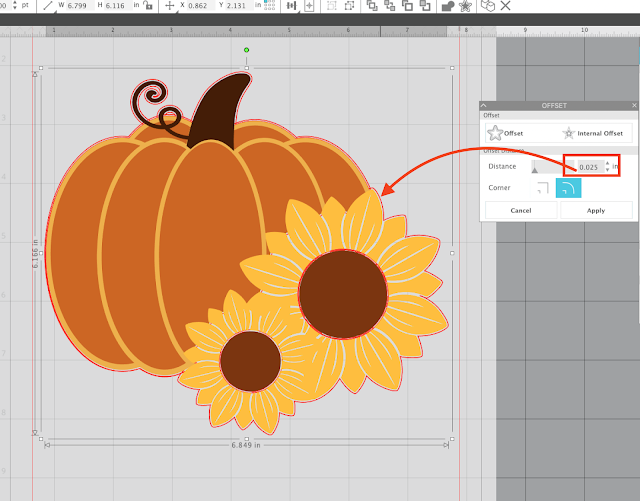
Open the Offset panel and with your design selected click "Offset." We first want to make a VERY small offset which will be our actual cut line. We want this line to be a single line all the way around the design and as close to the edge of the design as possible. Adjust the default distance without hitting Apply until you have one line all the way around the design. Don't forget offset lines will automatically weld where overlapping. For this design, at this scale I used an offset distance of 0.025.
Keep the offset line selected (or re-select it if you need to) and click Offset again. This time the default offset distance of .125 will work fine.
Select both offset lines and fill with a solid color using the fill panel or the Fill Color on the Quick Access Toolbar. You want to use a color that closely matches the surface where the design is going. I'm adding this to a black towel so I fill with black.
Return to the Send panel so we can toggle on/off the various cut lines.
The easiest thing to do is select everything and click "No Cut."
Then select the inner of the two offset lines ONLY and click "Cut."
Now you're ready to print and cut. If you need step by step directions on how to print and cut inkjet printable HTV check out this beginner tutorial.
I cut this Starcraft Inkjet Printable for Darks with Silhouette cut settings of:
See how you can barely even see the black edge! Such a great Silhouette trick!
And just for comparison, here's what the same design looks like if it was print and cut without the black offset edge.
Note: This post may contain affiliate links. By clicking on them and purchasing products through my links, I receive a small commission. That's what helps fund Silhouette School so I can keep buying new Silhouette-related products to show you how to get the most out of your machine!


.png)


No comments
Thanks for leaving a comment! We get several hundred comments a day. While we appreciate every single one of them it's nearly impossible to respond back to all of them, all the time. So... if you could help me by treating these comments like a forum where readers help readers.
In addition, don't forget to look for specific answers by using the Search Box on the blog. If you're still not having any luck, feel free to email me with your question.