If you've read some of my reviews on the blog in the past you know I like to be completely honest. Some items I like, some items I don't. Some items I buy to test, some items are sent to me. Whatever it is and however I get it I like to be honest. So let's just be straight up - I bought the Silhouette Adhesive Magnet paper. Shelled out like $7 buck and got 'em on my go-to: Amazon.
First let's talk about the magnet tutorial and then I'll give you my opinion on if I think you should really spend your money on the magnet sheets.
There are a few different ways you can work with the adhesive magnet paper and I tested many a methods. I'm gonna tell you the good, the bad, and
The first thing you want to do is create your design in Silhouette Studio. I was making Scrabble-inspired Valentine's Day magnets. So go ahead and layout your design in Silhouette Studio - either something you've designed yourself or a design you got from the Silhouette Design Store or elsewhere.
When you're finished designing, you can get ready to cut your magnet. Now remember you have to cut both the actual magnet material and then you have to cut a second layer to go on top of your magnet (either vinyl or paper). But first let's work on just cutting the magnet material. So select your design and from the cut style window pick 'Cut Edge'.
In the same Cut Style window, from the materials list select the Adhesive Magnet Paper. Be careful NOT to pick Printable Magnet Material. These are different and the cut settings are different. Don't forget to actually adjust your blade according to the recommended depth.
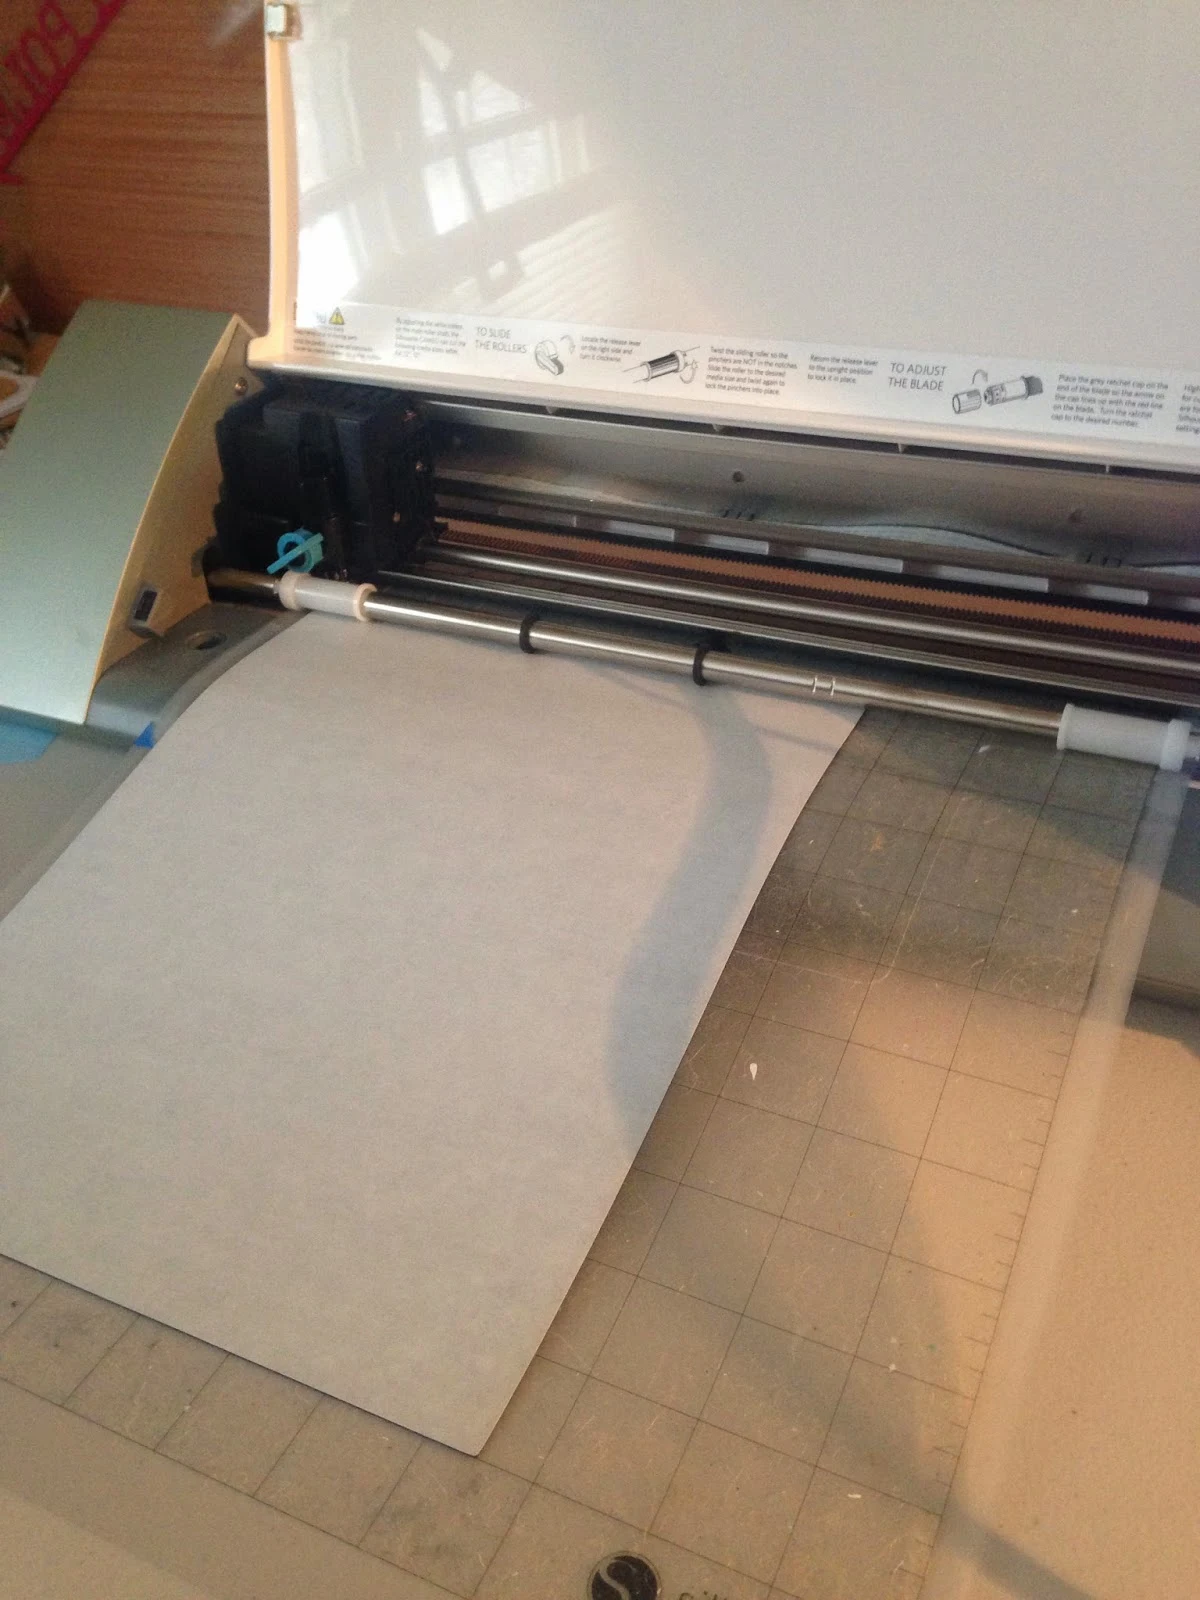
Load your mat and send your magnets to cut. They cut like butter! I was shocked and impressed at how nicely the machine did with the thick magnet sheets.
Now remove the magnets and magnet material from your mat and get ready to cut the actual design.
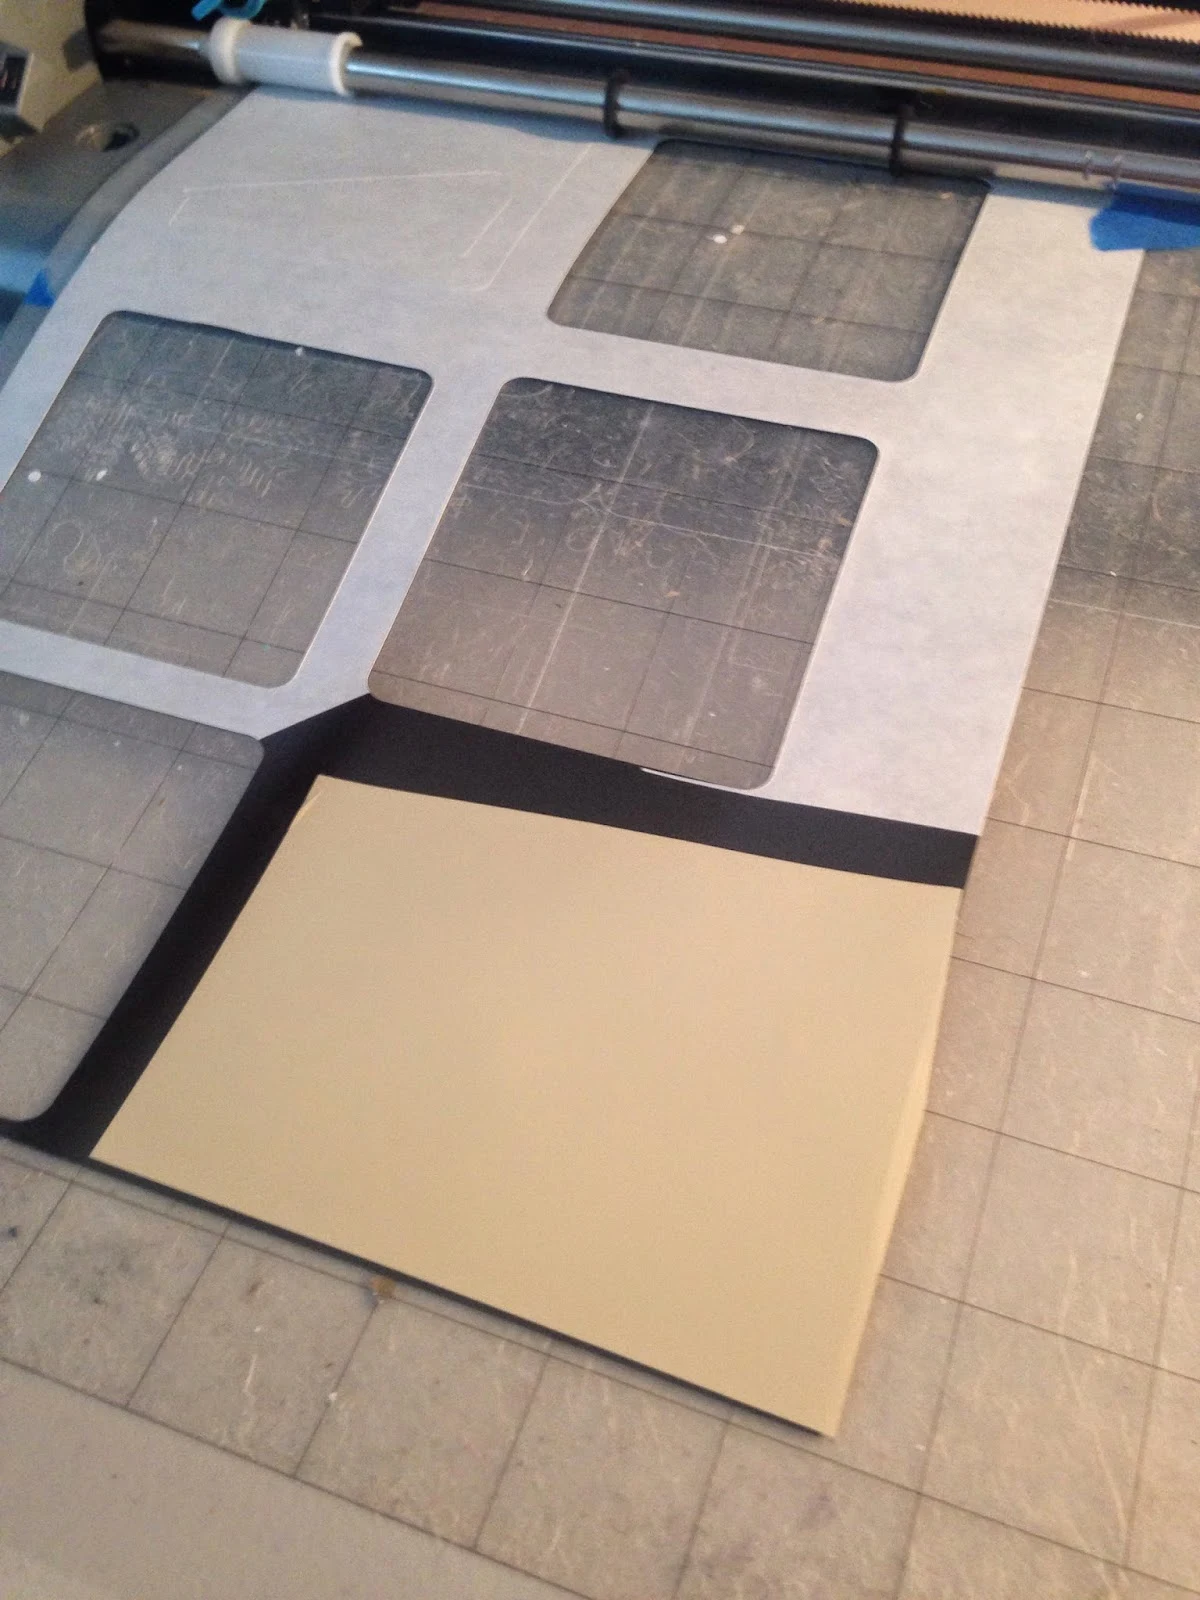
I wanted to cut my scrabble-like tiles on a tan-ish permanent/glossy/651 vinyl so I put the vinyl on the mat in preparation to cut.
If you're cutting on vinyl or if you're paper piecing, go back into Silhouette Studio and adjust the cut lines if necessary (I cut out the letters because I wanted the black from the magnet to show through), select the new material, adjust the blade if necessary, and send that baby to cut!
Now you're ready to put the design onto the magnet.
Remove the white sheet on the magnet to expose the adhesive.
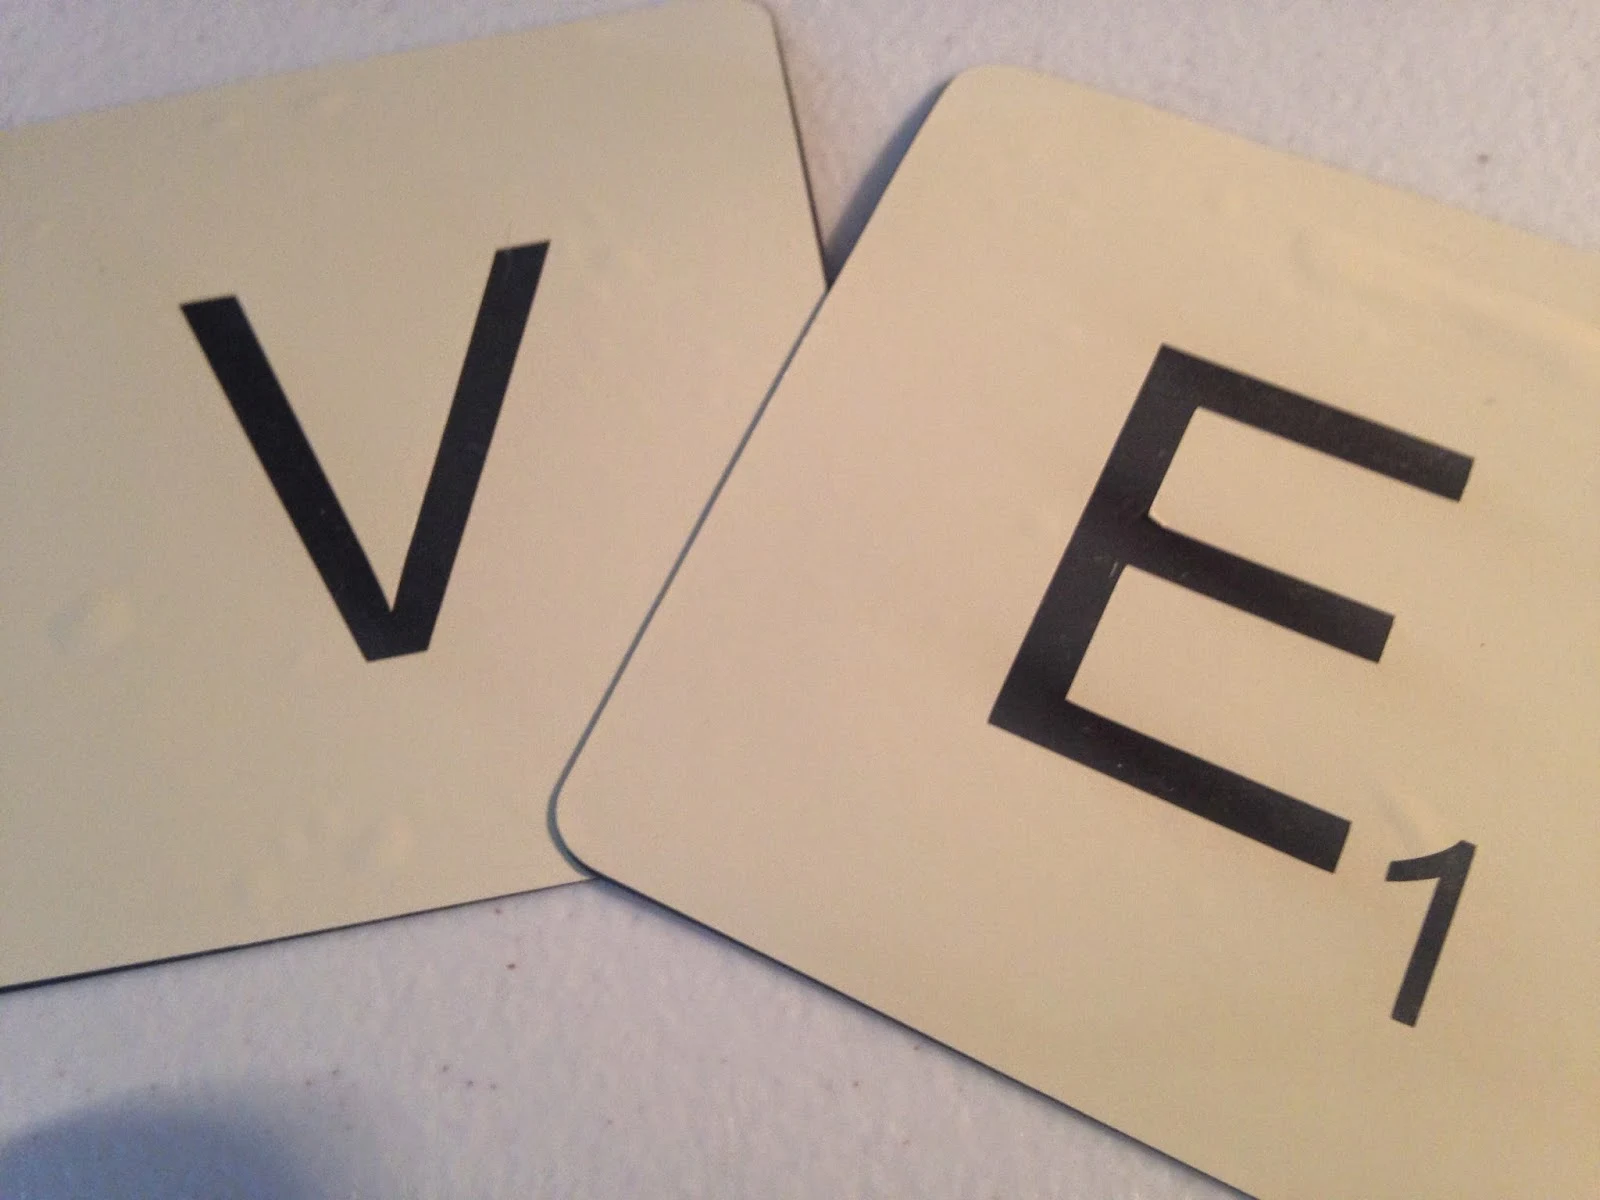
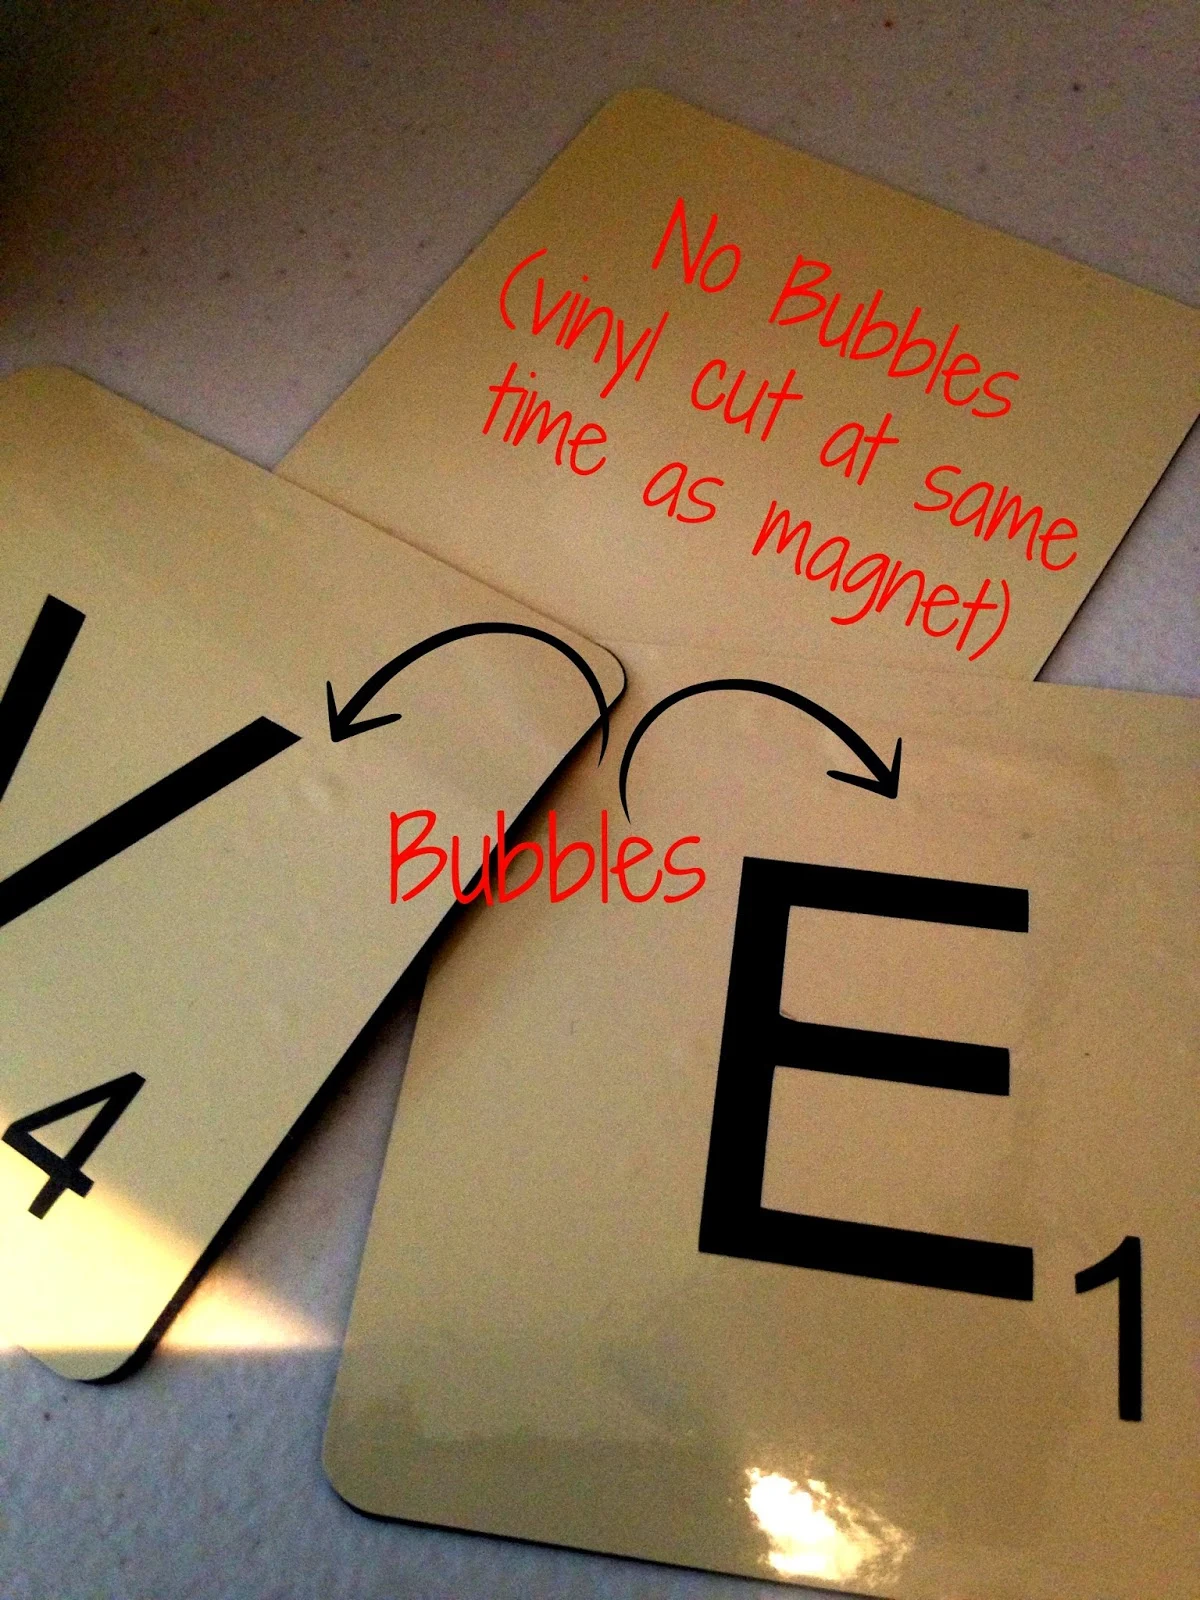
Everything was going along just fine and dandy until I got to this point. Putting the vinyl onto the magnet was - well, not pretty! I tried at least 4 different methods from the hinge method to the top align but getting the vinyl perfectly aligned without bubbles was nearly impossible.
(Of course I then had to cut out black vinyl lettering for the Scrabble tile and layer it since the black from the magnet wasn't showing through as it was in my original design.)
I also cut a few smaller heart-shaped magnets. For these I cut out patterned paper to layer on top of the magnet material. The paper was MUCH easier to work with on the adhesive magnets. I would, however, put mod podge over the paper if the magnets will be handled a lot or if they'll be exposed to moisture.
And that brings me to my honest review of the Silhouette brand magnet sheets. I'm thrilled to report I actually do really like this Silhouette brand product. It cuts very easily on the Silhouette, the quality seems good and the price is fair for the four sheets that come in a pack.
Now, if you're looking for a super strong magnet, this isn't going to be your thing. I noticed that the large Scrabble tiles, which are about 3x3", had a strong hold and were heavy enough to keep up a few papers on the fridge at a time. But the smaller hearts, which are only about an inch or inch and a half in size weren't quite up to the job. I needed to use both at the same time to keep a single

In the next few days I'll be sharing a fun print and cut magnet tutorial...just in time for classmate Valentine gifts!
Have you used the Silhouette Magnet Material? What did you think?
Note: This post may contain affiliate links. By clicking on them and purchasing products through my links, I receive a small commission. That's what helps fund Silhouette School so I can keep buying new Silhouette-related products to show you how to get the most out of your machine!
Thanks for coming to class today at Silhouette School. If you like what you see, I'd love for you to pin it!


.png)


Could you cut the magnet and then, without removing the cutting mat, send it back through and do a kiss cut on the vinyl? If you do leave the black magnet exposed - how do you make it un-sticky where it shows through the lettering?
ReplyDeleteCan you do the print and cut option on regular magnet sheets? Will it cut the regular magnet sheets? That's what I was planning on doing, but wasn't sure it would work.
ReplyDeleteI see you said you 'peel off the adhesive of the magnet'. Did you peel off the vinyl too? Or just left cut vinyl attached to its backing and now it was sticking to magnet adhesive. Is there any risk the vinyl would come off its backing?
ReplyDeleteYou'd peel the vinyl backing too.
Delete