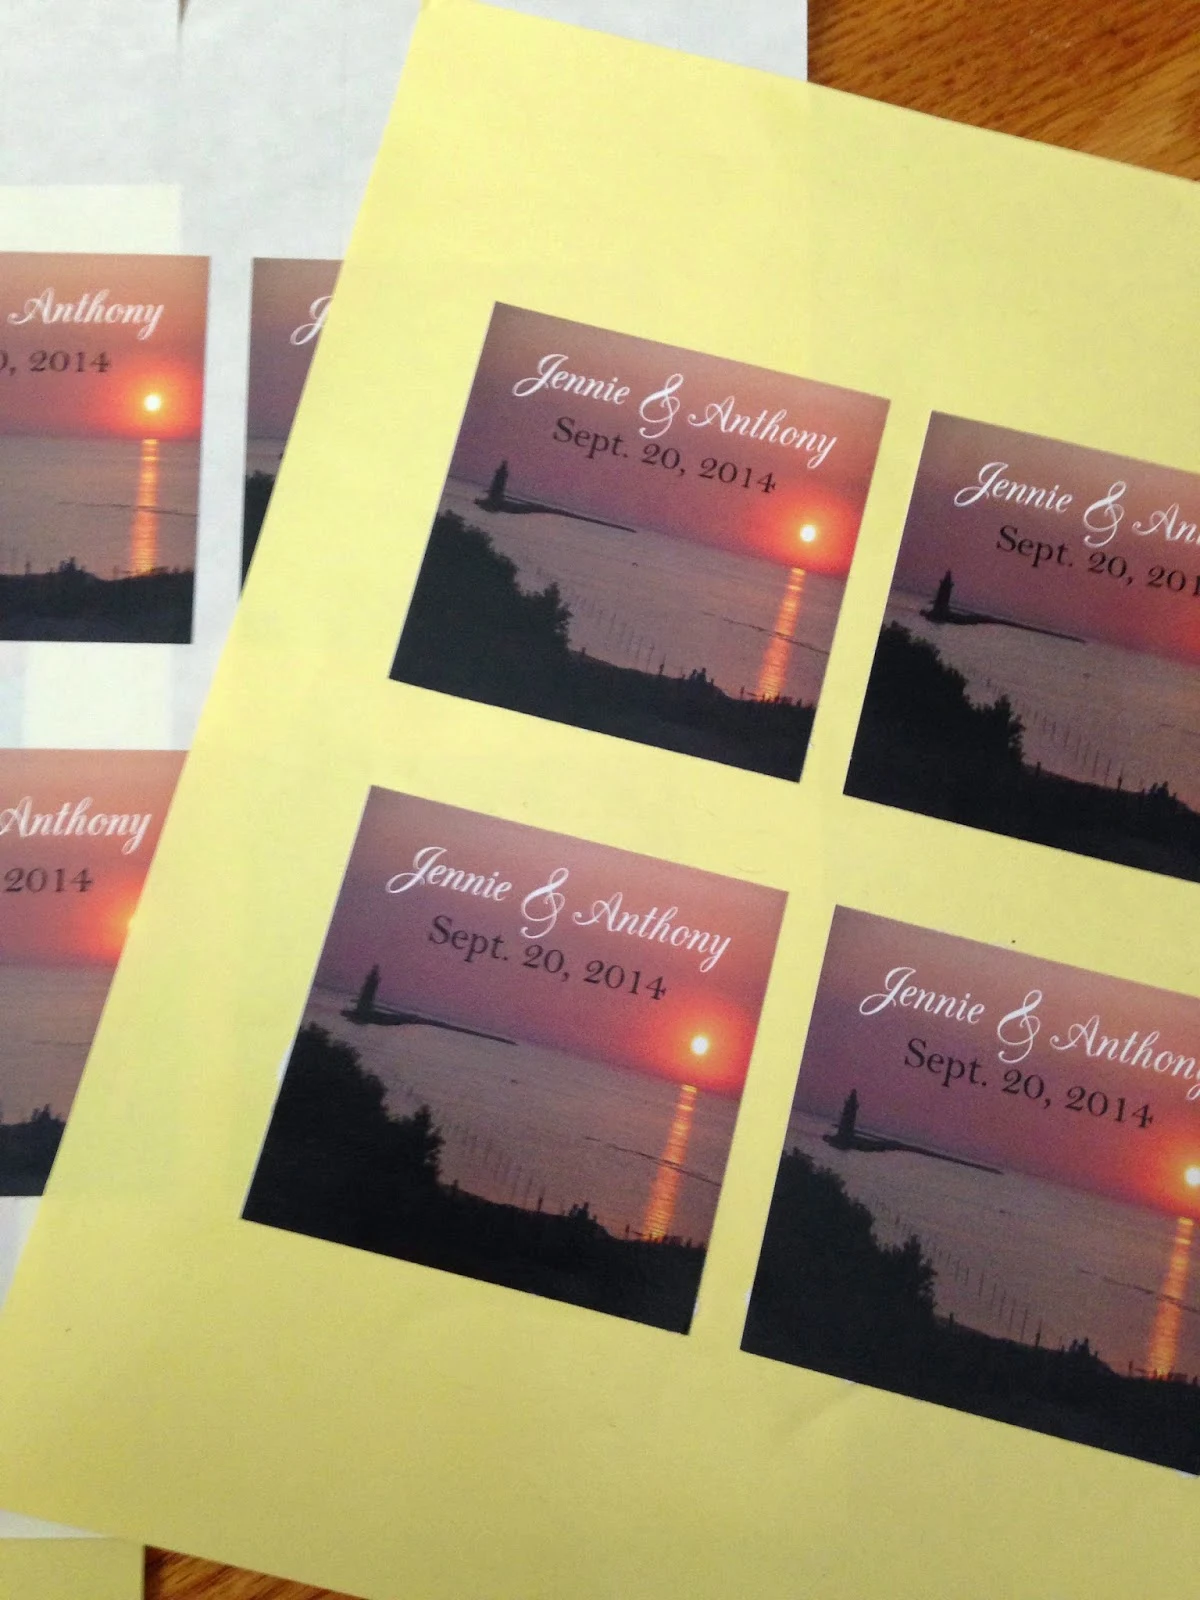
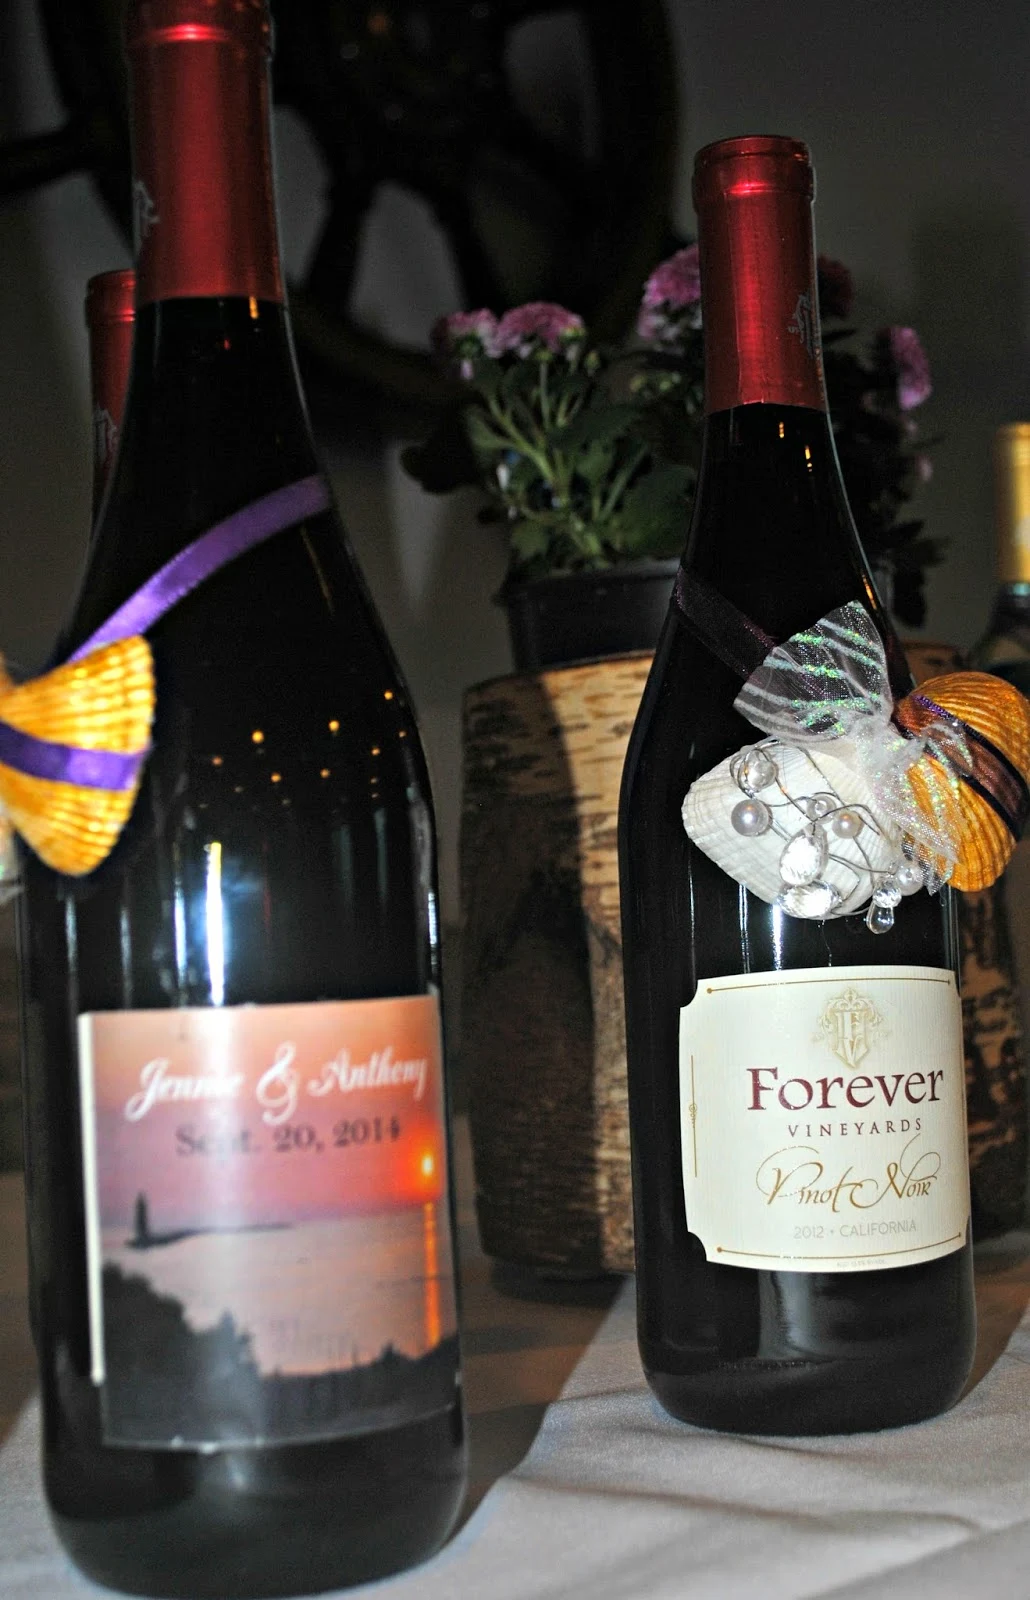
I was recently asked to make some wine bottle labels as a favor for a rehearsal dinner. The groom's mother wanted a photo with the bride and groom's name on them that could be stuck right onto bottles of wine. Immediately I knew the white Silhouette Sticker Paper would be ideal, but I would have to remotely print at a copy center to get a great quality print.
So let's get started.
Create your design in Silhouette Studio as you normally would for any stickers or print and cut. If you need a refresher check out my Sticker 101 tutorial and/or the Print and Cut basics here. And if you're wondering how to fill a shape with the photo check out this tutorial.
After you've completed your design, add the registration marks. Now this is where you're going to do things a little bit different. At this point you'd normally print out your design on your home printer, but we need to print remotely which means we need to export the design. To do that you need to save your Silhouette Studio file as a PDF. So go ahead and export as a PDF. Click here if you aren't sure how to turn a studio file into a PDF.
After you export, remember NOT to move anything in your design or your cut will be off.
TIP: If you close out Silhouette Studio between the time you design and print, be sure to save your file to your computer NOT the library. This way it will open in the exact same spot (with the registration marks) in your work area. Or you can go the safest route and keep the program open during this process.I printed at Staples, but you can go wherever you prefer. You can either save on a thumb drive and take the file to the store or upload to the PDF file to the copy center's website to print. If you go the upload route, be sure to add a note to your order NOT to print until you take the sticker paper to the store. You don't want them printing on cardstock - these are stickers, after all.
I took a few sheets over to my local Staples so they could print on the sticker paper. It's always a good idea to have a few extras printed (you can run into trouble cutting as we all know with print and cut). As it turned out, the copy center ran into trouble with one or two of my sheets. They replaced them with their brand of sticker paper which worked great, too.

Once your stickers are printed, it's time to bring them home and cut them on your machine. Load the printed sticker paper onto your mat and tell the software to start cutting.
The Silhouette will (hopefully) find the registration marks and cut out your stickers perfectly! Remove the top sheet to weed and you have custom stickers that don't look like DIY stickers!
Here's how the wine bottle labels all came together!
Thanks for coming to class today at Silhouette School. If you like what you see, I'd love for you to pin it!


.png)


ReplyDeleteI was recently asked to make some wine bottle labels as a favor for a rehearsal dinner. wall decals for nursery
Thank for your post, do you have any tutorial video for this...?
ReplyDeleteI recently used remote printing for some print and cut images. The paper I chose had a slight gloss to it. The silhouette cameo would not register any of the copies. Are you aware of any problems with print and cut based on type of paper used. Of course the copies were just beautiful and saturated with color.
ReplyDeleteDid you notice a size different when you went to PDF? I tried making some stickers for my planner and when I cut, the sizes didn't line up.
ReplyDeleteMelissa, you provide a great advice when you mentioned about adding a note to the order of not printing until you take the sticker paper to the store. This piece of advice will be one for me to keep in mind when I go print out a couple of stickers and labels. My plan will be to do that later in the afternoon.
ReplyDelete