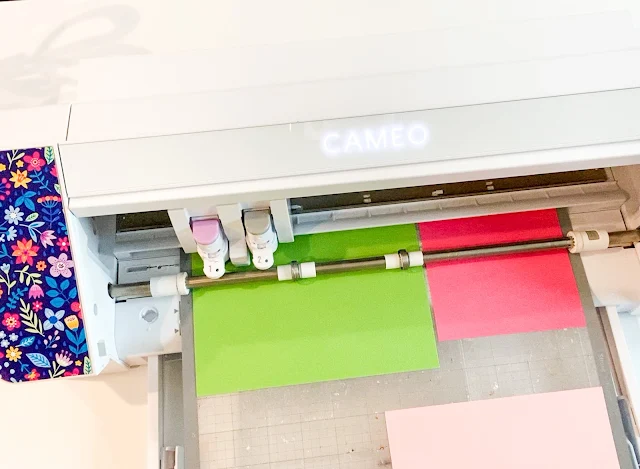
If your paper tears while cutting with Silhouette CAMEO, don't give up on it!
Follow my 7 tips for how to cut small paper pieces with Silhouette CAMEO 4 without tearing...or tears!
#1. Use the Best Paper for Silhouette CAMEO 4
It all starts with a good quality paper. I swear by American Crafts Precision Cardstock which I have used for years. I wrote about it here on why I think it's the best paper to cut with Silhouette CAMEO along with the perfect cut settings!
#2. Sticky, But Not Overly Sticky Cutting Mat
A mat with enough stick, but not too much is perfect for paper. You want the paper to be held secure on the mat so it's not moving while you're cutting, but you also don't want the adhesive to be too strong or the paper will curl and possibly tear while you're removing the cut pieces from the mat.
Make sure there is NOTHING on the mat. Bits of old paper or materials that are under paper you are trying to cut will cause you to get incomplete cuts. Use a scraper or spatula to clear off anything on the mat.
#3 Secure the Paper with a Brayer
Always use a brayer to roll over the paper on your cutting mat. This will give you the best possible stick before you load that cutting mat.
#4. Use a Manually Adjustable Silhouette Blade
Skip the Silhouette CAMEO 4 Autoblade and instead opt for the Silhouette CAMEO 4 1mm Manual blade which will give you more control...and isn't dependent on how or if the machine taps correctly to change the blade depth.
#5. Fine Tune the Silhouette Cut Settings for Paper
The perfect Silhouette cut settings for small pieces of paper include
- Slowing the speed
- Turning on Segment Line Overcut This option will force the blade to slightly cut past a sharp corner in each direction as opposed to going to the corner and turning. Corners are often where paper tears occur.
- Increase the number of passes
I find the best cut settings for the American Crafts Precision Paper are:
Blade Depth: 5
Force 33:
Speed: 4
Passes: 2
Segment Line Overcut: On
A good paper cut should allow you to easily lift either the cut piece or the negative piece of paper away easily.
#6 Remove the Mat from the Paper
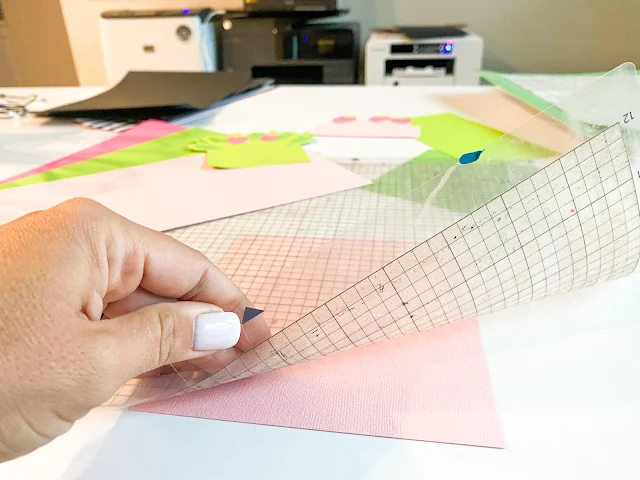
To prevent curling of the paper, remove the mat from the paper instead of the other way around.
#7 Roll Out, Don't Pick Out Little Bits
And if you have little bits stuck in your paper pieces you can use a well loved lint roller to remove them easily without tearing or curling the paper.
Now that you know how to cut paper without tearing on your Silhouette CAMEO 4 you can make all kinds of Silhouette paper projects! This adorable foldable strawberry basket 3d paper card is from So Fontsy.
Note: This post may contain affiliate links. By clicking on them and purchasing products through my links, I receive a small commission. That's what helps fund Silhouette School so I can keep buying new Silhouette-related products to show you how to get the most out of your machine!
Get Silhouette School lessons delivered to your email inbox! Select Once Daily or Weekly.


.png)


Thanks for these tips! I use the first six steps and will be giving the lint roller a try to remove those itty bitty pieces.
ReplyDeleteThank you so much for this great "how-to"....love the tips.
ReplyDeleteThank you for the tips. I always recommend you to others.
ReplyDelete