If you've never tried to sublimate a photo on wood..you are missing out!
Sublimation seems to have no limits...and yes you can sublimate on wood which makes for stunning and unique custom wood pieces!
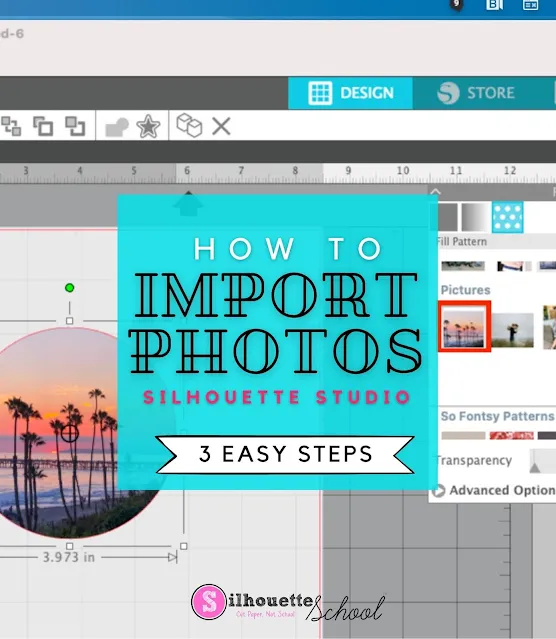
I like to start in Silhouette Studio.
From the Page Setup panel change the media size to Letter since we're printing on an 8.5" x 11" sheet of sublimation paper.
The next step is to draw out the shape you are going to use or open a design. I created a template for these wood ornaments (free download for the wood ornament template here) for another project so I'm going to use that shape again since I'm going to sublimate a photo on a wood ornament.
I made four copies of the template to fill the page.
With the shape in Silhouette Studio selected, open the Fill tool and go to the Patterns tab. Find your photo and click it to fill the selected shape. I repeated this each time to add different photos
If you have Silhouette Studio Designer Edition you can drop photos directly into the Patterns folder in your Silhouette Library. This will allow you to use the photos to fill another shape and give you control of scaling, panning, and the photo angle.
If you need a refresher on how to add a photo as a pattern fill in Silhouette Studio check out this tutorial.
Once the photo has filled the shape if you click Advanced Options you can pan, scale and adjust the position of the photo.
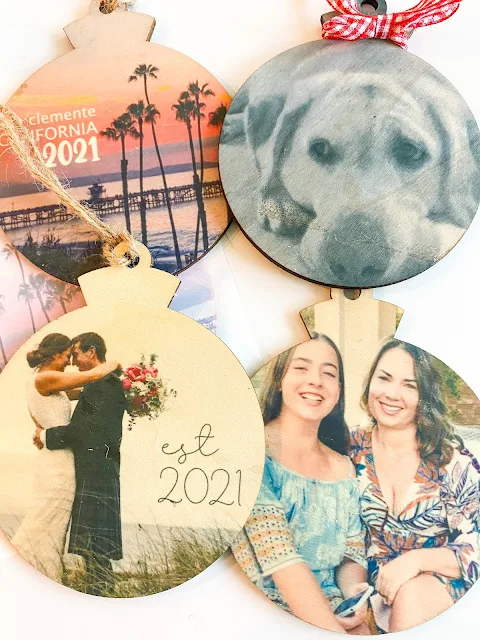
I added some text to a few of the sublimation photos by using the Text tool in Silhouette Studio and filling with either white or black. Keep in mind if you fill with white, that area will take on the wood tone unless your sublimation printer prints white (Sawgrass sublimation printers do not print white).
When you're done designing, mirror your entire design.
You can move forward with printing the sheet on your sublimation printer. PC users can access this directly from Silhouette Studio > File > Print.
I am using a Sawgrass SG400 which is an older model of the current Sawgrass SG500 sublimation printer. Because I'm on a MAC and I want to get the best possible colors using the printer color profiles, I export my full sheet first by selecting it > by going to File > Save Selection > Save as JPEG (adjust Dots Per inch to 300). This saves the sheet to my hard drive.
If you're unsure how to print a Silhouette design to Sawgrass sublimation printer on a MAC, check out this step by step tutorial.
Select the file from your computer and it will open on Print Manager to print.
For wood, I selected Ceramic / Glass as the substrate since wood is not an option.
Once the sublimation sheet is printed, it's time to prep the wood.
Heat up the heat press to 400 degrees and set the timer for 30 seconds.
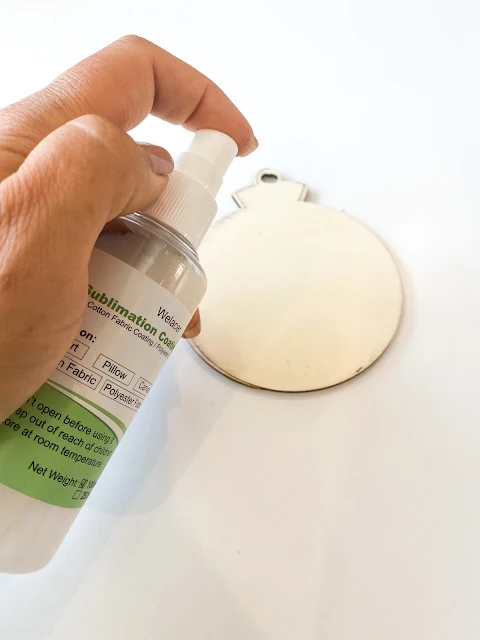
Spray the piece of wood with one LIGHT coat of sublimation spray. Make sure to cover all areas.
Adjust the heat press to medium pressure. Not sure how to set your heat press pressure knob to "medium" pressure? Check out this blog on my tips on how to set a heat press with a pressure knob.
Place the pieces of wood with the coated side up onto the bottom of the heat press and cover with a sheet of kraft or butcher paper or a teflon sheet. Press for 30 seconds to dry the sublimation spray.
Now you're ready to put the printed sublimation photos onto the ornaments. It's a good idea to cut the sublimation prints apart.
Place a blowout sheet on your heat press. This can be as simple as a sheet of printer paper - it will just protect the bottom platen from getting sublimation ink on it when you press in the next step.
Place the pieces of wood on top with the coated side up. The printed sublimation sheet goes on top of them with the printed side touch the wood. Then cover with a teflon sheet or butcher paper.
Press for another 30 seconds at 400 degrees.
When the time is up, carefully (it's hot!!) peel away the sublimation paper from the wood.
Aren't these stunning?!
I just love that you can sublimate a photo on wood and so easily too!
Get Silhouette School lessons delivered to your email inbox! Select Once Daily or Weekly.


.png)


No comments
Thanks for leaving a comment! We get several hundred comments a day. While we appreciate every single one of them it's nearly impossible to respond back to all of them, all the time. So... if you could help me by treating these comments like a forum where readers help readers.
In addition, don't forget to look for specific answers by using the Search Box on the blog. If you're still not having any luck, feel free to email me with your question.