First Cut with Silhouette Rotary Blade
The Silhouette Rotary Blade has a built in safety cap.Before you use it for the first time you'll need to twist the cap so the wheel is exposed.
Power on the Silhouette CAMEO 4 and connect it to your computer either by Bluetooth or USB.
Place the rotary blade in the right carriage and make sure it is all the way down. Press the lock in so the teeth grip the blade.
Silhouette Studio Set Up for Rotary Blade
Return to Silhouette Studio and from the Send panel select the available CAMEO 4 connection from the machine list.Move to the Design area. Open the Page Set up panel and select the Auto CAMEO, Auto Mat Size, and your material size.
Open your design - size it and make any other edits.
Return to the Send panel and expand the Tool 2 settings.
Select the material you are cutting from the material list. For your first Rotary cut on Silhouette CAMEO 4, I would suggest using a thin cotton. In this case, select Fabric, Thin (Cotton Print) as the material. The default cut settings of Force 13, Speed 1 and 1 Pass worked fine for me. Keep in mind your rotary blade will dull the more you cut and will dull faster with cutting thicker materials so you may need to increase the force or passes eventually.
The software should automatically detect that you have a Rotary Blade in Carriage 2 and change the tool and action. If it does not, manually select these options from the drop down menus.
Select the design and pick "Rotary Cut". The design should now be a bold blue line with several other loop lines near it.
Those loops are what the rotary blade uses to change directions. Make sure the entire design - and the loops - are within the safe cutting area and not in the margin of the mat or overlapping other designs in the workspace.
How to Set Up Your Cutting Mat for Cutting Fabric with Rotary Blade
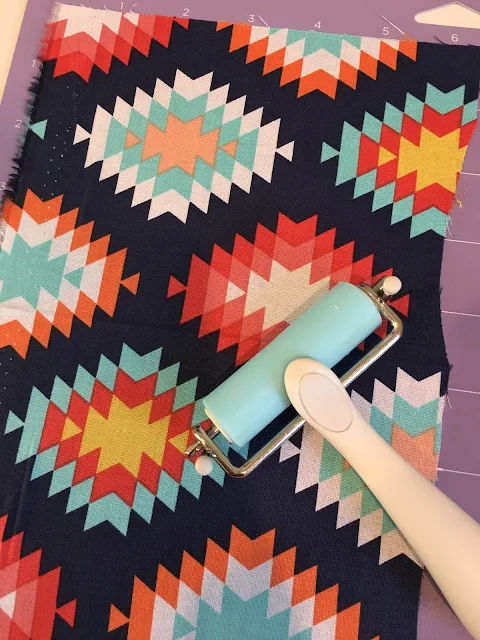
Because the rotary blade is able to cut fabric without a stabilizer, it is VERY important that your material stay put on the cutting mat while cutting. If it lifts or wrinkles at all while cutting, the cuts will not be clean.I would highly suggest you place your fabric on a high tack cutting mat (I used a Cricut high tack mat here, but the Silhouette Strong Grip mat is expected soon) and use a brayer to ensure it's firmly in place. Press out any wrinkles before cutting.
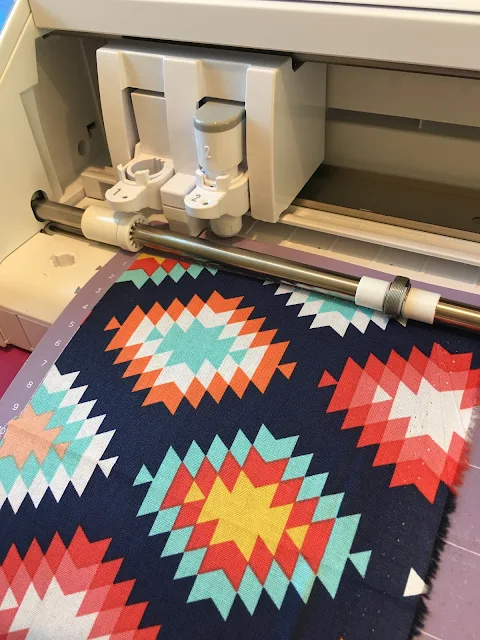
Load the cutting mat into the CAMEO 4 by pressing the up arrow on the touch panel.
From Silhouette Studio's Send panel press Send and the cutting will begin.
When the cutting is complete, you can remove the excess fabric.
And then you can carefully remove your cut fabric from the cutting mat.
Now that you know how to use the Silhouette Rotary Blade, check out all these other materials you can cut with the CAMEO 4 and rotary blade.
Note: This post may contain affiliate links. By clicking on them and purchasing products through my links, I receive a small commission. That's what helps fund Silhouette School so I can keep buying new Silhouette-related products to show you how to get the most out of your machine!
Get Silhouette School lessons delivered to your email inbox! Select Once Daily or Weekly.


.png)


No comments
Thanks for leaving a comment! We get several hundred comments a day. While we appreciate every single one of them it's nearly impossible to respond back to all of them, all the time. So... if you could help me by treating these comments like a forum where readers help readers.
In addition, don't forget to look for specific answers by using the Search Box on the blog. If you're still not having any luck, feel free to email me with your question.