I started by cutting a long piece of burlap. I cut it about 16 inches wide and 36" longer than my table so there would be plenty to hang off each end. If you don't know the secret to cutting burlap straight and without fraying, than you need to hop on over to my DIY blog Two It Yourself and check out this life hack. Seriously, you'll thank me.
I wanted the frayed look, so after the burlap was cut, we removed a few rows of the jute.
Iron the burlap really well and then set it to the side. It's time to work on the bunny.
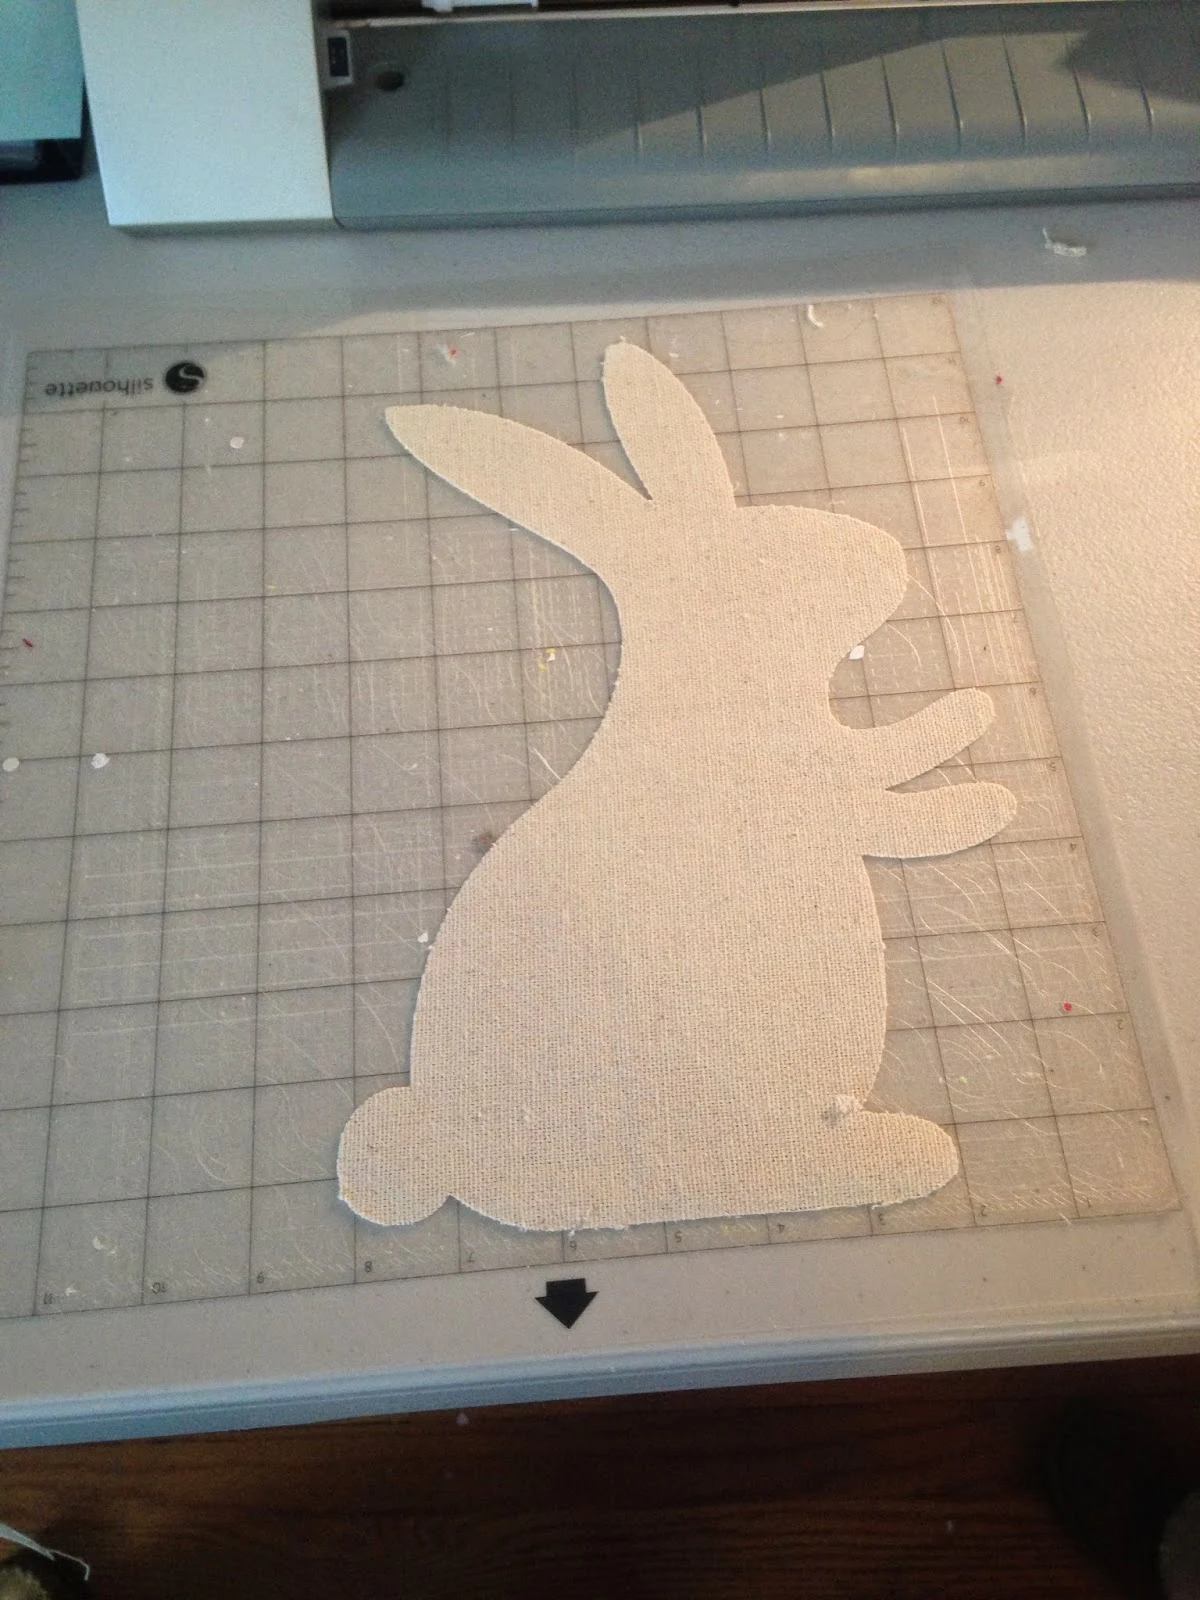
Recognize this guy? He's made his debut on the blog recently when I shared a tutorial on cutting painters drop cloth with the Silhouette. You can use any bunny silhouette of your liking...I tend to find what I need in the 'LP rabbits 1' dingbat font because there are lots of bunnies to choose from.
Once you have your bunny design, cut him out on drop cloth following this tutorial and these cut settings. Keep the bunny design open in Studio, you'll be working with it again!
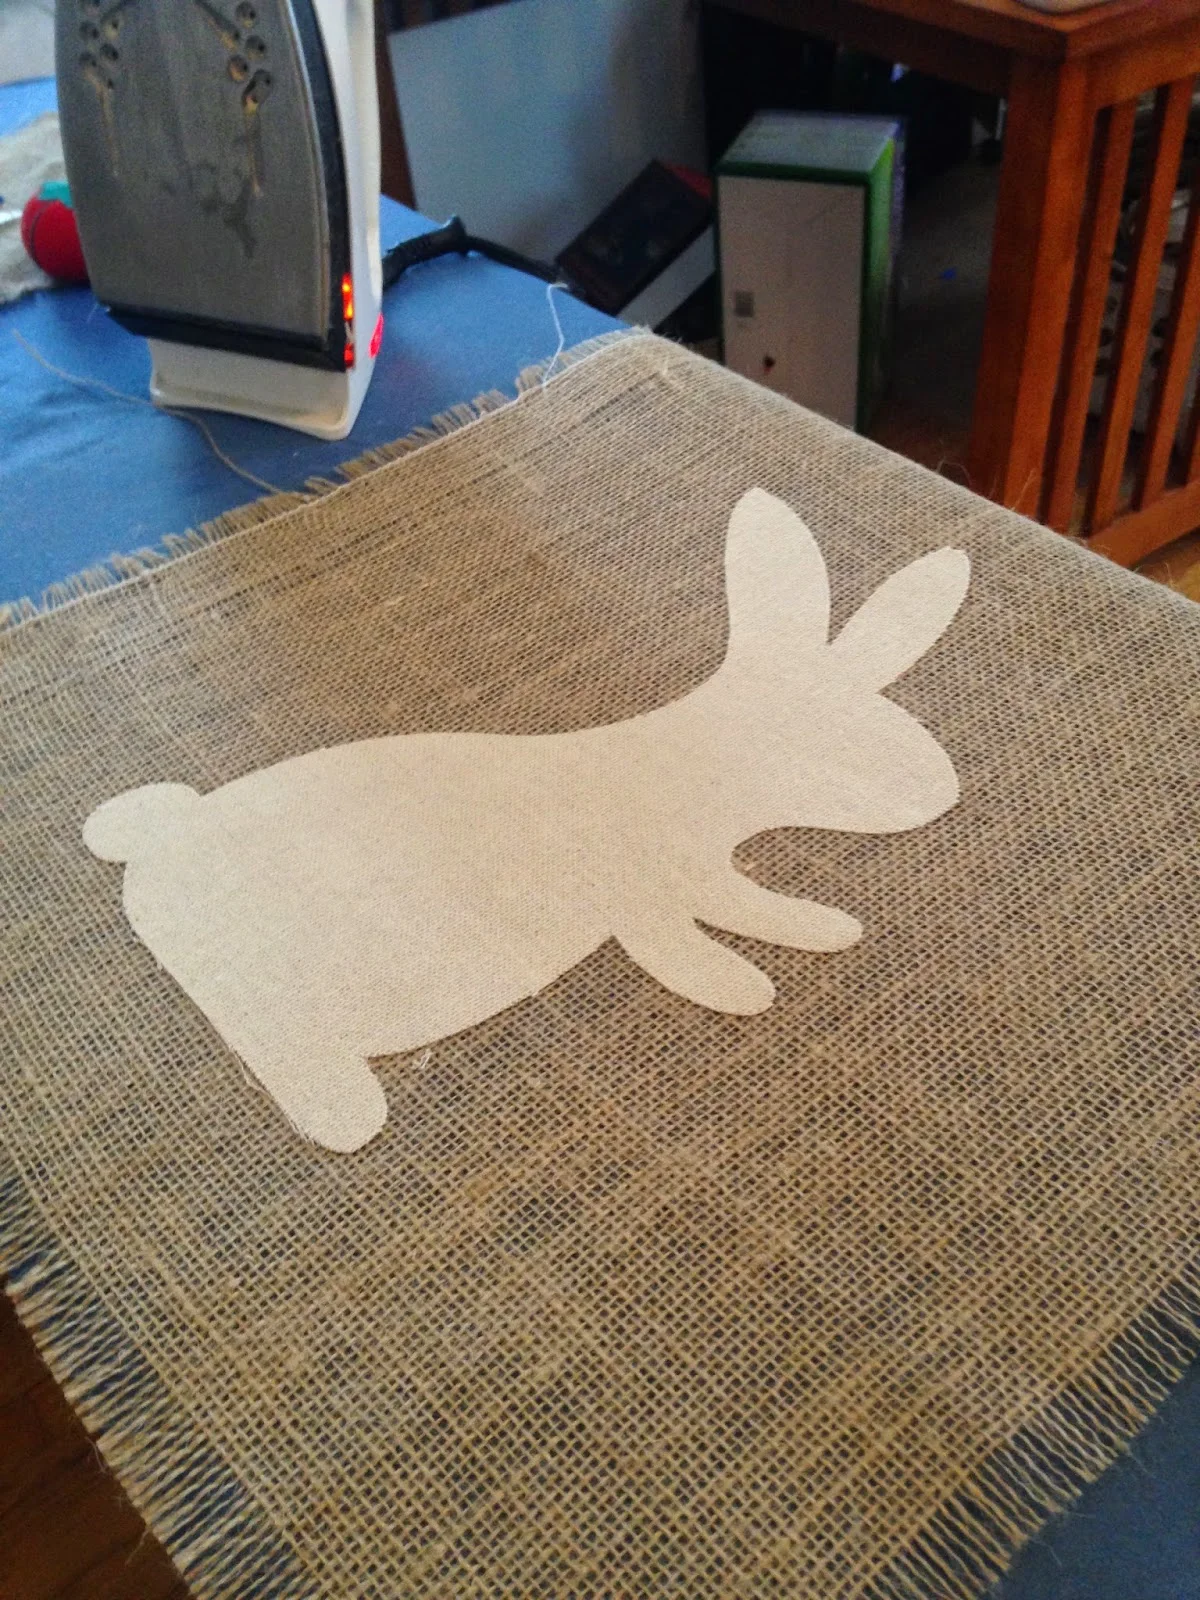
After you've cut the bunny, iron him onto the burlap. He's able to be ironed directly onto the burlap since you've put interfacing on the back of the drop cloth.
Now go back into Silhouette Studio so we can create the stitching around the inside of the bunny. This will be cut on heat transfer vinyl.
Select the bunny design that you just cut and click the "Offset" tool. Click 'internal offset" and choose the internal distance you'd like. My offset was set to .139.
The offset line is obviously a solid line and we need a dashed line to make the stitching.
I'm going to fly through this part since I have an entire tutorial on creating and cutting faux stitching which you can review here if you need more details.
- Select the internal offset
- Go to the Line Style tool
- Pick a perforated line style
- Give the lines a weight (I used 2.7)
- Go to the Cut Style window
- Pick Cut Edge
Mirror the stitched design since you're going to cut on HTV. My preference would have been to cut on brown so it would show up a little better, but I didn't have any on hand so I used white instead.
Don't forget to switch your blade back to the regular cutting blade and pick HTV for the cutting material.
Be careful when weeding that the stitches don't pull up.
Flip the HTV onto the drop cloth fabric bunny that you put onto the burlap and then iron or use a heat press to adhere HTV down.
Remove the plastic carrier sheet and then add any embellishments like a cotton tail or bow.
If you'd like a bunny on each end of the table runner, repeat the process.
Note: This post may contain affiliate links. By clicking on them and purchasing products through my links, I receive a small commission. That's what helps fund Silhouette School so I can keep buying new Silhouette-related products to show you how to get the most out of your machine!
Thanks for coming to class today at Silhouette School. If you like what you see, I'd love for you to pin it!


.png)


Making this one this weekend for my stepmom's table!!! She'll be so excited.
ReplyDeleteP.S. Last night I tried screen printing using the Silhouette. It's AWESOME!
So adorable!! Thanks for more inspiration!!
ReplyDeleteThis is really cute and so easy. Thanks for the chance to win your newest book. I think that it will be totally awesome to learn how each of the tools really work and do some designing.
ReplyDelete