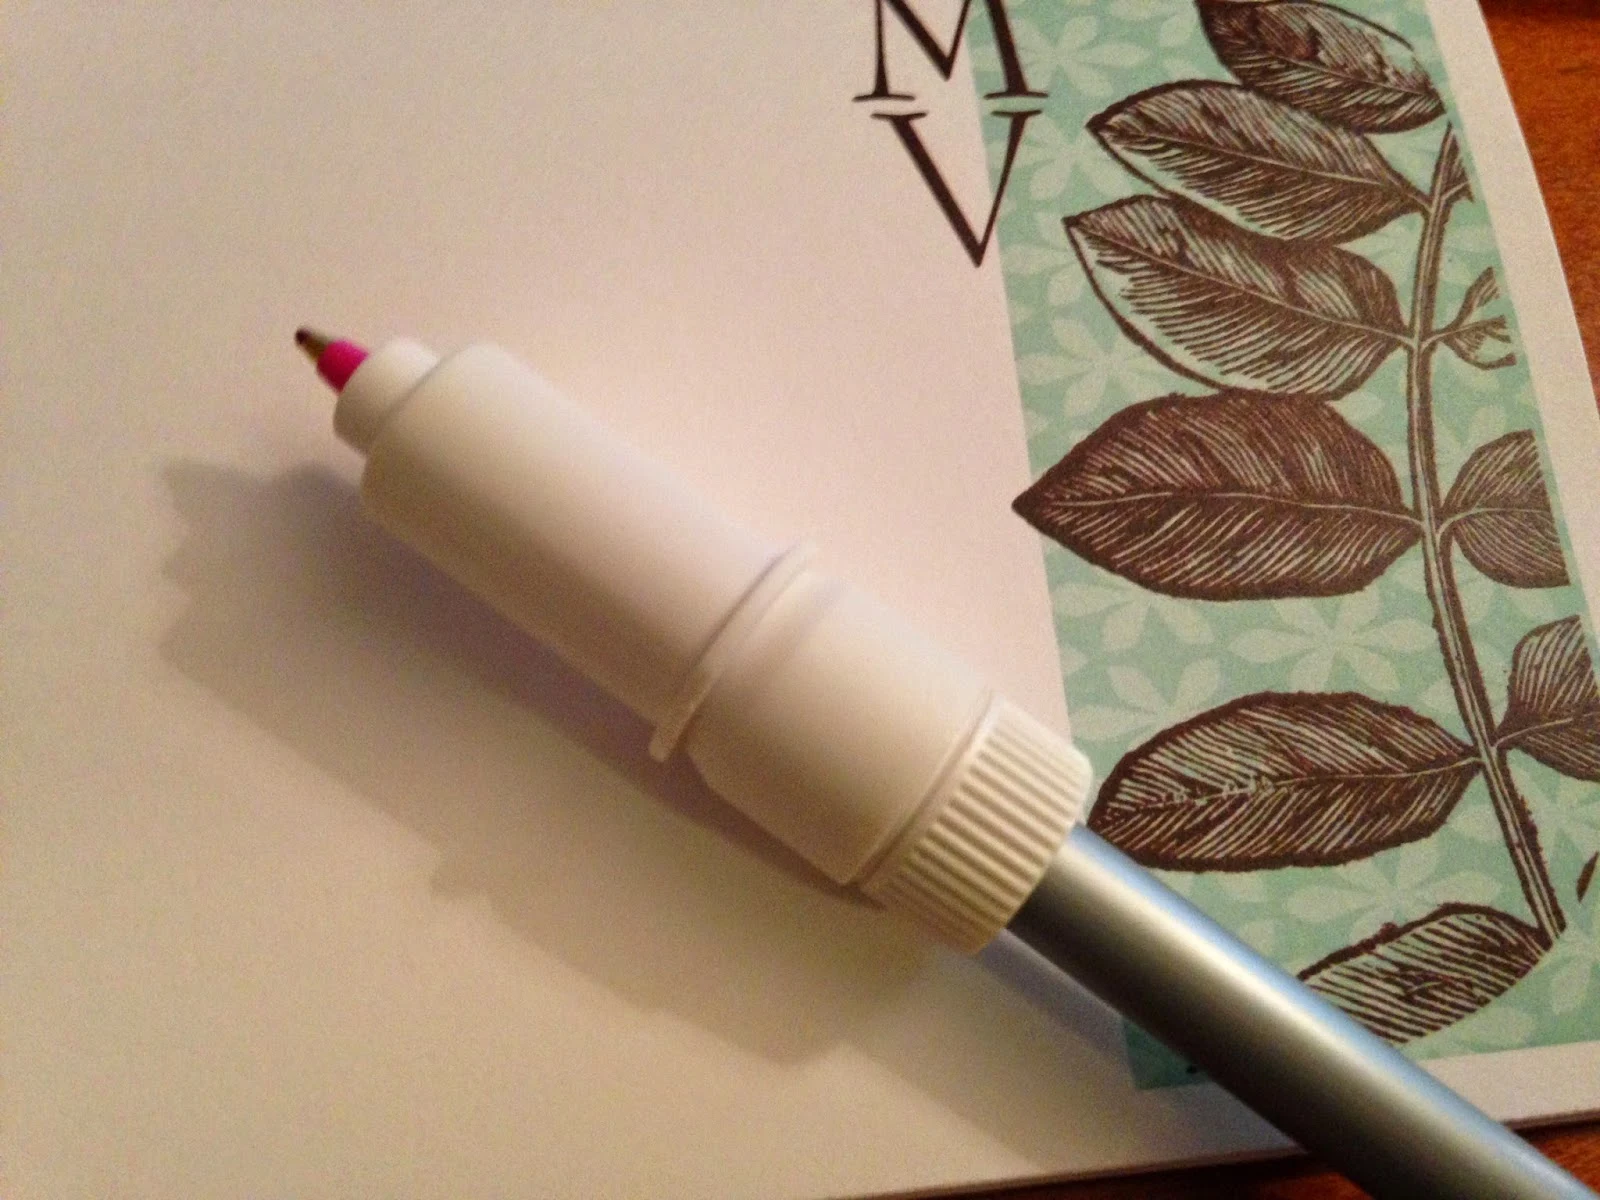
The instructions that come with the pen holders...well, let's just say they stumped me.
What you are supposed to do is grab your pen or pencil and slip the small piece (blue and marked with an S), medium (white 'M') or large (gray 'L') called a "threaded collet" (see why I was left scratching my head?!) into the piece that best fits your writing tool.
Then after you've done that, you push the piece which is now on your pen into the white pen holder (called a pen holder body). The little cap should be on the pen holder body. Push the pen all the way until it touches the pen cap....but no further. This will ensure that your pen does not drag while you are sketching. Then twist the blue, gray or white piece into the threads.
Pop out the blade and replace it with the pen holder and sketch your design. If you need a refresher on sketching, take my sketch pen series starting with sketch pens 101.
So here's the thing...I like to be honest. I like to endorse products that I love (like my Silhouette) - regardless of whether they are provided to me or if I purchase them. In the case of the pen holders, it's the latter. I spent $9.99 on the set of three pen holders and I have to say I'm not terribly impressed.
I like the idea that Silhouette is branching out and giving users more options by embracing the use of regular pens and not just their sketch pens....but I can't say I love them.
After all they're not that much different than the $1 DIY sketch pen holder (bottom) I made..and guess what I got 10 of them and I can sketch with the marker itself all for a dollar.
If you're looking for a pen holder that can sketch with a variety of pens, pencils, and even sharpies I'd have to say go with the Amy Chomas Sketch pen/marker adapter. It's more expensive, but the adjustability-factor (I think I made up a word there) is worth every penny.
Be sure to read Silhouette School's full Sketch Pen Series on everything (and more) you want to know about sketch pens!
Thanks for coming to class today at Silhouette School. If you like what you see, I'd love for you to pin it!


.png)


Hi Melissa,
ReplyDeletethank you so much for the explanation on the pen holders:) I couldn't for the life of me figure it out last night (what the heck with those instructions, lol) i thought for sure that i would be able to use a sharpie, that's why i bought them, i'll look into the holder that you mentioned, so glad you are here!!!
Thanks so much for your honest review! I should have read this before I made the purchase! I have to agree: I'm not impressed. I'm afraid I'll end up breaking one of the plastic pieces - they feel really cheap. I tried to do the dollar store marker method, but my gel pen kept wriggling free, so I bought the Silhouette ones.
ReplyDeleteThe main "pen holder" cracked the first time I used it...it's now held together with duct tape...don't buy
DeleteI agree with several points in your review, especially the part about the instructions. But I wanted to mention that I was successful with some Sharpie-like markers from the dollar store. They were just a bit skinnier and fit in the large holder and worked great. I have also used regular pens and even chalk. Just need some patience, which is in short supply around here most of the time!
ReplyDeleteI agree with your review! My pens wiggle loose and of course skip parts. I just found it to be an all around flimsy made adapter. I have been happy with the Silhouette pens so far.
ReplyDeleteMy pen holder simply doesn't hold for more than 2 minutes and the pen is released during the work... oh... refunded them.
ReplyDeleteDoes Amy pen holder work better??? Is it worth buing?
Do the pen holders that you mentioned drag the pen? The pens I have tried to use with Silhouette's pen holder work, but the machine drags it across the paper. Any suggestions on the Silhouette Pens? Do they work better from the dragging aspect?
ReplyDeleteThe silhouette holder is also really poorly made I am on my 2nd set, and both cracked.
ReplyDeleteI got the holder to use Sharpie pens (Non-retractable type) Draw a line around the grey part of Sharpie approximately 3/8" above where black and grey join. Then wrap blue painters (or masking) tape under the line (towards tip) around the Sharpie-3 times around. Rub taped area with fingers to smooth out any wrinkles. Insert Sharpie slowly into white holder WITHOUT any of the attachments, until you see the white cap barely move. I also put a piece of tape around where the pen and holder meet to ensure it doesn't slip out. If I'm not storing the Sharpie in the white holder I secure original cap on with tape.
ReplyDeleteI have these! They are great. No problems at all .
ReplyDelete