If you know how to use sublimation sheets, you'll really expand what you can sublimate because you'll be able to make your own custom sublimation blanks.
The key is pairing a sublimation printer with a laser cutter that can cut any shape out of the sublimation hardboard sheet. Read on to see how easy it is to use sublimation sheets.
You can get double or single sided sublimation sheets - both can easily be cut with a laser cutter. For this tutorial I'm using the 40w xTool S1 diode laser. You can also use the xTool P2 CO2 laser, but you will need the riser and honeycomb tray unless your sublimation sheets are no more than 12" wide. I have also cut hardboard with my 10w xTool M1 which is more of a craft laser.
I will tell you I have tested this on the xTool 40W S1 and the 55w CO2 P2 laser. The sheets don't cut well in the xtool M1 10w and I don't have the 20w S1 to test in there so I'm not sure if it will work with that laser.
There are several ways to do this, but the most beginner friendly and easiest is to sublimate a large area of the hardboard sheet then laser cut out of that.
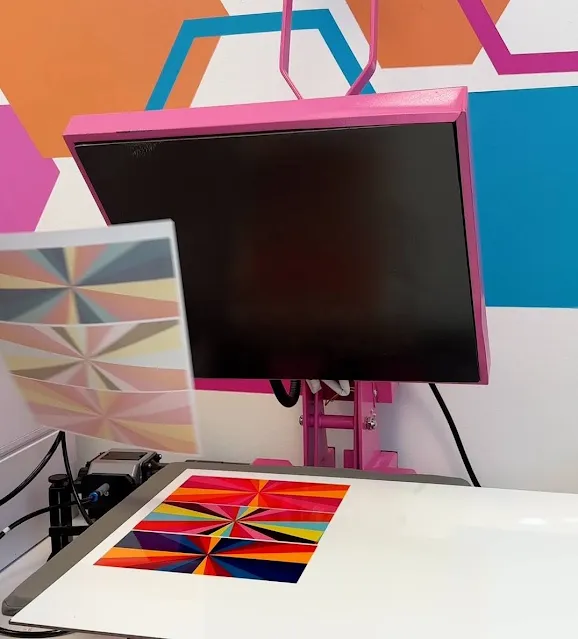
By using Silhouette Studio, you can draw a large rectangle or square and then fill it with a pattern. In this example I drew three rectangles and filled each with a different patten.
When you're ready print the transfer on your sublimation printer. Here I printed to my Sawgrass SG1000 sublimation printer.
Make sure your heat press is warmed up to about 400 degrees and set for 60 seconds.
Before you sublimate onto the hardboard make sure you remove the protective film. It's there to prevent scratches, smudges and oils from getting on the sublimation sheet.
Lay your sublimation board onto the heat press and put the printed transfer sheet on top with the printed side face down.
Press with medium to firm pressure for 60 seconds. The colors should really pop.
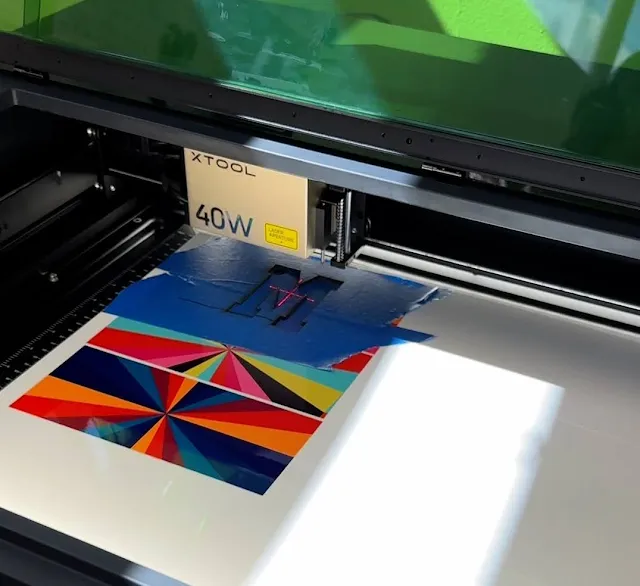
You are now ready to laser cut the sheet into whatever shape you want. My suggestion, is to mask the area you are going to laser cut to keep it clean of soot. I use 3" wide painters tape to protect the sublimation hardboard while laser cutting.
In the xTool software you can open and size your design. Make sure to measure the thickness in the software then you can set up your settings.
For the xTool S1 I found the best laser cut settings to be a power of 80, speed 10, and 2 passes.
Send the laser to begin cutting the sublimation sheet.
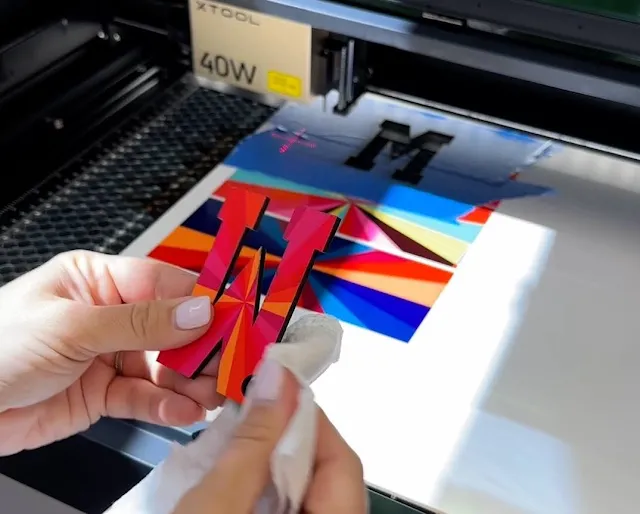
When the cutting is finished you can remove the mask and clean up the edges of your custom cut sublimation blank.
I have used sublimation sheet this way to make keychains, Christmas ornaments and even puzzles!
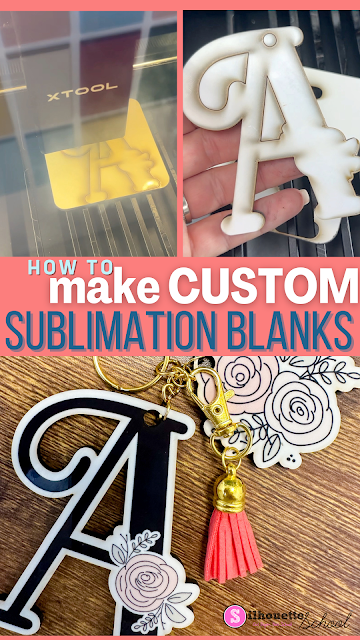
The other way to do this is to cut the sublimation blanks first and then sublimate onto them. If you want a white edge around your printed image, this is the method you'll need to take! I have another tutorial on how to make sublimation blanks that way here.


.png)


No comments
Thanks for leaving a comment! We get several hundred comments a day. While we appreciate every single one of them it's nearly impossible to respond back to all of them, all the time. So... if you could help me by treating these comments like a forum where readers help readers.
In addition, don't forget to look for specific answers by using the Search Box on the blog. If you're still not having any luck, feel free to email me with your question.