Tumbler lid tag toppers are all the rage right now...because why not, right?
According to my teenage kids EVERYONE has a Stanley and my 40 oz charger from Save a Cup is sub par...which I could not disagree more with...but I digress. Regardless, if you're looking for how to make tumbler lid tags I'll walk you through and give you the free design file.
I created the original design in Silhouette Studio by simply measuring the inner area of the lid then drawing a circle in that size. I added a rectangle over it and using the modify tool, cropped the shape. Using a Silhouette Pixscan mat to create the template would make this even easier.
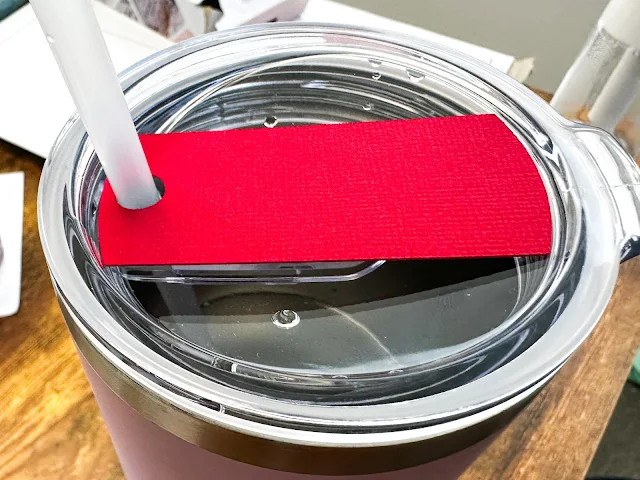
Before I laser cut it out my expensive transparent acrylic, I cut a few tests for size on paper using my Silhouette CAMEO 5.
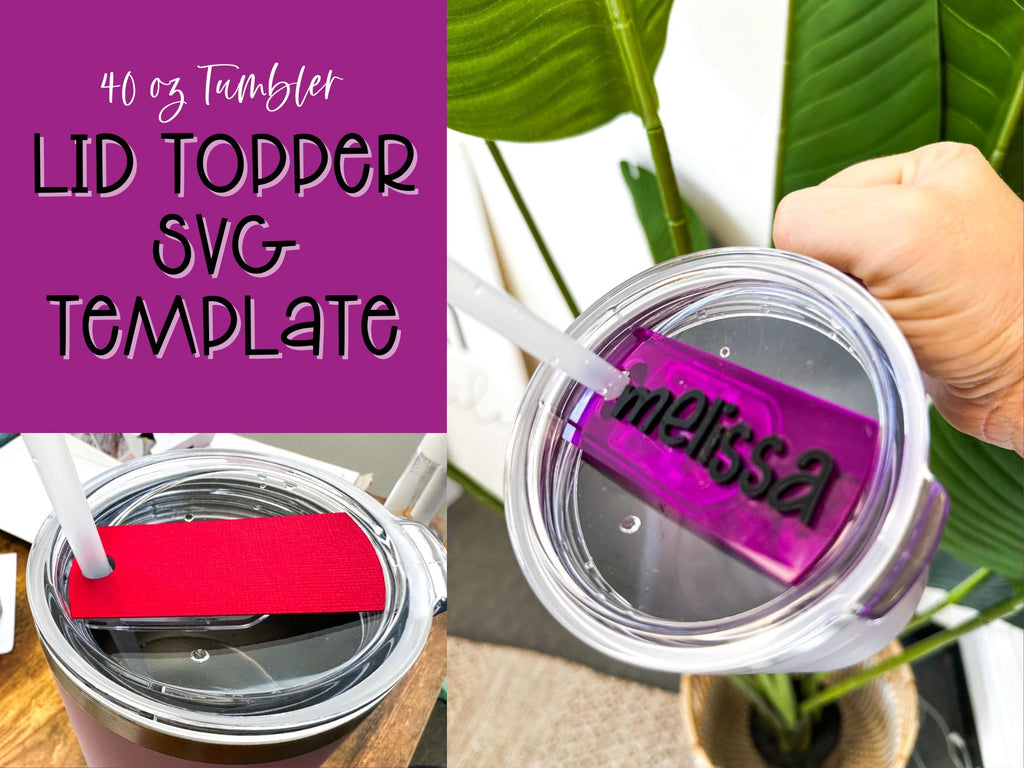
Lucky for you, if you're using the same tumbler lids as me you won't need to go through that part of the process because I am sharing the free tumbler lid tag topper SVG with you.
The tumbler tag topper SVG file, can be downloaded from So Fontsy, for free using the code 'TOPPER'
It opens easily in xTool Creative Space (XCS) (or Silhouette Studio) and is basically ready to cut. I'm using the xTool P2 CO2 laser which cuts all acrylic, including transparent with ease.
However, if you have a diode laser like the xTool M1 craft laser, the S1 40w laser or another diode laser like the Glowforge Aura you will need to cut dark opaque acrylic...and do a lot of testing to find the perfect settings that avoid the common raise, bumpy, melted edge.
How to Laser Cut Acrylic Tumbler Lid Tags
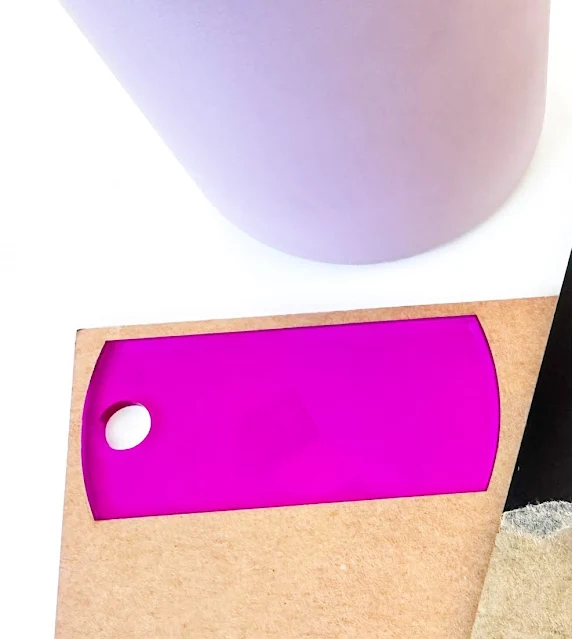
Place your sheet of acrylic for the base of the tag in the laser. For me this was the purple sheet. I'd suggest leaving the protective film on the top side of the acrylic sheet while you cut. This helps avoid scratches.
Back in XCS refresh your view if you have a laser with a camera like the xTool P2 does.
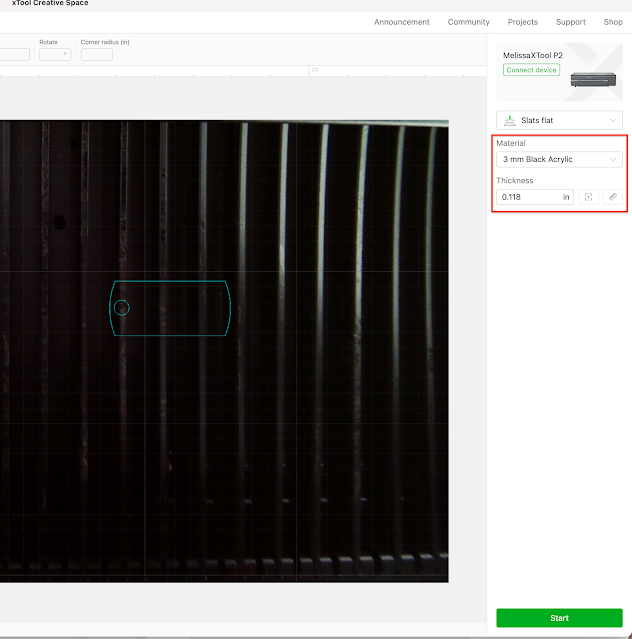
Go to File > Import Image and open the tumbler lid tag SVG file. Once it's in the software, do not resize it.
To cut the base of the tumbler tag select the designs and change the Processing Type to Cut and the material to 3mm Acrylic. Make sure to do a material height measurement so your laser can adjust accordingly.
When you're ready click "Start" in the software and then start again and then press the power button on the laser itself.
After the acrylic tumbler tag base has cut, you can remove the protective film from the tag.
How to Laser Cut Acrylic Names
Place the second sheet of acrylic (black) in the laser and this time type out the name using the text tool in XCS. Size the name so it fits inside the tag shape.
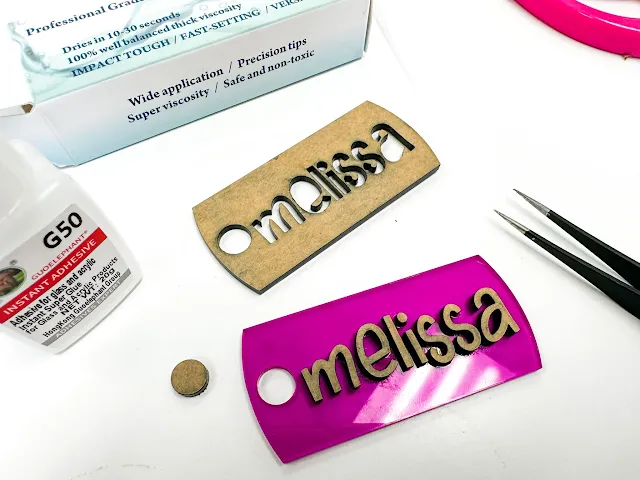
I would suggest cutting the tag shape again with the name inside it. The reason for this is later you can use it as a guide when gluing the letters to the main part of the acrylic lid tag later.
Once the acrylic name has cut, only remove the protective film from the BOTTOM side of the letters.
Use the tag piece that came from around the letters to act as your guide when positioning the letters on the tumbler lid tag.
Place it directly on top of the first one you cut.
How to Glue Together Acrylic
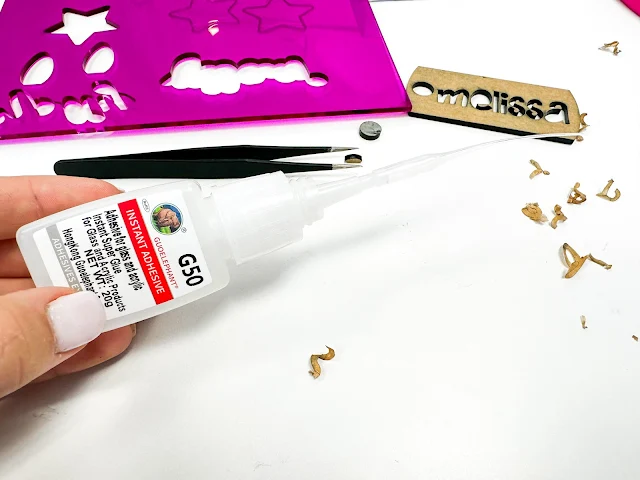
I use G50 acrylic glue with the included fine tip along with very sharp tweezers to apply the glue to the side of the letters that do not have the protective film removed.
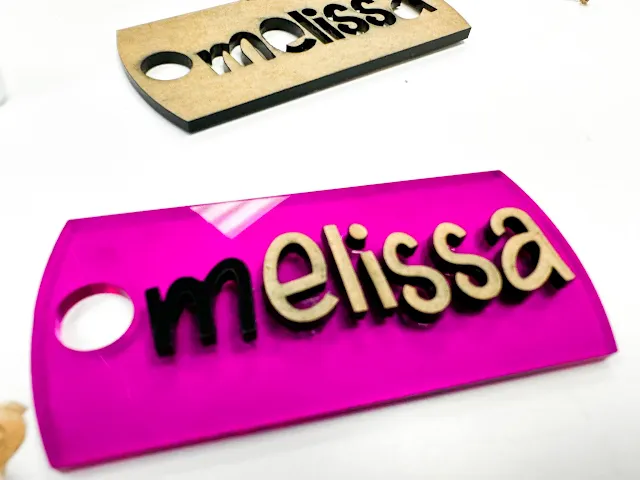
After you adhere each letter, lift up the acrylic piece that's being used as a the guide to make sure it's not being glued to the main tag too...
This glue dries very quickly and will leave smudges if you're not careful so work carefully but quickly.
Give it a good 15 to 30 minutes to cure before using fine tip tweezers to carefully remove the protective film.
Your tumbler lid tag topper is pretty much ready to use immediately.








.png)


No comments
Thanks for leaving a comment! We get several hundred comments a day. While we appreciate every single one of them it's nearly impossible to respond back to all of them, all the time. So... if you could help me by treating these comments like a forum where readers help readers.
In addition, don't forget to look for specific answers by using the Search Box on the blog. If you're still not having any luck, feel free to email me with your question.