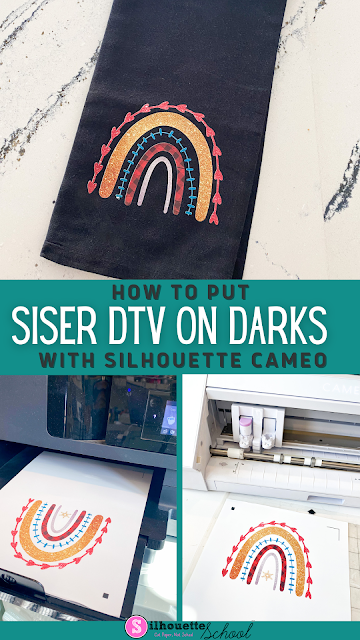
That means no layering and no bulky transfers on your shirt! This beginning tutorial will walk you through exactly how to put Siser Easy Color DTV on a dark shirt or surface using Silhouette CAMEO 4.
How to Set Up Silhouette Studio for Print and Cut with EasyColor DTV
Launch Silhouette Studio and start by adjusting your page size to match your inkjet printer. I'm using an 8.5x11 printer.
From the right sidebar, open Page Setup panel and be sure the Machine is set to CAMEO (Auto), select 12x12" cutting mat, and change the Material Size to "Printer".
Turn on the printer border and cut borders by checking the boxes for Show Print Border and Show Cut Border.
Finally, turn on the registration marks by pressing "M" on your keyboard or toggling the button to "On" on the Registration Marks tab of the Page Setup Panel.
How to Open a Design in Silhouette Studio Work Area for Print and Cut
If you haven't already, open your design into the work area by going to File > Merge. I'm using this Boho Rainbow Christmas design from So Fontsy's Mini Christmas $5 Buck Bundle.
It's easiest to use a SVG file or a PNG file (and keep auto trace turned on in Silhouette Studio). This will help you avoid needing to trace the image to create the cut lines. If you are using an JPEG or PNG that needs to be traced these beginner tracing tutorials will help you prepare you design.
Once the design has cut lines, scale it so it fits inside the print and cut boundaries and will fit on the surface where you plan to apply it.
You also want to make sure no part of the design is touching any of the hashed areas around the registration marks.
Best Printer Settings for Siser EasyColor DTV
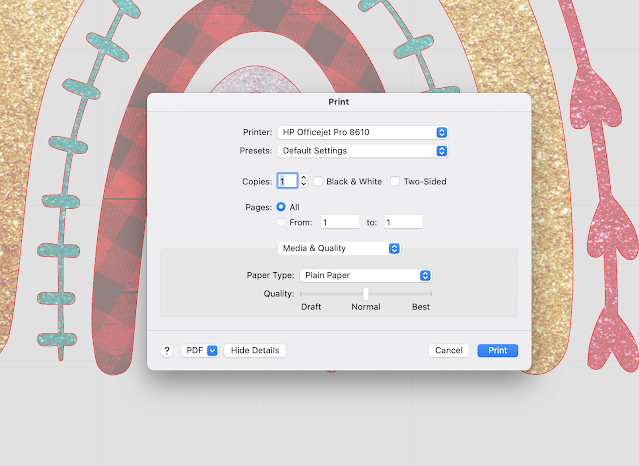
From Silhouette Studio click the "Print" button. Adjust the print settings for "Plain Paper". Usually I recommend putting the quality on "high quality" or "Best" but with Siser DTV that actually lays down too much ink so keep the quality on "Normal".
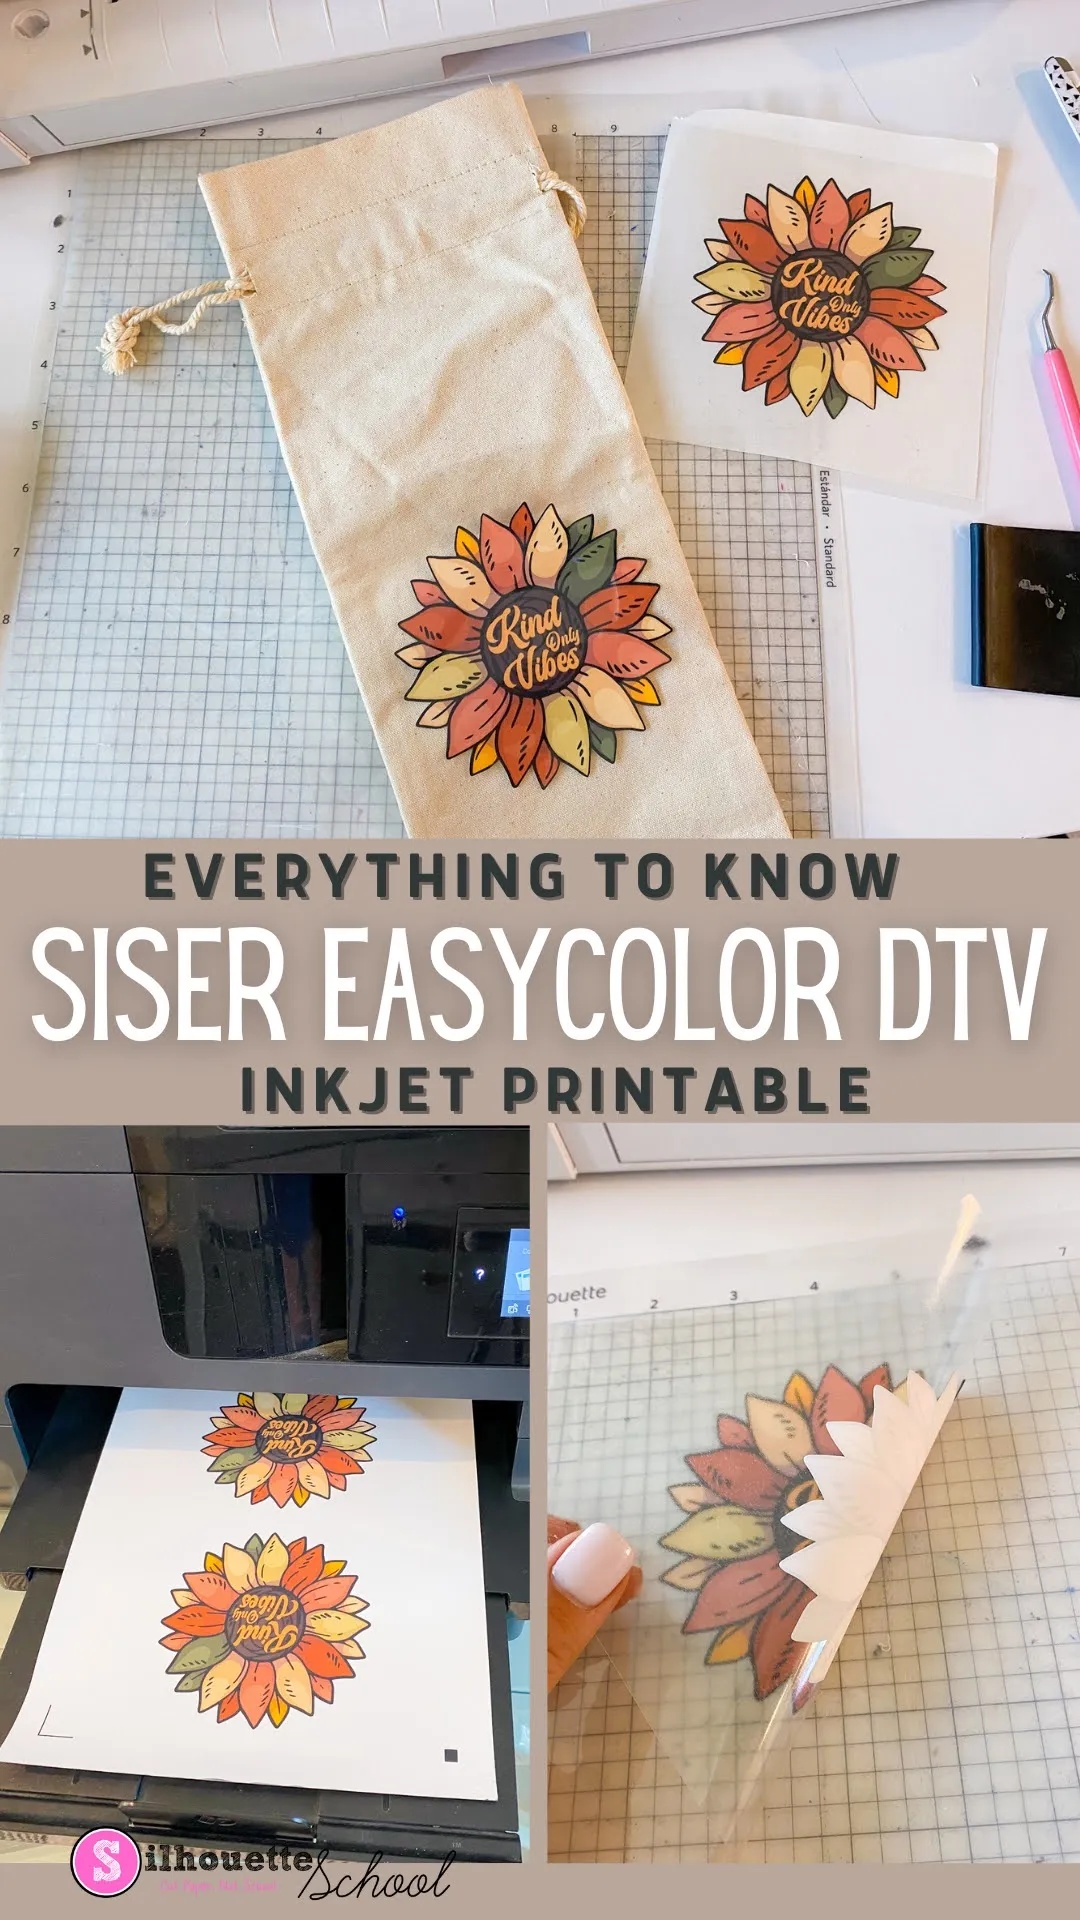
Place a sheet of EasyColor DTV in your printer so it will print on the rougher side of the material.
Best Silhouette Cut Settings for Siser EasyColor DTV
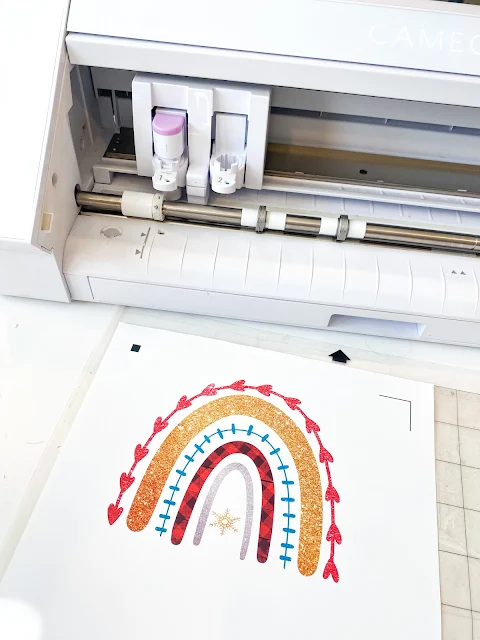
Once the sheet is printed place it on the Silhouette cutting mat and load into the CAMEO 4.
In Silhouette Studio, move to the Send panel and adjust the cut settings. I found the best Silhouette CAMEO cut settings for Siser EasyColor are Blade 3, Force 6, Speed 8, 2 Passes.
From the Send panel send the design to cut.
When the cutting is complete, do not unload the material. Do a test weed to make sure that the cut is complete. You want to make sure the EasyColor DTV has been fully cut through and it's easy to weed otherwise it will peel, stretch, and curl when weeding.
How to Transfer EasyWeed DTV Transfer to Garment
Weed away the excess material around the transfer. Be aware the backing is not sticky so thin areas of the design that are not fully cut through may stretch and come off the backing.
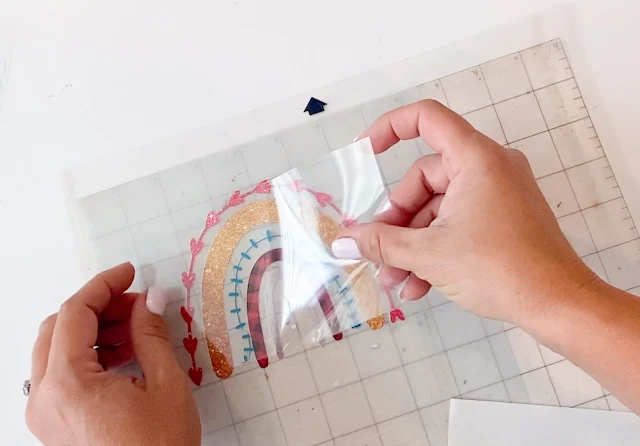
You'll want to use a piece of low tack mask over your transfer to pick it up off the backing and place on the garment.
After covering with the mask, use a scraper to burnish well so you can easily remove the backing sheet.
Place the design face up on your dark shirt or surface. I am putting this EasyColor DTV transfer on a black tea towel.
Have your heat press warmed up to 310 degrees and set to 15 seconds. Press the design with medium pressure and then remove the carrier sheet/mask.
Wait at least 24 hours to wash the garment to help keep the colors bright and bold!
Want to learn more about EasyColor DTV and how to use it on lights and whites? Check out everything you'll want to know about Siser EasyColor DTV!
Note: This post may contain affiliate links. By clicking on them and purchasing products through my links, I receive a small commission. That's what helps fund Silhouette School so I can keep buying new Silhouette-related products to show you how to get the most out of your machine!
Get Silhouette School lessons delivered to your email inbox! Select Once Daily or Weekly.











.png)


So, to be sure I understand: Is this technique done using a plain old regular printer? Or is this some special printer with special ink? I’m super new at this. Thanks!
ReplyDeleteAccording to another Silhouette School Blog post (https://www.silhouetteschoolblog.com/2022/08/what-is-siser-easycolor-dtv-exactly.html), you can use an inkjet printer with water-based ink.
DeleteThanks for the info and link!
DeleteCan you use sublimation ink for this (don't have an inkjet because I converted it) or a color laser jet? TIA!
ReplyDeleteIs there a special mask/transfer tape to use with DTV? You mentioned pressing and then removing the mask.
ReplyDeleteI have the Silhouette Plus that was just purchased for Christmas. I was cutting a phrase and followed the directions to the letter, but the Silhouette didn't cut the image correctly. The cuts and words were not lined up. Any suggestions about fixing this so I'm not just messing up paper?
ReplyDeleteHey there! I would really need to see what's happening to be able to help. Check out this video for help troubleshooting print and cut: https://youtu.be/6rkONiJhmts
Delete