If you've ever tried to make a ready to print HTV transfer you probably very quickly realized it's not the easiest thing to do.
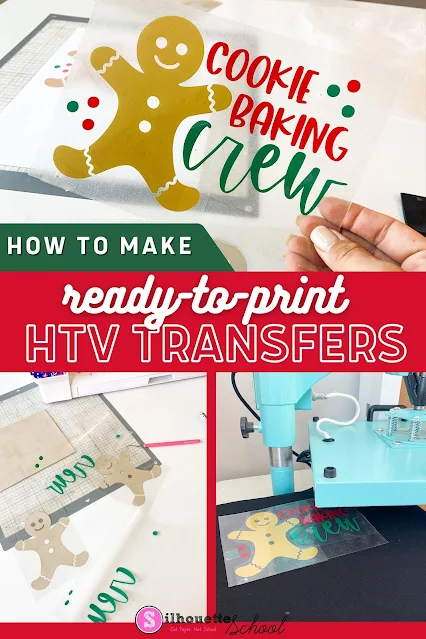
When layering multiple colors of heat transfer vinyl each layer needs to be pressed separately making ready to ready to print transfers challenging. Sometimes though - whether it's to ship a HTV transfer to an uncrafty friend or prepare your shop before the busy holiday rush - making ready to heat press transfers is necessary. In this advanced Silhouette tutorial I'll show you how to make ready to print heat transfers for shipping or storing!
While pretty much any design can be layered as HTV, you want to be selective about those try to pre-assemble.
Ideally you want to create the design or a select designs where the heat transfer vinyl is NOT actually layered which means you need to strategic. It doesn't mean you need to pick single color designs.
I am using a multi color Cookie Baking Crew design from the So Fontsy Mini Christmas SVG Design Bundle, for example, which will work well for pre-cutting, assembling, and pressing later because none of the HTV is actually layered. I would suggest maxing out the total number of colors at no more than 3 or 4.
Also keep in mind there is going to be more wasted HTV involved when making ready to print heat transfers than there would be when layering HTV immediately. If you're going to use the HTV transfers on items you sell later, make sure you factor that into your cost.
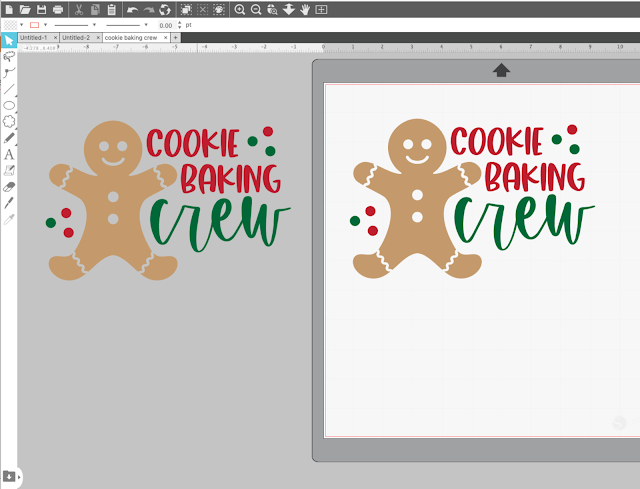
Start by bringing the design into Silhouette Studio. Size it.
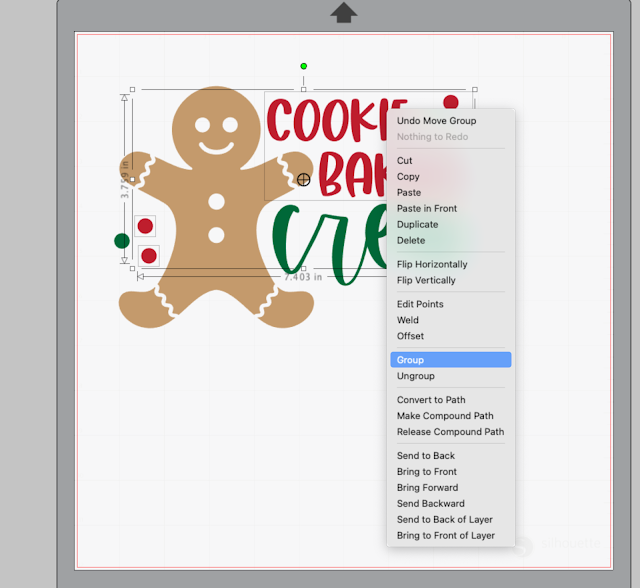
Group the layers by color. You can use the Select By Color tool or just use your mouse to click all like color > Right click > Group.
This design has three color groups: gold, green, and red.
Select the entire design > Right Click > Duplicate. Group the entire copy as a single group. You can move that off to the side for right now.
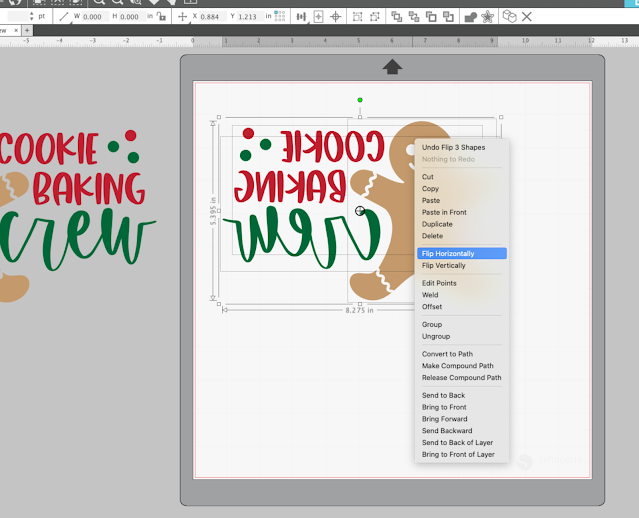
Working with original three individual groups, mirror the entire HTV design by selecting all of the groups > Right Click > Flip Horizontally.
Use the Draw a Rectangle tool and draw a box around the entire design leaving a little bit of room around the outer part of the design as a buffer. This box is ONLY going to be cut with the largest layer - so in this case - red.
You can either keep the entire design assembled and cut by color or you can separate the design and cut in Simple mode. Since I am making make a few ready-to-press HTV transfers, I am going to separate my designs by group and cut all like-colors on the same sheet of HTV.
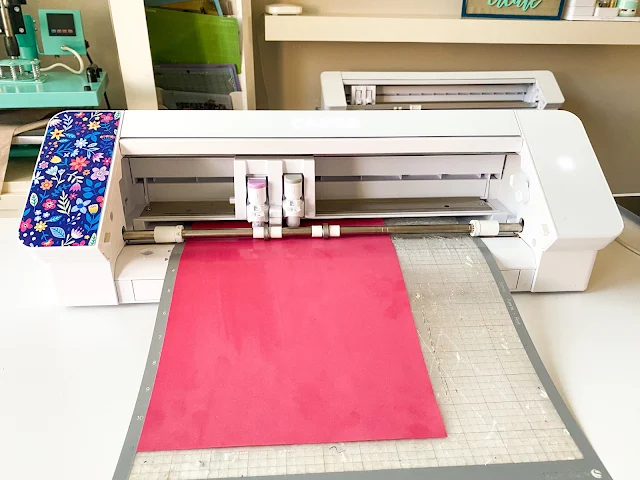
Cut all of the layers out of HTV.
Return to Silhouette Studio and this time move the duplicate copy onto the work area. PRINT (on your home printer) the fully assembled design. This is going to act as a layering guide.
How to Layer Ready to Press HTV for Shipping or Storage
Now you need to pre-assemble the HTV transfers for either shipping or to make precut, ready-to-press transfers.
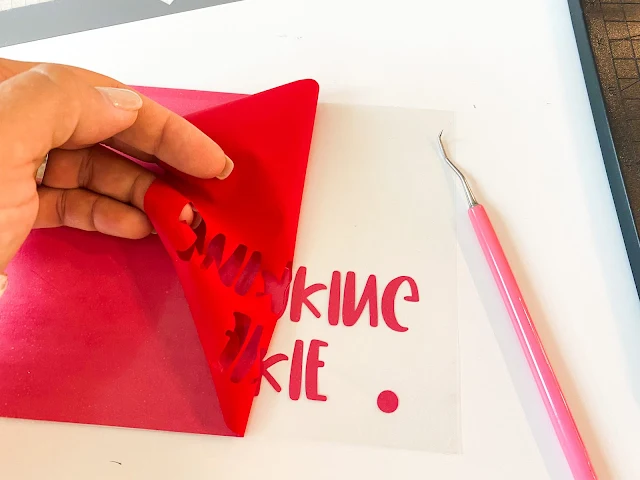
Weed all of the HTV layers as you normally would with the exception of the largest that you drew the box around earlier.
Use scissors then to trim the carrier sheet very close to the HTV. This is important for later so the carrier sheet doesn't get stuck on the multiple layers.
For the biggest layer, use scissors to trim slightly outside the box. Weed away the HTV OUTSIDE of the box.
Then use a paper trimmer to cut directly on the box lines. You're using the box as a guide so you can get a nice clean edge. This just gives the entire assembled transfer a clean, finished look.
Now you can go ahead and weed that piece of vinyl. This is where the wasted material comes in. Again, we need the carrier sheet of this piece to be big enough to cover ALL of the layers.
Grab your printed sheet and lay it down on your work area. I like to work on a cutting mat to keep everything from moving around.
Cover it with a piece of wax paper.
Take any of the layers - except the largest (red here) and start laying them down on the wax paper using the printed sheet underneath as a placement guide.
Make sure the carrier sheet of any of the layers isn't stuck under any areas of HTV. This is really important.
Place the largest weeded sheet of HTV on top.
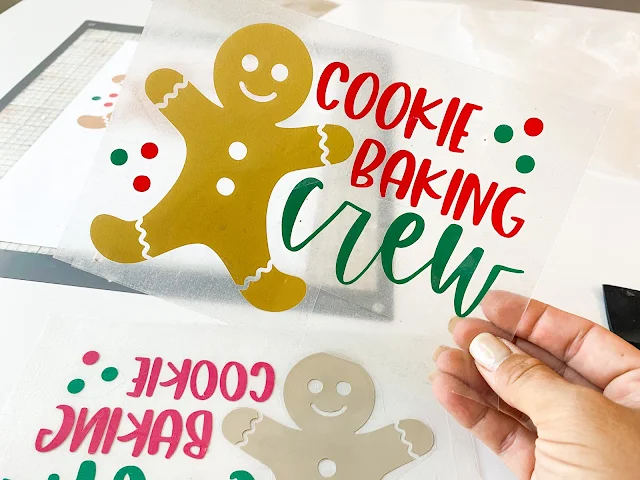
Use a burnishing tool to rub across all of the layers to keep them together. Now you have your entire HTV transfer on the freezer paper.
Peel away the wax paper and you'll see you have created a ready-to-press HTV transfer that you can ship or store for later!
How to Press Pre Assembled and Ready to Press HTV Transfers
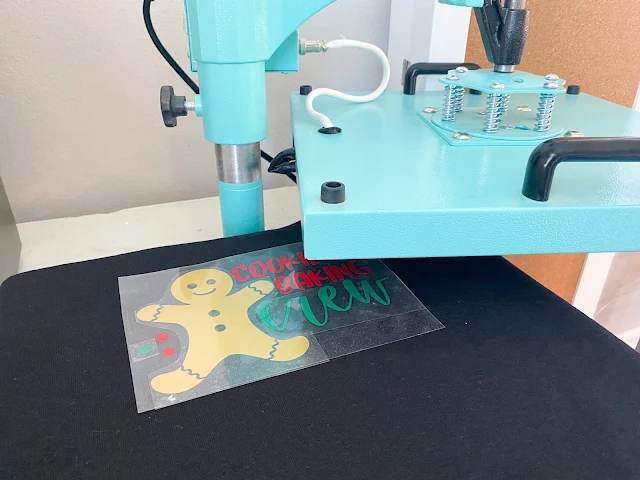
The design can all be pressed as a single design for about 10 seconds to tack all the layers down.
After the first press, peel away all of the carrier sheets. Cover the exposed HTV with a teflon sheet or thin cotton towel and press again for about 10 seconds.
Here's a quick video to show the full process of how to make ready to press transfers with HTV and Silhouette CAMEO.
Now if this seems like a lot of work for one ready to ship or ready to press HTV transfer...IT IS! HTV is labor intensive and layering HTV is even more so! That means making ready to press HTV transfers is really time and labor intensive.
If your business gets to the point where you need to increase productivity, it might be time to consider an alternative such as a white toner laser transfer printer like the Uninet iColor 560 that will print full color, self weeding, ready-to-press heat transfers that are suitable for any color or fabric shirt.
Here's a quick video of that process...
Note: This post may contain affiliate links. By clicking on them and purchasing products through my links, I receive a small commission. That's what helps fund Silhouette School so I can keep buying new Silhouette-related products to show you how to get the most out of your machine!
Get Silhouette School lessons delivered to your email inbox! Select Once Daily or Weekly.












.png)


Do you have any suggestion on storing those ready to press HTV to keep them from collecting dust?
ReplyDeleteHi there! I use page protectors. If you need large ones, scrapbook page protectors work especially well too!
DeleteThanks! That helps a lot!!
ReplyDelete