There's a little known tool hiding in Silhouette Studio V4 and it's gonna blow your mind - especially when cutting script fonts!
Script fonts typically have overlapping areas where the letters meet. If you cut the text this way on your Silhouette cutting machine, you'd get cut out areas in each letter = bad. You can join the letters in Silhouette Studio by welding them together, but the problem with that is once you weld the text is no longer treated as a text, but instead a shape in Silhouette Studio and you can't change the font style = also bad.
The option to Auto Weld was quietly added to the advanced cut settings in the Send panel and - just like "Cut Edge" - it allows you to cut like you've welded the design, without actually committing to a weld.
Both "Cut Edge" in the Send panel and the AutoWeld tool in the advanced Send panel work for designs and fonts, but I'm going to show you how to autoweld using a couple of new script fonts.
Okay so the first thing you want to do is download and install the fonts on your computer so the next time you restart Silhouette Studio they show up.
The fonts I'm using are Beachwood, Mojave Script, and Joyful Letters Script.
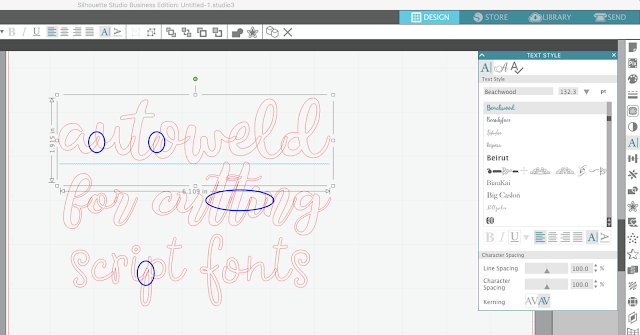
Click the text tool from along the left sidebar or use the Silhouette Studio keyboard shortcut "T" to access the text tool. Type out your text. The text will default to the default font. Just select the text box and from the Font Style panel (accessed on the right sidebar) find the font you want to use. Click it to change the font style of the selected text.
After you type out your text, don't do anything to weld the letters. Instead go to the Send panel. You can see here that when set to "Cut" the lines of the text are overlapping where the characters meet. We want the full word to cut, not the individual letters.
Option 1: Simple Mode "Cut Edge"
In the Send panel by default you'll be in "Simple" mode. If you prefer this mode, you can click "Cut Edge." This will change the cut line placement so only the edges of the design are cutting.
This mimics the cut lines had the text been welded. All the while you're keeping the "text" status so you can edit it later.
Option 2: Advanced Mode "AutoWeld"
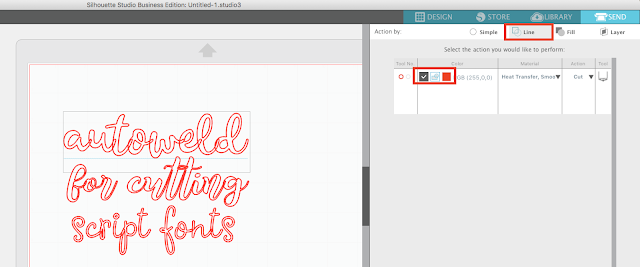
If you prefer to cut from the advanced Send panel, click the "Action by: Line" tab in the Send panel.
In this mode you'll have a box representing all of the different line colors in your work area. In this case we only have red lines.
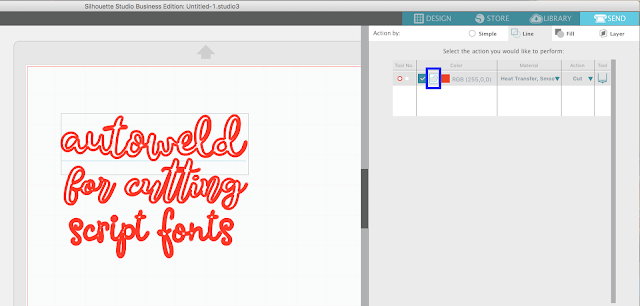
Right next to the color box there's a little box that looks like the weld button - that's the Autoweld. Click it and watch what happens to the cut lines (the same thing that happens when you change to "Cut Edge")!
Silhouette Studio immediately changes where the cut lines are and cuts as if you've welded the text without actually welding. Ah-mazing!
I changed the line color of the text to blue so you could more easily see how the overlapping lines of each letter are ignored when either "Auto Weld" or "Cut Edge" are used.
This Silhouette Studio tip isn't just for text....the Autoweld and Cut Edge option works on design as well.
I created it from three different shapes from the My Little Mermaid set - each with their own border and therefore each with their own cut line. It looks like a giant mess when checking out the cut lines.
But turn on the Autoweld or Cut Edge and instant print and cut!
TIP: When using the Advanced Send panel to autoweld a design or a group of designs, it's best to give them all the same line color before you autoweld. In this case I put a red line around each of the shapes.
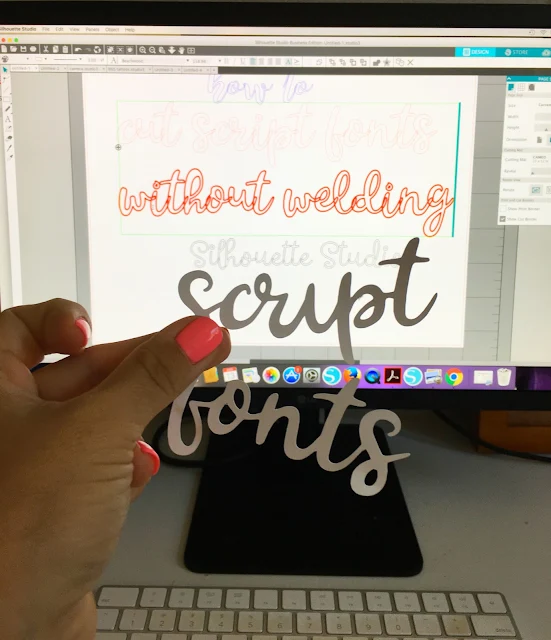
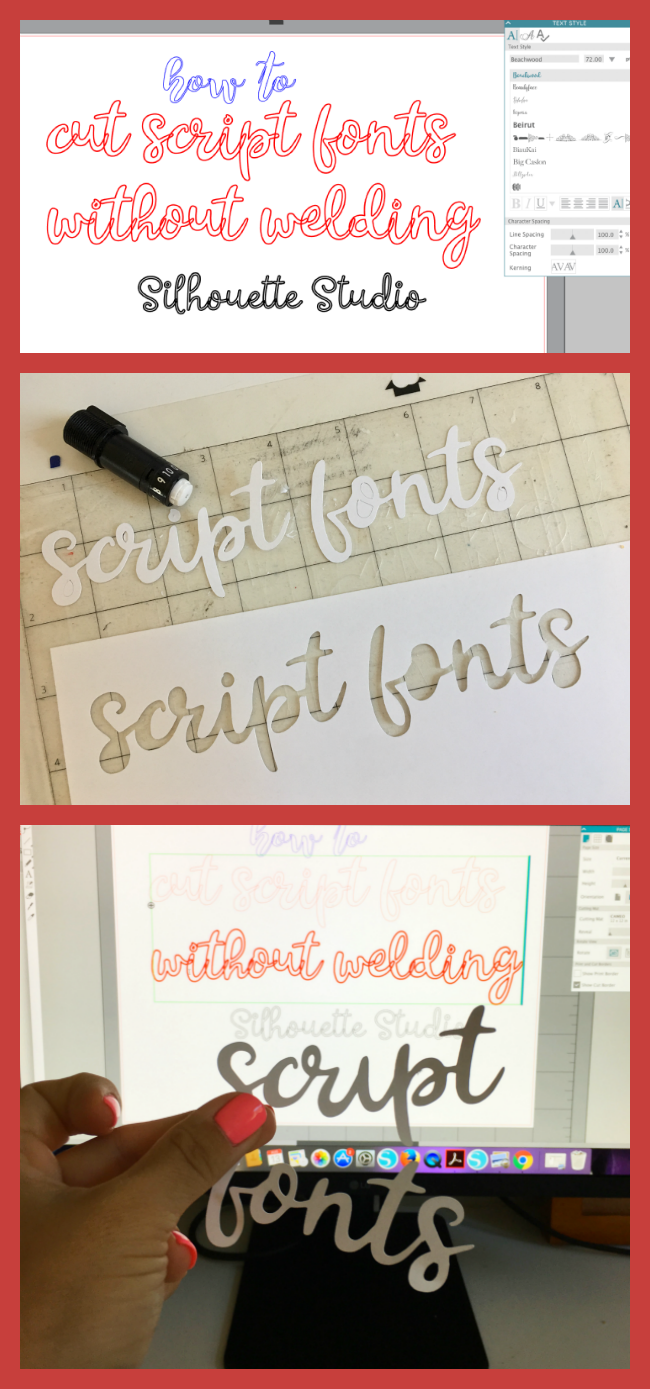
If you liked this Silhouette blog post, pin it (by hovering over the image below) so you can always find your way back to the Silhouette tutorial on cutting script fonts without welding the text!
Note: This post may contain affiliate links. By clicking on them and purchasing products through my links, I receive a small commission. That's what helps fund Silhouette School so I can keep buying new Silhouette-related products to show you how to get the most out of your machine!
Get Silhouette School lessons delivered to your email inbox! Select Once Daily or Weekly.








.png)


This IS a game changer! Thank you so much for posting this!
ReplyDeleteWow, I will be trying this next time. Thank you!
ReplyDelete