So a few weeks ago when I should have been using the 10 spare minutes I had to write another few lines in the ebook, I instead decided to decorate my Silhouette CAMEO. As an original Portrait owner this wasn't possible (come on SA, share the love!), but since I added Ms. Cami to the family in November I've been wanting to make her all purty!
Seriously this couldn't be easier since one of the FREE shapes you get with the Silhouette CAMEO is for the machine's control panel. Have you seen this yet?
Just open up Silhouette Studio. Go to your library and type in "control panel" in the search box.

Ta DA!
There's literally nothing more to do except cut it on paper or vinyl because it's already sized perfectly. Actually, you don't want to resize it or it won't fit on the CAMEO control panel correctly.

So go ahead and cut...I did test cuts on both paper and vinyl. Um...stick with the paper if you have some pretty paper you like! It's much easier in the next steps....
I've had this pretty vinyl for.ev.er and I really needed more of it in my life so I decided I'd give it a try too. I know you're going to ask me where I got it. If you knew how much vinyl I have (just ask my UPS man!) thanks to orders, free samples, and more you'd understand why I honestly can't remember where it came from.
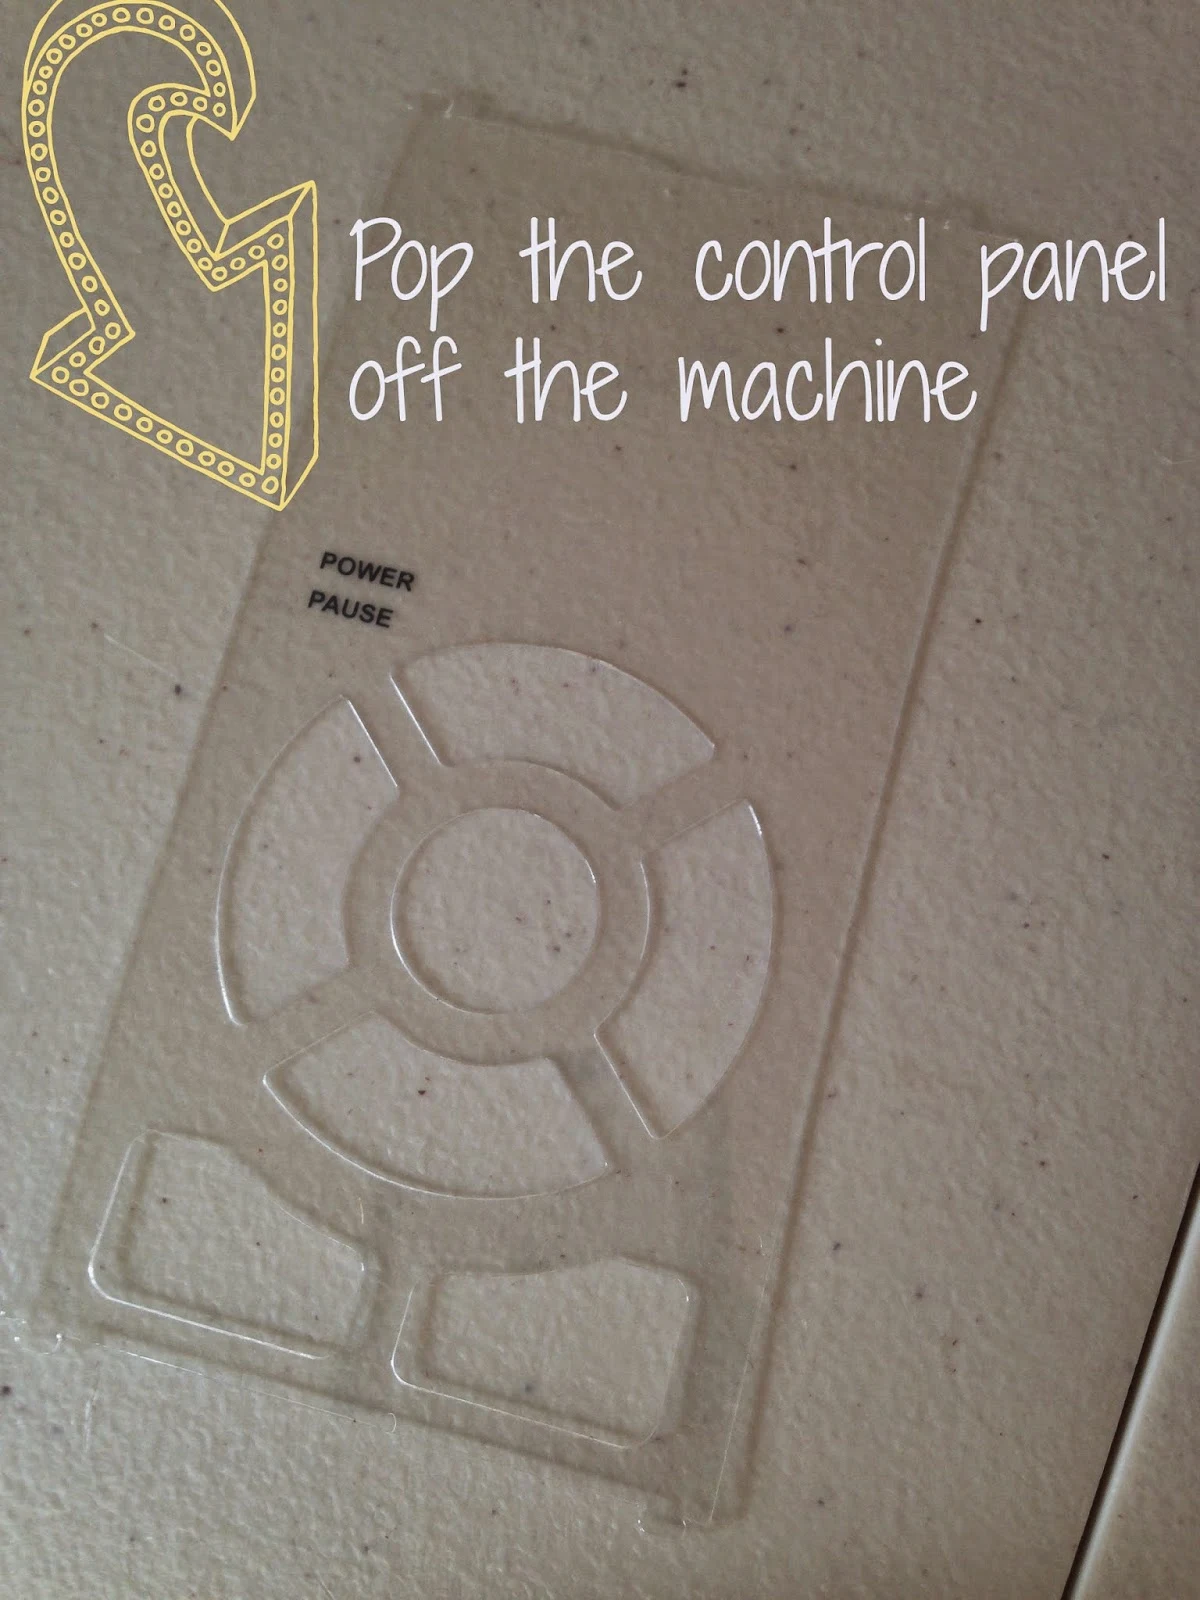
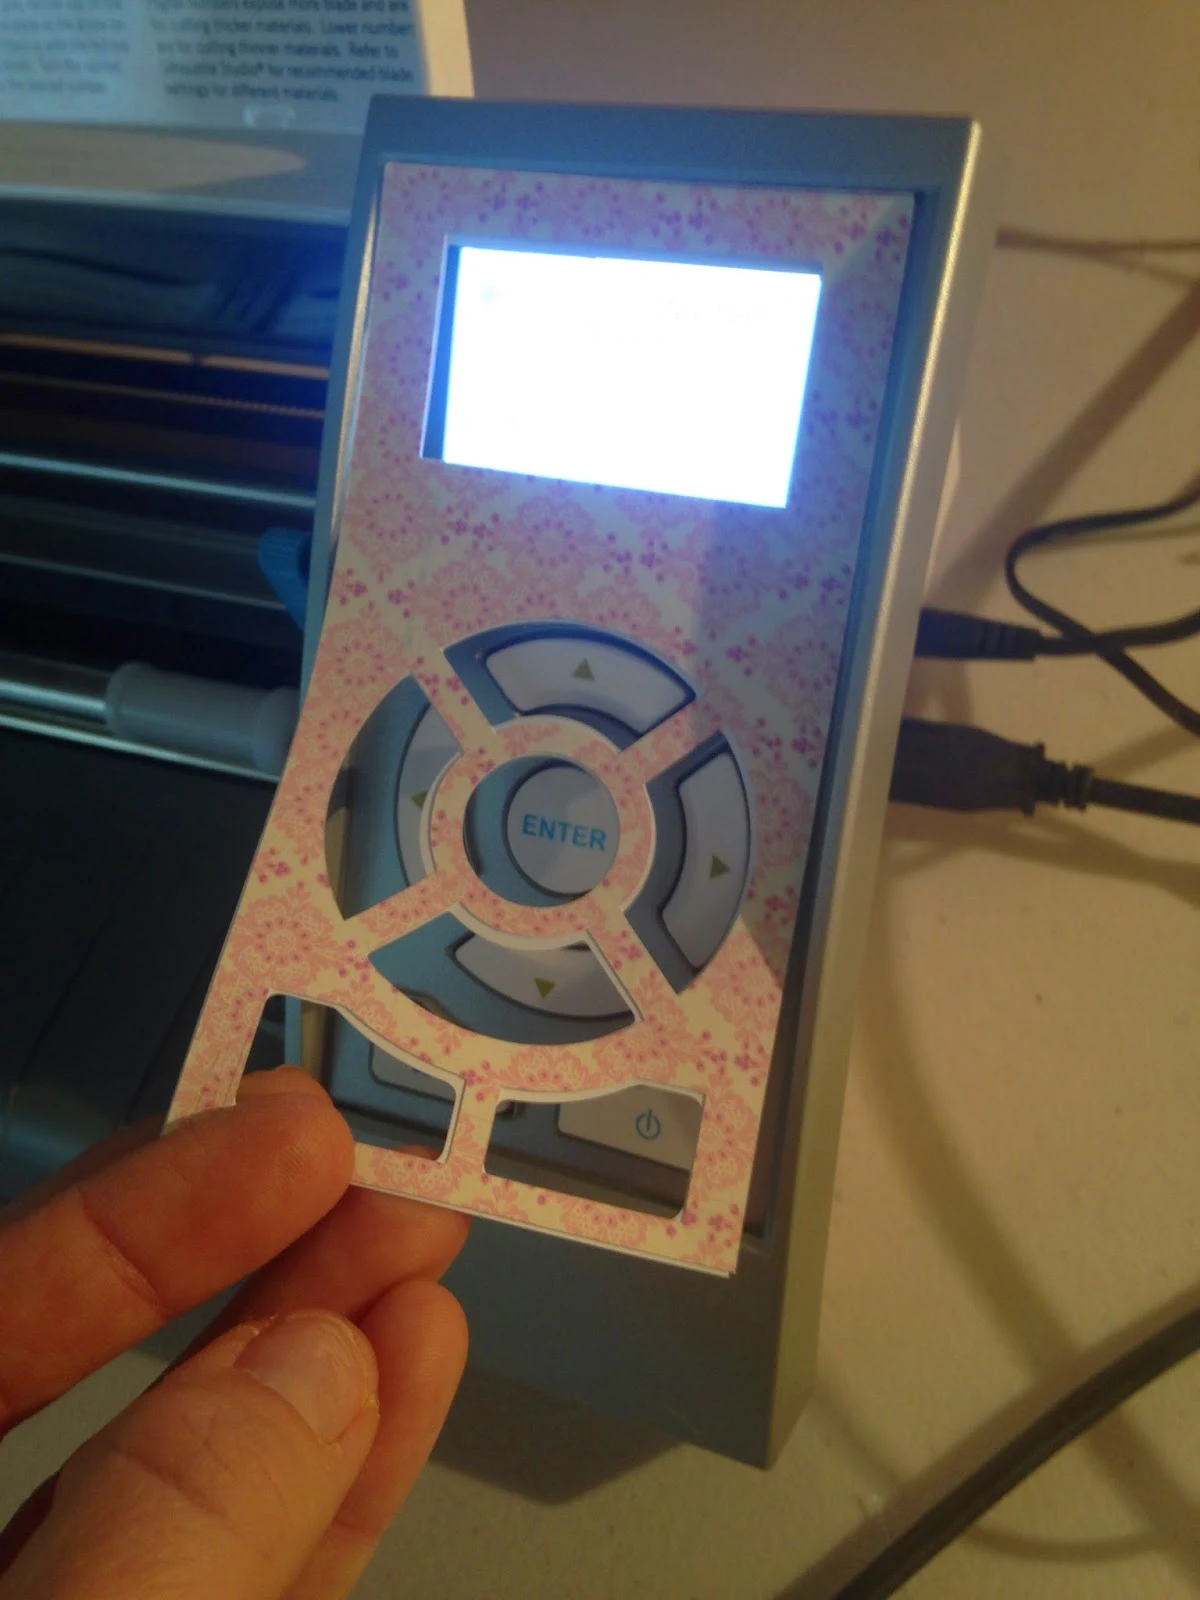
If you cut on paper, you're job is practically done. Just pop off the clear plastic control panel cover..(Didn't know that was there, did ya? I didn't either until my vinyl stuck to it and pulled it right out of place!)
Place the paper piece around the control panel and then put the plastic control panel cover back to hold the paper in place.
 |
| (Sadly, this won't work for the newest CAMEO model since the touch screen replaces the buttons.) |
I actually found the easiest way to put the vinyl onto the control panel cover this was to put transfer tape on my cut design. Then I flipped it over so it was upside down on the table. I then carefully laid the plastic control panel piece right on top. Finally, flip the whole thing over, burnish it and peel off the transfer tape. Sorry not enough hands for a photo op during all that flipping, burnishing, and lining up.
There's not much room for error...but there is a little wiggle room. Mine wasn't perfect (as you can see)...the vinyl hung over the side in one area. I just used an x-acto knife to trim it. Then pop that puppy back into place.
And since that took 8 of my 10 free minutes, I decided to use the other two to cut a little HTV reminder for the inside cover of my CAMEO. I've forgotten to flip my designs more times than I care to admit.
And that's how you decorate your Silhouette CAMEO!
How have you decorated your Silhouette? Leave me some comment love below or share and tag Silhouette School on your Instagram photos.
Note: This post may contain affiliate links. By clicking on them and purchasing products through my links, I receive a small commission. That's what helps fund Silhouette School so I can keep buying new Silhouette-related products to show you how to get the most out of your machine!
Thanks for coming to class today at Silhouette School. If you like what you see, I'd love for you to pin it!


.png)


Conversely, you could leave the backing on the vinyl, treating it like the piece of cardstock and just pop it into place on the control panel!
ReplyDeleteLove, love, love, love your blog! It's the first web site I visit every morning ~ even before I check my email!! I can't wait for your book!! {heart}
Yes! That would work too as long as you cut all the way through the backing of the vinyl! Thanks for being a loyal reader! xo - Melissa
DeleteI'm just shaking my head - I never realized there was a clear plastic panel! lol Gonna decorate my Cami today! LOVE the blog. Look forward to it everyday - and learn something new everyday! Thank you SO much!
ReplyDeleteBe sure to share how you decorated it!!!
DeleteDidn't know about the clear plastic either . . . I've got mine all pinked out--pink vinyl, pink bling on the left side and top/bottom of the right, and pink glittered sayings on the cover.
ReplyDeleteLove learning so much about my Cameo--I visit your blog every day!
Thanks Laurie!!
DeleteLOL, *before* I found your blog, I *always* cut through the backing!
ReplyDeleteOne of the reasons I love your blog ( and I'll bet you hear this TONS) is that despite your blog being named after and focused on SA products, your tips are perfect for use with ALL cutters! {heart}
So do this can change it for seasons and moods but now just going with fave color GREEN...thanks for sharing...love school with you...
ReplyDeleteAbout 5 hours ago, I did just that, forgot to mirror and wasted a whole sheet for HTV!!
ReplyDeleteJust done mine and love it thanks xx
ReplyDeleteThis is awesome, I didn't know that clear plastic comes off either.... SMH. when using vinyl are you using 631 in case you want to change the design on the cameo later. or 651 vinyl? I love your blog very informative and knowledgeable.
ReplyDeleteI did not get the file for the control panel with my 50 free from Silhouette! I looked for it but do not know if I got any free ones when I opened it up. I have about 150 total now, been downloading their free ones and then had a nice credit when I bought it.
ReplyDeleteI did not get it either. Is it one that can be bought from silhouette?
ReplyDeleteHa! I'm glad I'm not the only one who has to ask herself if she mirrored! Only mine is ALOT bigger! I've wasted way too much HTV!
ReplyDeleteWhen you type "control panel" in the Silhouette Store, the option available is a design by Samantha Walker called Scalloped Control Panel and you can buy it for .99 cents.
ReplyDeleteI made the same mistake. Look in your Library and you'll see it; it's part of the designs that actually came already installed on your Cameo.
Deletehahaha...OMG .... I've had my cameo for ..what? ...2 or 3 years now, and I didn't know about the clear plastic panel :-D ...or for that matter what the "strange" cutfile,control panel, was any good for ;-) Thanks a lot, Melissa :-)
ReplyDeleteMind. Blown. I've had my machine for three years now and never realized what that design really was.
ReplyDeleteHello I have now upgraded to version 4.1 and dont see the template for cameo 1...would you mind emailing to me please: annehuffman01@gmail.com thank you
ReplyDeleteWiegjes van rotan worden steeds populairder bij ouders die een stijlvolle, maar duurzame babykamer willen creëren. Deze natuurlijke en milieuvriendelijke wiegen bieden niet alleen een chique esthetiek, maar ook een comfortabele en veilige slaapomgeving voor je kleintje. wieg rotan
ReplyDeleteAwesome site! You’ve some very interesting posts.. Nice background as well haha. Continue the good work, Ill make sure to find to see really your page! Bathroom Remodeling
ReplyDelete