It's Silhouette Challenge time again and this month's theme is DIY Gifts. It's something that's near and dear to my heart as it's what my Etsy and customization business is based on handmade, custom gifts. Today I thought I'd share a really easy tutorial on making DIY ring holders. These are the perfect gifts for ladies for pretty much any occasion - bridesmaids gifts, teacher gifts, a co-worker holiday gift exchange, a neighbor...
While these are transformed into beautiful ring dishes in just a few minutes, they don't start off that way. In fact Target, which sells them for about $2 a piece, has them labeled as dip dishes (the nerve!)
Now you can put any design on the bottom of your ring holder that you want - monograms are always popular or a Mr. and Mrs. design or just a "Mrs." I decided to go with Rings and Sparkly Things. I typed out my design and sized it according to the dimensions of the inside bottom of the
Because the font I went with is so thin, I put a slight offset around it to make it just slightly thicker and easier to cut. If you need a refresher on cutting thin fonts check out this tutorial.
Once the text was all ready I used the circle tool to draw a small circle. I then replicated the circle about 15-20 times. These would be my polka dots. I did not position my polka dots around my design as this would be too hard to place on the rounded inside of the bowl. I place them individually after I put down the big design.
I have cut the ring dish designs in both glitter silver and gold - both available from Expressions Vinyl. The key to cutting such a small design on glitter vinyl is to slow down the speed to help prevent the blade from tearing the intricate design.
Once the design is cut, weed it and cut it apart from the polka dots. I like to use clear transfer tape to move the design into the dish - this way I can see exactly where the design will be placed. Use the Silhouette scraper to burnish the design and then peel away the transfer tape.
You can use that same piece of transfer tape to pick up a few polka dots at a time and randomly put them along the inside sides of the ring holders.
How cute is that? I just love it..in fact I can't keep them in stock!
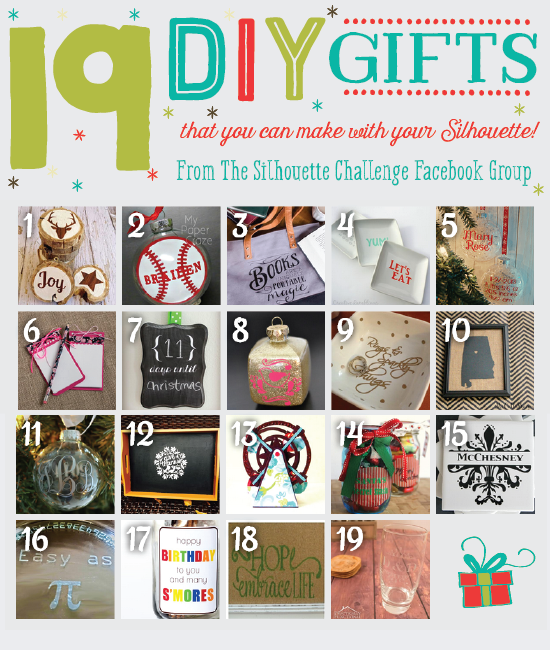
Planning to put your Silhouette to work this holiday season? Check out these other awesome DIY gifts created by my fellow Silhouette Challenge friends!

1. Get Silvered // 2. My Paper Craze // 3. unOriginal Mom // 4. Creative Ramblings // 5. Chicken Scratch NY // 6. Pitter and Glink // 7. Ginger Snap Crafts // 8. Architecture of a Mom // 9. Silhouette School // 10. McCall Manor // 11. Just a Girl and Her Blog // 12. Weekend Craft // 13. Rutchee Design // 14. Adventures in All Things Food // 15. My Favorite Finds // 16. Please Excuse My Craftermath // 17. Simply Kelly Designs // 18. Dragonfly & Lily Pads // 19. Practically Functional //
Note: This post may contain affiliate links. By clicking on them and purchasing products through my links, I receive a small commission. That's what helps fund Silhouette School so I can keep buying new Silhouette-related products to show you how to get the most out of your machine!
Thanks for coming to class today at Silhouette School. If you like what you see, I'd love for you to pin it!


.png)


What font is this? thank you
ReplyDelete