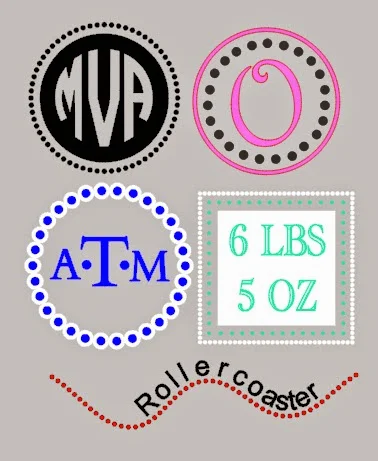
There are actually three different ways to turn shapes into polka dot outlines and I'll explainall three here.
The first method requires Silhouette Studio Designer Edition. The rhinestone feature is honestly the easiest way to change anything into a polka dot pattern. If you can get passed the idea that rhinestone templates are only for rhinestones, you'll open up a whole new designing world for yourself. Check this out...
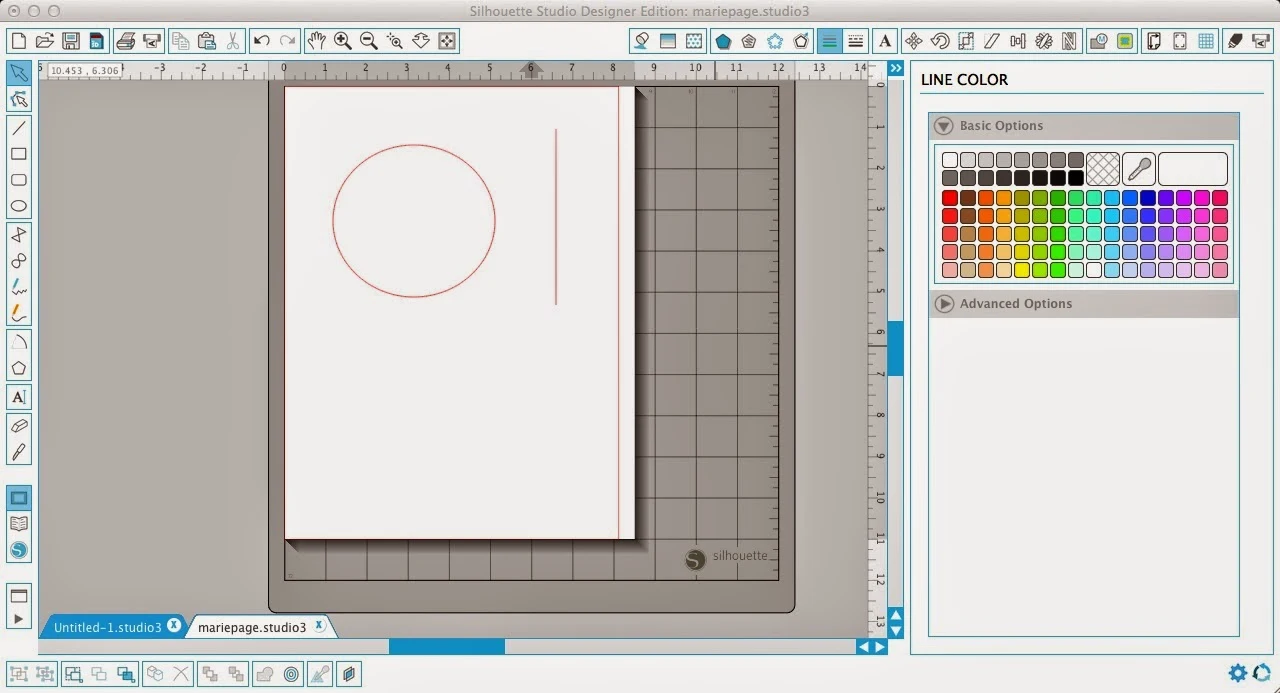
Start by drawing a shape.
Select the shape and click rhinestones (circled). Done and done. (I filled in the circles so you could more easily see the dots)
In just one or two clicks you have a shape that's made now polka dots. On my printable chalkboard, I used the rhinestone feature to turn straight lines into polka dot lines. Easy peesy.
Now, if you don't have Designer Edition, you're not left out in the cold. You can create polka dot shapes, too. There are a few more clicks involved, but the process is also very simple.
Again, start by drawing out your shape. Select the shape and then from the line style window click the first dotted line below the solid line.
Moving down the window, in both the Corner Style and End Cap options
select 'rounded'. Finally, adjust the line thickness to create smaller
or larger polka dots.
Be sure to either 1) give your polka dots a line weight or 2) check the box "Print Lines of Selected Shapes" at the very bottom of the window. If you do not do either of these last steps, your polka dots will not print in a print and cut.
And the third option is to create polka dot shapes - specifically circles and squares in PicMonkey and then trace the design in studio. The polka dot circle and square can be found in the Overlays > Labels category of PicMonkey. Click here for more details on how to import and trace PicMonkey designs in Silhouette Studio.
Layer polka dot outlines over solid shapes or make offsets to really take your designs up a notch. The possiblities are about as endless as the polka dot craze!
Note: This post may contain affiliate links. By clicking on them and purchasing products through my links, I received a small commission. That's what helps fund Silhouette School so I can keep buying new Silhouette-related products to show you how to get the most out of your machine!
Thanks for coming to class today at Silhouette School. If you like what you see, I'd love for you to pin it!


.png)


