The best I could come up with was to have the girls all bring their dolls and as a craft/activity they could all decorate little shirts or bags for their dolls. The problem I kept running into was "but we're at an ice cream shop." I wouldn't have access to an outlet for an iron to make HTV shirts on the spot and I didn't want the girls using paint - it would be too messy and there would not be enough time for the paint to dry. So thanks to a brainstorming session with some of my buddies in the Silhouette Challenge group, I came up with the idea of HTV shirts that could be decorated/colored in with fabric markers.
I started by ordering the doll shirts. I purchased them from Punch Place Plus. They come in a bunch of fun colors, but becuase I planned to have the girls color the shirts with markers I skipped the darkest colors like black and dark pink thinking the markers may not show up as well.
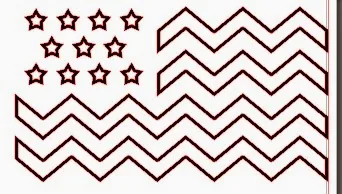
Before I cut my HTV I had to make the designs. I went with designs that I already had in my library. Many of them were free designs that I've picked up from the Silhouette Online Store's weekly freebie or from download cards that come with the starter kits - like the cupcake and the butterfly. A few others I had purchased for other projects like these arrows. Now here's the thing...the flag, LOVE and and 'hello' are cute and all, but what's the fun in them for the girls? Not much since there's nothing to color in. This is how they would have looked if I had left the designs in their orignal state and cut them out of black HTV.
To turn the design into 'coloring book style' I had to do some offsets so I could get just the outline of the design. Here's how I did it.
First I brought the designs into a work space. I selected each individual design and made either an offset or an internal offset. For example, the flag I made an internal offset by clicking Offset > Internal Offset > Increasing distance to .069 > Apply. Then I selected both the original design AND the offset and made it a compound path (Right Click > Make Compound Path). This is what it will look like when it cuts now. (Obviously I'll just weed out the middle off the stars and the stripes....all parts in white in the image two below.)
But do you see how much more space it gives for the girls to color?
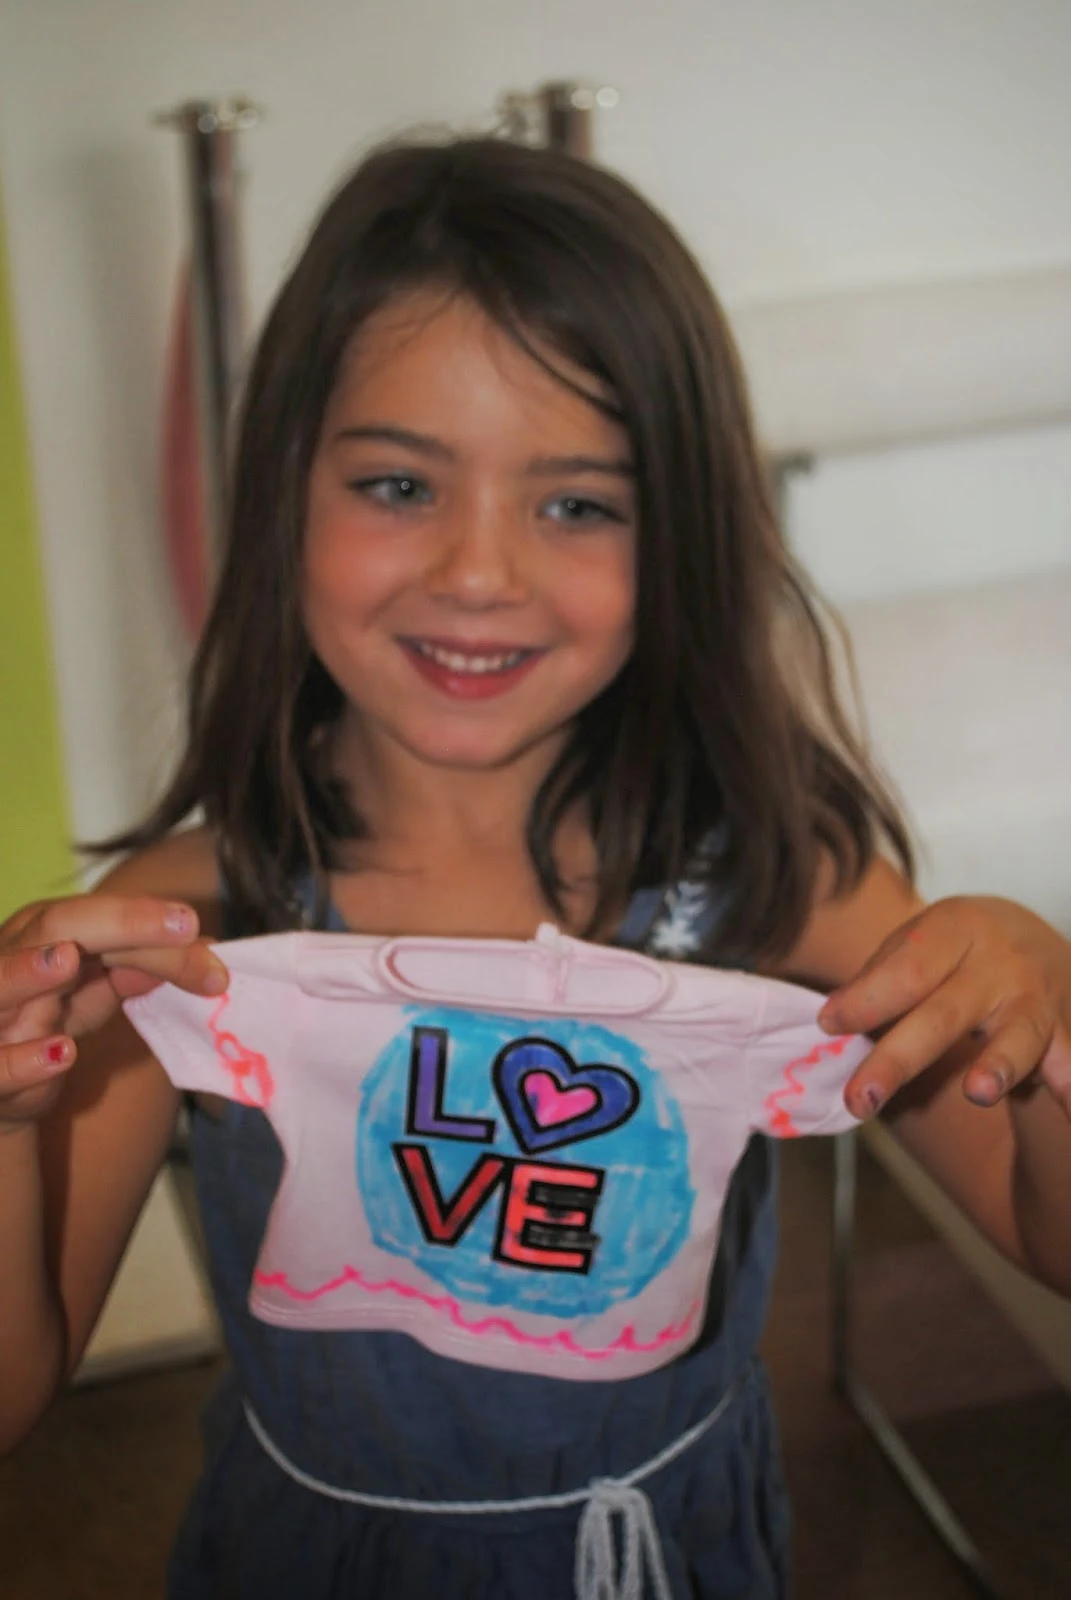
For the LOVE design I actually did an offset for the LVE and an internal offset for the heart. I placed another heart inside there and repeated the same process. This is the look I got....and here it is on the shirt.
After I repeated this offset or internal offset process for all of the designs, I resized (AND MIRRORED) each of the designs so that they were each about 2.5 square inches. The doll shirts are small so if you're using this technique for doll shirts or mini bags, just be aware of how much room you have to work with. The nice thing about having small designs is that all 15 fit on the single sheet of black HTV that Happy Crafters sent me for free...you can get a free sheet, too! (If there's no 'add to cart' button, they're out of stock at the moment.)
I cut all the designs at the same time and then weeded...and weeded..and weeded some more. Then it was time to iron the HTV onto the shirts. If you're not familiar with working with HTV, check out my beginner lesson on Heat Transfer Vinyl to get the low down.
And here they are...all ready for fabric markers! I got the Fabri Mark Markers in Primary and Neon colors. (Heat sets the ink to make it permanent.)
The girls (and the boy) loved it!!
And I couldn't leave my little guy out. But since he's more into super heroes than dolls...I made him a shirt, too.
Note: This post may contain affiliate links. By clicking on them and purchasing products through my links, I received a small commission. That's what helps fund Silhouette School so I can keep buying new Silhouette-related products to show you how to get the most out of your machine!
Thanks for coming to class today at Silhouette School. If you like what you see, I'd love for you to pin it!


.JPG)


.png)


No comments
Thanks for leaving a comment! We get several hundred comments a day. While we appreciate every single one of them it's nearly impossible to respond back to all of them, all the time. So... if you could help me by treating these comments like a forum where readers help readers.
In addition, don't forget to look for specific answers by using the Search Box on the blog. If you're still not having any luck, feel free to email me with your question.