It may disguise itself as a "label printer," but the iColor 250 is a what I call a magic sticker printer because of what this little machine can do!
You can print and cut continuous rolls of stickers - either the same stickers or sets of stickers. Read on for how to do this.
In this tutorial we're going to print a roll of stickers that are all the same. I'll do another tutorial that includes different stickers on the same roll.
Open the iColorCustomCut software. It's both MAC and PC compatible and included with the iColor 250 sticker printer so..yay for that!
Start with the default 4.25" width x 4" work area when setting the page size in the Document window.
Open your sticker design by going to File > Import.
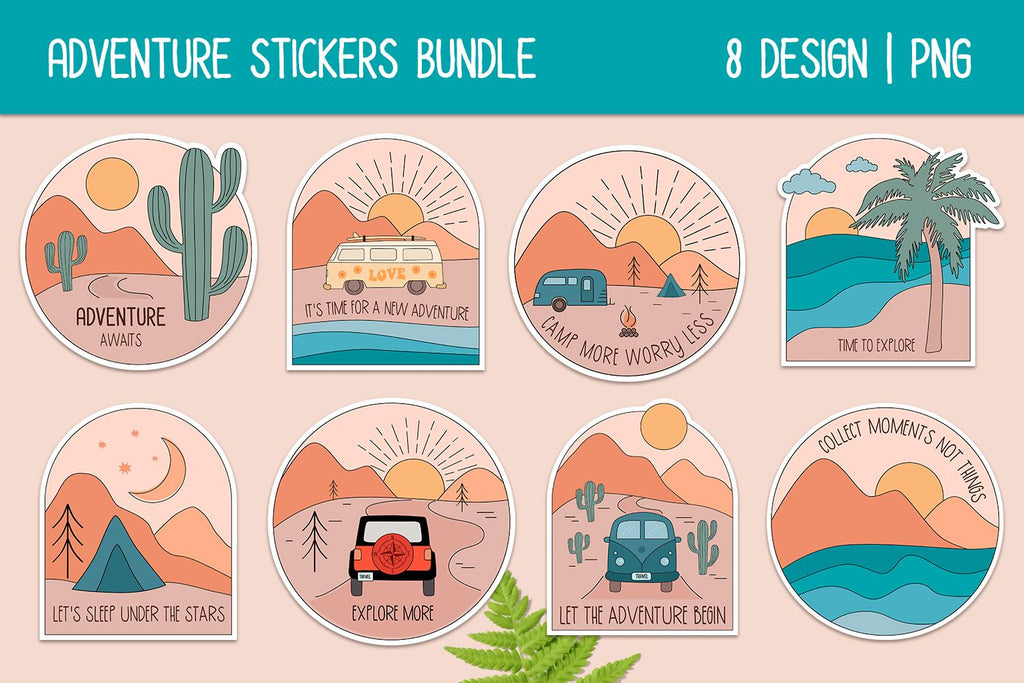
I'm using PNG files from this adorable camping sticker set for this tutorial.
Right click > Transform > Scale to size the sticker design.
Creating Contour Cut Lines for iColor 250 Sticker Machine
To create the cut line, select the image and click the Trace tool - it's going to automatically find your design and trace around it. Don't worry if it's not picking up the white border around the sticker. We'll add that in the next step.
Click 'Ok' so the cut line is generated.
Go to the Path menu > Offset Path. Set the offset distance to 0.1" (or whatever border size you want). This moves the cut line out to create a white border border around your sticker.
iColor 250 Settings for Printing Sticker Rolls
But how do you make 1 sticker into a roll of stickers, you ask?
It's all about the printer settings!
Click the Print tool along the top tool bar to open the Print setup options..
Select your iColor 250 from the printer list.
Change the number of copies to however many copies of the sticker you want on your roll. I am going to go with 10.
PRO TIP: The reason I do it this way, instead of putting 10 copies of the sticker on my design area is because the printer will print what's on the work area first then cut what's on the work area...then repeat for each subsequent copy. So if you have one image it will print one image and cut that image, then go to the next copy.But if you have 10 images on the work area it will print all 10 then feed all the way back to cut. Because there are not registration marks to keep the printing and cutting aligned, with that many copies the alignment and calibration can get "off".
Move to the Printer Options and click the little "info" icon to open up the print quality options. Make your selections here between speed vs quality and also the type of material you're printing on.
For Color Matching you'll want to pick the type of material you're using.
These were my settings for this print. You can learn more about selecting the best print settings when printing stickers on your iColor 250 in this video.
Setting up Continuous Sticker Roll Output
This is the KEY to making actual rolls instead of individual stickers..and we want to make sure we have the sheet cut feature set correctly or the printer will cut between our stickers interrupting the roll.On the third tab make sure you're on "Continuous" mode.
Also change the Output settings so "Cut after button press". This prevents the iColor 250 from sheet cutting until you're ready.
Now you're finally ready to hit "print" and watch your roll stickers print!
For these 4" stickers in high quality print mode, it took about 30 seconds each to print and cut on the iColor 250 sticker printer. Once all the stickers are done, you can click "Feed" to sheet cut the end of the roll and you've got yourself a sticker roll!
Note: This post may contain affiliate links. By clicking on them and purchasing products through my links, I receive a small commission. That's what helps fund Silhouette School so I can keep buying new Silhouette-related products to show you how to get the most out of your machine!


.png)


No comments
Thanks for leaving a comment! We get several hundred comments a day. While we appreciate every single one of them it's nearly impossible to respond back to all of them, all the time. So... if you could help me by treating these comments like a forum where readers help readers.
In addition, don't forget to look for specific answers by using the Search Box on the blog. If you're still not having any luck, feel free to email me with your question.