After unboxing the desktop craft laser engraver and cutter you’ll need to assemble the exhaust tube, the cutting blade, and install the software. In this tutorial I’ll walk you through all of those steps so you can get ready to do your first laser engraving.
If you haven’t already checked out my XTool M1 unboxing video, you can watch that here to learn about what comes with the 10w laser engraver..and get a good laugh (because I had quite a few bloopers in this video…and well I left them all in the video for you!).
There’s three parts to setting up the XTool M1. We’ll start with the exhaust tube assembly.
How to Install the Exhaust Tubing on xTool M1
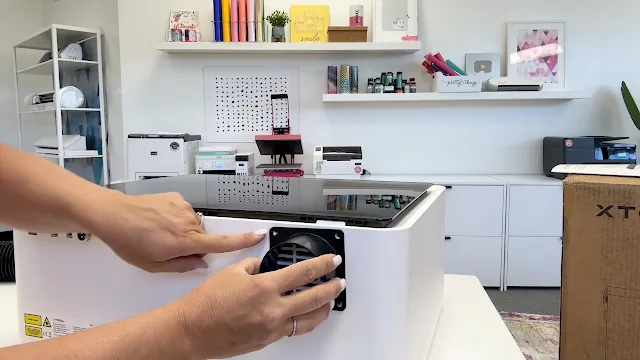
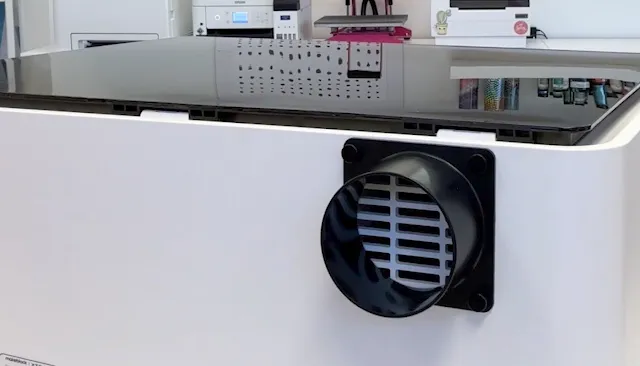
Grab the black tubing, the round silver clamp, the four small black screws and the black tubing attachment.
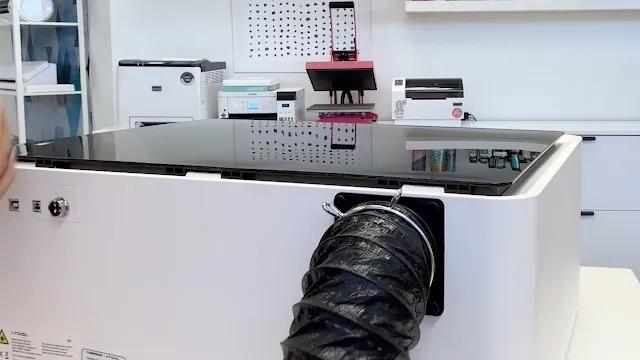
The tubing attachment is attached to the back of the M1 where the filter is. The holes on flat side of the attachment line up with the four holes around the filter.
The tubing attachment is attached to the back of the M1 where the filter is. The holes on flat side of the attachment line up with the four holes around the filter.
Use the small black screws to secure it in place.
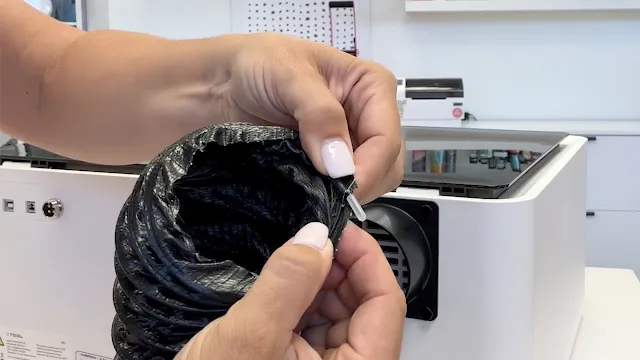
Grab the tubing and from one side you want to pop out this small piece of the wire end so it’s exposed. It’s covered with a plastic cover and will be tucked up inside the tubing so just find it and kind of pop it out. That’s going to make it a lot easier to fit around the tubing attachment.
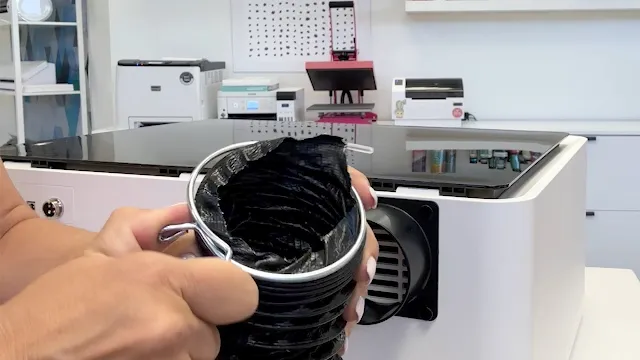
Before you attach the filter tube to the filter attachment, take that silver clamp and squeeze it to expand it then slide it on the end of the tubing and release it. This is going to eventually hold the tubing in place.
As you slide the tubing onto the black attachment move the silver clamp up so it secures the tube so it stays attached.
How to Set Up the xTool Blade
Next we need to set up the cutting blade, because along with engraving, the M1 can also cut vinyl, HTV, paper and sticker material.
The blade holder comes inserted in the machine, but not with the blade installed.
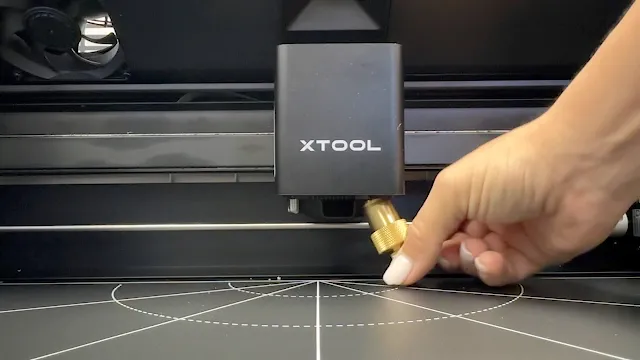
The blade holder is just held in place by what feels like a magnet, so you can easily pop out the gold blade holder.
The blade holder comes inserted in the machine, but not with the blade installed.
The blade holder is just held in place by what feels like a magnet, so you can easily pop out the gold blade holder.
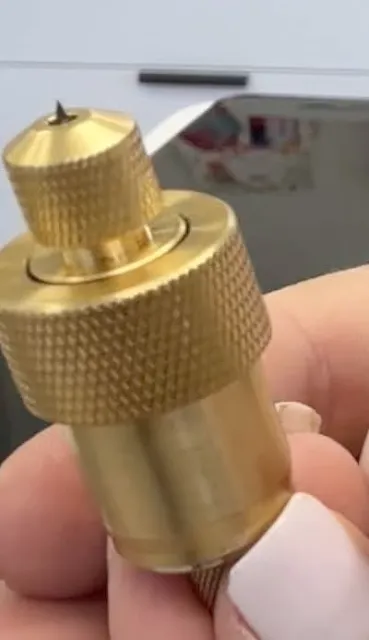
Grab the 5 pack of 45 degree blades that come with the Xtool and remove one from the pack. The side with the red cover is the blade side. You can carefully remove the red cover to expose the blade. The other end should be inserted into the larger end of the blade housing.
Use one hand to hold the area around the blade steady while you twist the opposite side of the blade housing to reduce the amount of the blade that’s exposed. You only need a small amount of the blade exposed - about the thickness of a credit card.
Now you can pop the entire blade holder back into the blade carriage.
Powering On the XTool M1 and Connecting to the Computer
Before we install the software, we’ll need to power on the machine. Connect the two parts of the power cord and plug into the back of the xTool M1 and into a power source. You can also connect the included USB cable in the back of the machine as well. The other end will connect to your computer. Press the power button on the back. The XTool is powered on when the toggle button on the back has the side with the line pressed down.
There’s also another power button the front but you don’t need to power that on yet.
The Xtool Creative Space software works on both MACs and PCs. It’s fast and easy to install. You can download the XTool software here and then follow the on-screen prompts to complete the installation.
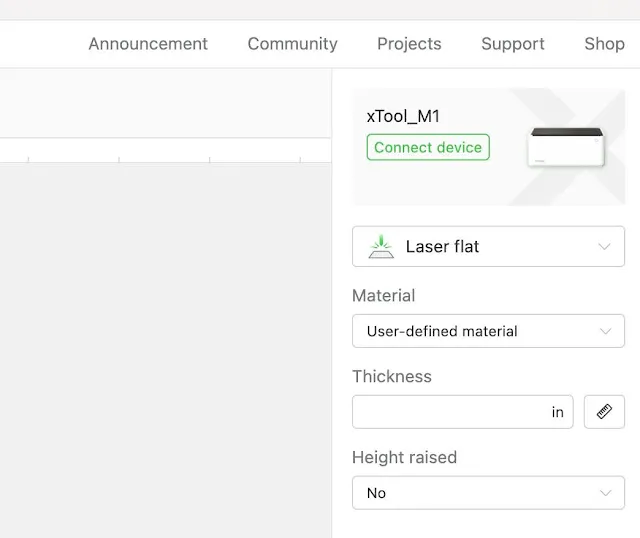
Once you finish the installation and launch the software, connect the USB cable from the Xtool to your computer. You’ll have the option to Connect your machine by pressing “Connect Device”. Select the machine that’s found to complete the connection.
You can also connect your XTool M1 by wifi. To set up the XTool M1 Wifi connection, connect by USB then click the small gear icon. On the pop up window go to the WIFI panel and select your network and enter your password.
Now that your XTool M1 Laser Engraver is all set up you’re ready for your first laser engraving.






.png)


No comments
Thanks for leaving a comment! We get several hundred comments a day. While we appreciate every single one of them it's nearly impossible to respond back to all of them, all the time. So... if you could help me by treating these comments like a forum where readers help readers.
In addition, don't forget to look for specific answers by using the Search Box on the blog. If you're still not having any luck, feel free to email me with your question.