Silhouette School monthly contributor, EllyMae with Silhouette Secrets+, is here to show you how to use the Reveal option on the Page Setup Panel when designing and cutting with your Silhouette.
Using the Reveal Mat Feature in Silhouette Studio
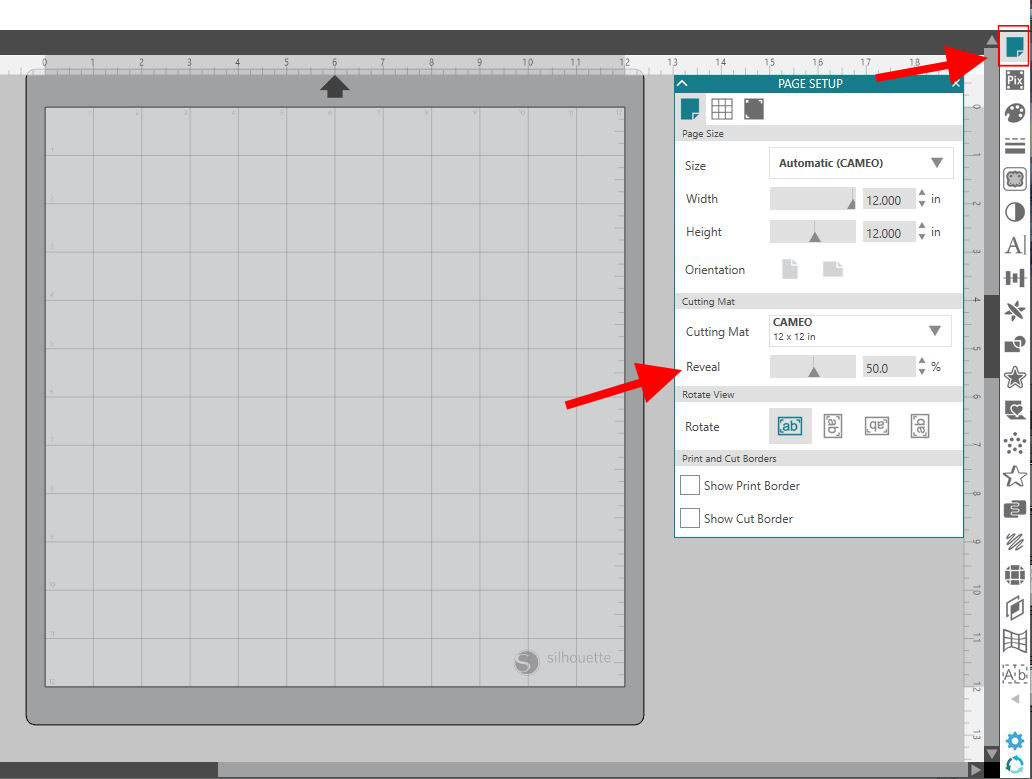
In the Silhouette design software, on the Page Setup Panel (top right icon) the Reveal option is found under the Cutting Mat section. When used, the grid lines are revealed on the virtual mat in Silhouette Studio. Each box indicates 1 inch - just like on the actual Silhouette cutting mat.
There are 3 ways you can change the percent of the reveal.
- Use the slider bar to increase or decrease the percent.
- Highlight and type the number in.
- Use the arrow button on the right side to increase or decrease percent.

As you increase the percentage number, you will see the grid area of the mat show through and the white page disappear. The grid lines and numbers you see on the design screen, match exactly with your Silhouette cutting mat.
Each person is going to have their preference on how it looks when you are designing. Melissa likes to have the white background showing when designing, while I tend to have my design mat revealed 100% so I can see my cutting mat lines. There is no right or wrong way to do it, whatever works for you and having the option to change it is a great feature of the software.
Matching Grid Lines on Virtual and Silhouette Cutting Mats for Cutting
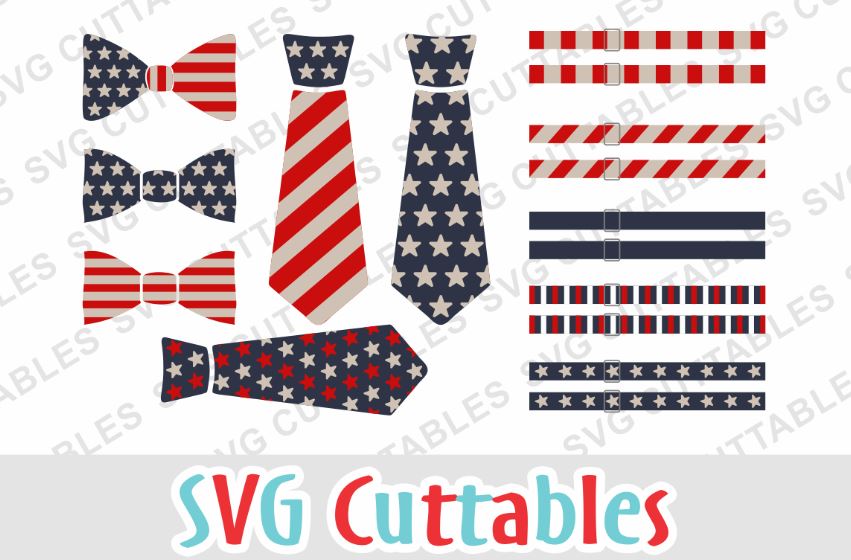
So, how does this help? I find that revealing my mat, I can use scraps or cut my pieces of material down and fit all the colors of a design on one mat to send it through to cut at the same time. I am using this Fourth of July Ties and Suspenders by SVG Cuttables from the May bundle at SoFontsy.

First, place the design on the cutting mat and move the pieces around on the mat where you will place the material to cut.
Once I have the design on the mat, I can then see with the grid lines revealed where my pieces will fit, how much of each color I need for each piece and see where to place the material on my cutting mat to have it cut all at one time.

I used the Draw a Rectangle to draw out the red boxes above to easily see the material area. Then I can place the material on the cutting mat exactly how it is on the design screen.

Don't forget if you are cutting HTV to flip your image! In this case, the design is symmetrical so either way is fine.
Load your mat next to the line on the left side with the 2 arrows pointing at it. Loading the mat in the proper location will line up the Silhouette Cameo grid spacing on the cutting mat, exactly how it is on the design screen.

In the Send panel, set the cut setting for the material type and click on Send.

I now have all the pieces for my suspenders at the same time with one send through the Silhouette machine. Now, let's do the same thing with the ties.

First, measure and decide on the size for each tie.

Then, arrange the pieces of the ties by color on your design mat.

The yellow boxes above are to show the material dimensions to place on the mat only and will not be cut. Next, measure your material, cut down to size if needed and place the material on the cutting mat exactly how it shows on your design mat - covering the same squares.

I am cutting HTV so the backing of the white & red are white. On my mat from left to right are white, red and blue HTV that I have lined up with the grid lines that show on my design mat.
Flip the design for HTV, set your cut settings for your materials, load the mat next to the line on the left and send through the machine all in one cut.

Now all the pieces for the two designs are cut out on one cutting mat and I've only had to send through the Silhouette machine one time. Here are both of the designs I cut out in HTV.

This process will work for any material that you are cutting with your Silhouette machine. Check out how I used this same technique with adhesive vinyl at SilhouetteSecrets+
Note: This post may contain affiliate links. By clicking on them and purchasing products through my links, I receive a small commission. That's what helps fund Silhouette School so I can keep buying new Silhouette-related products to show you how to get the most out of your machine!
Get Silhouette School lessons delivered to your email inbox! Select Once Daily or Weekly.


.png)


Hi, thanks for your great guides. I got a question, when drawing the rectangles and then sending to cut, how do I prevent the rectangle is cut, do I need to mark it as no cut?
ReplyDelete