Since I don't usually keep inventory, for months I've been crafting and creating and sewing prepping for my first show. Pricing, branding and advertising have been in the works for some time, too. But at some point though I had to stop all that and think about the details...because the details are almost as important as the products and the price.
When I say details I mean things that will get potential buyers in front of my table...things that will get them buying...things that will get them to remember me after they leave my table and the show...and things that will have them giving my card or name to a friend who couldn't make the show.
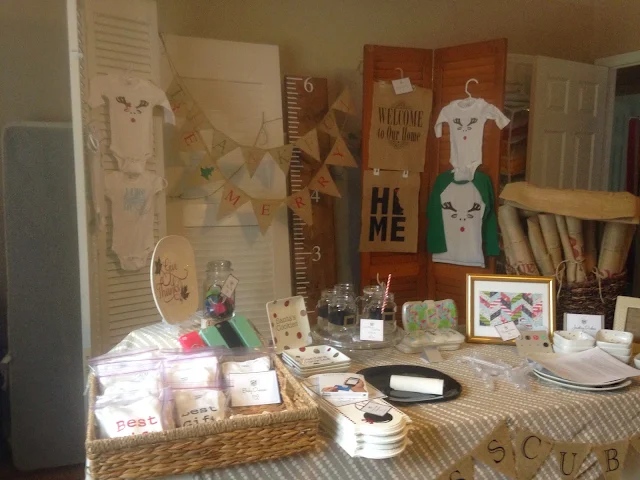
I am hoping the biggest thing that will set me apart and bring people to my table is my backdrop. I have to admit, I think I may feel a little overdressed at this craft show. It's a relatively small one with only about 40 or so vendors and it's only for 3 hours in the evening. But I want to stand out and so for that reason I created a backdrop that I'm hoping will attract buyers. I purchased these two bi-fold doors at the local habitat store. The reason I like the bifold doors is because they can stand on their own AND I can hang things in the slats and between them.

I spray-painted both of the doors an aqua color hoping it would be eye-catching, but not too loud.
I even created a shelf with a piece of plywood and some brackets that a few sample pillows can sit on since I keep most of my pillow covers rolled up in a basket. I'm want to keep eyes focused on my items and I'm hoping that creating a little 'store' like area will do just that.
One of the most obvious details to start with after your set up is business cards. I created the logo for my business in Silhouette Studio - thank you Designer Edition sketch pen tools. I saved the image as a PDF from Studio and exported it so I could use it to create my business cards. I uploaded the logo and then designed the two-sided cards to have them printed...places like InkGarden (get 33% off with code CREATE) and Staples do a great job at a decent rate. Be sure you give yourself enough time to do this because the cards need to be ordered and that can take a week or so.
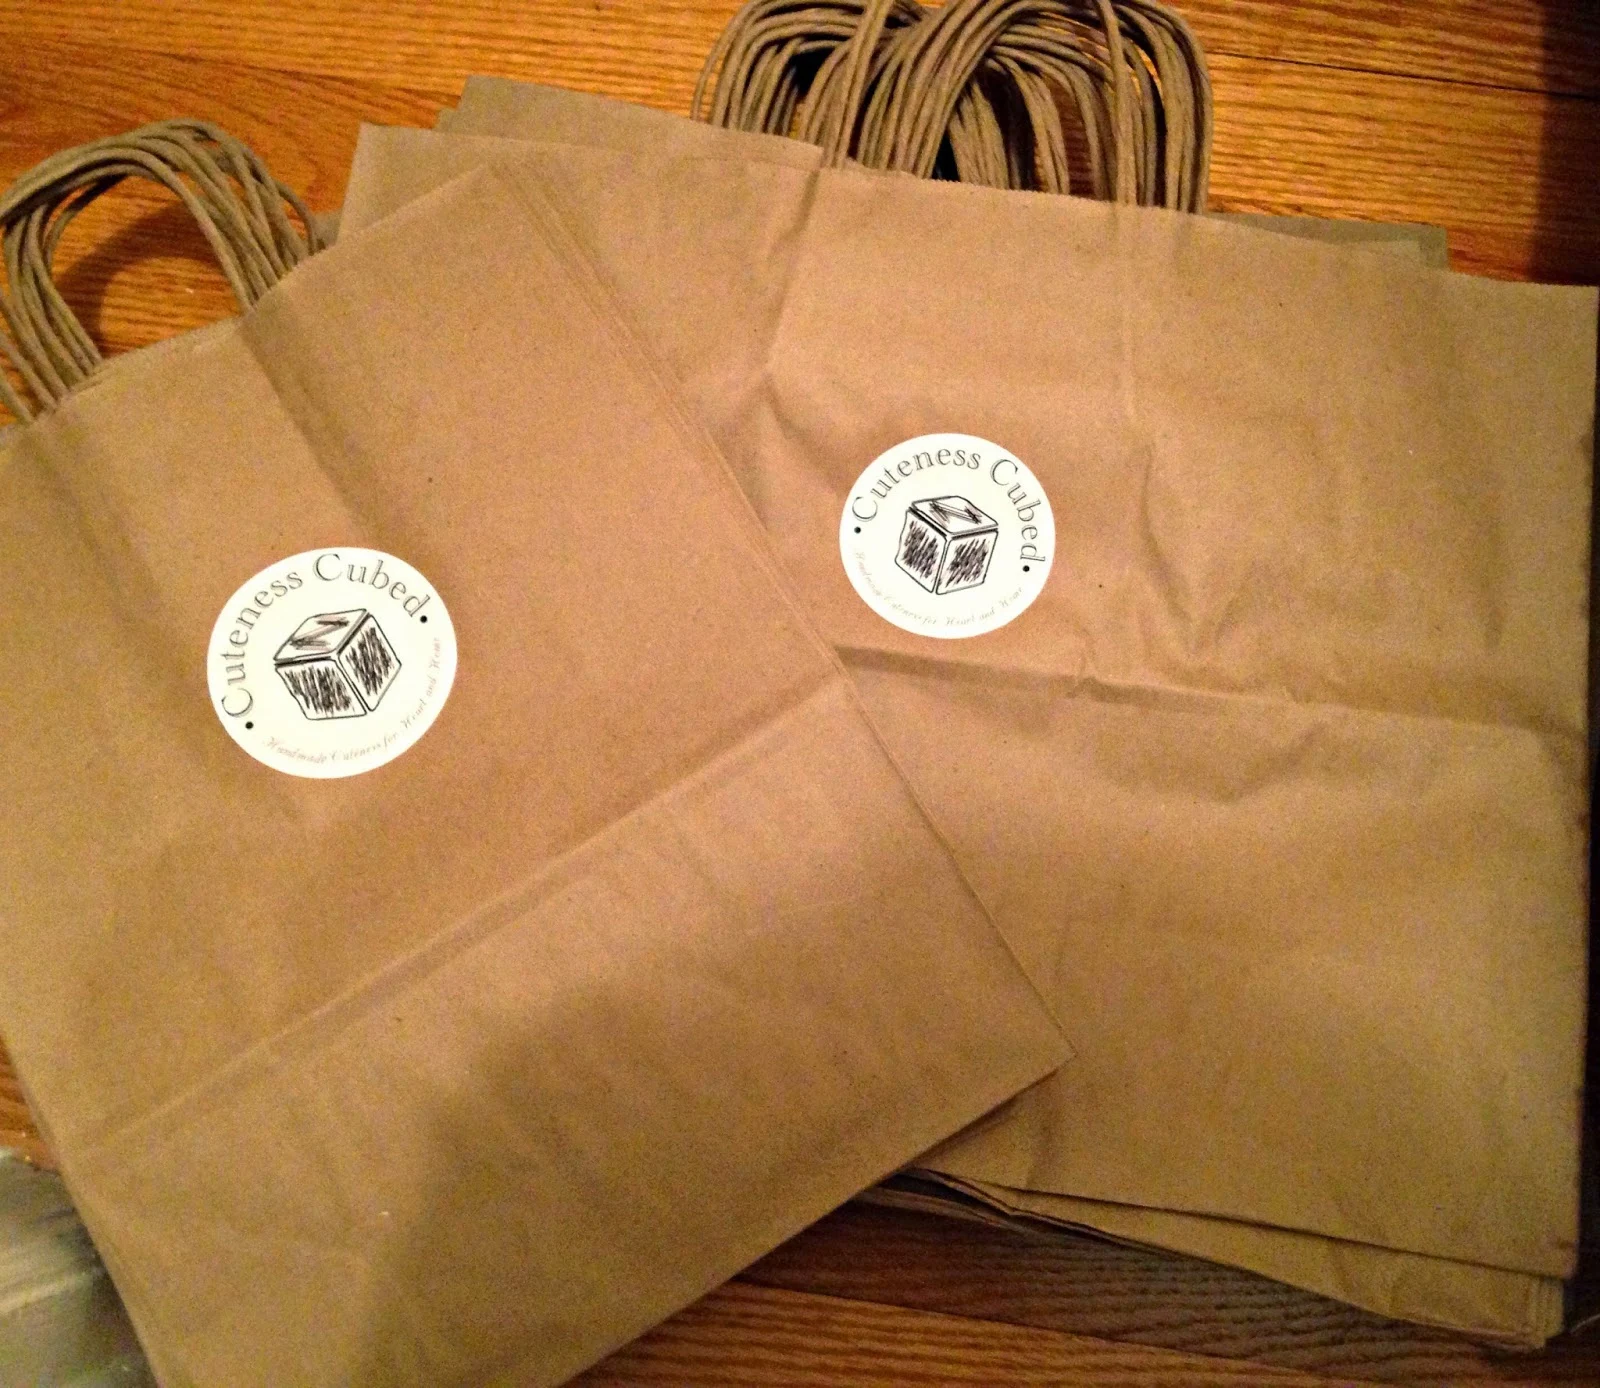
I used the same logo to create stickers in Silhouette Studio - they were printed on the Silhouette White Sticker Paper - to put on all the brown craft bags (from Paper Mart) I ordered for shoppers. I know not all craft show crafters agree about the need for bags, but I personally can't imagine just handing my customer their item and letting them walk away.
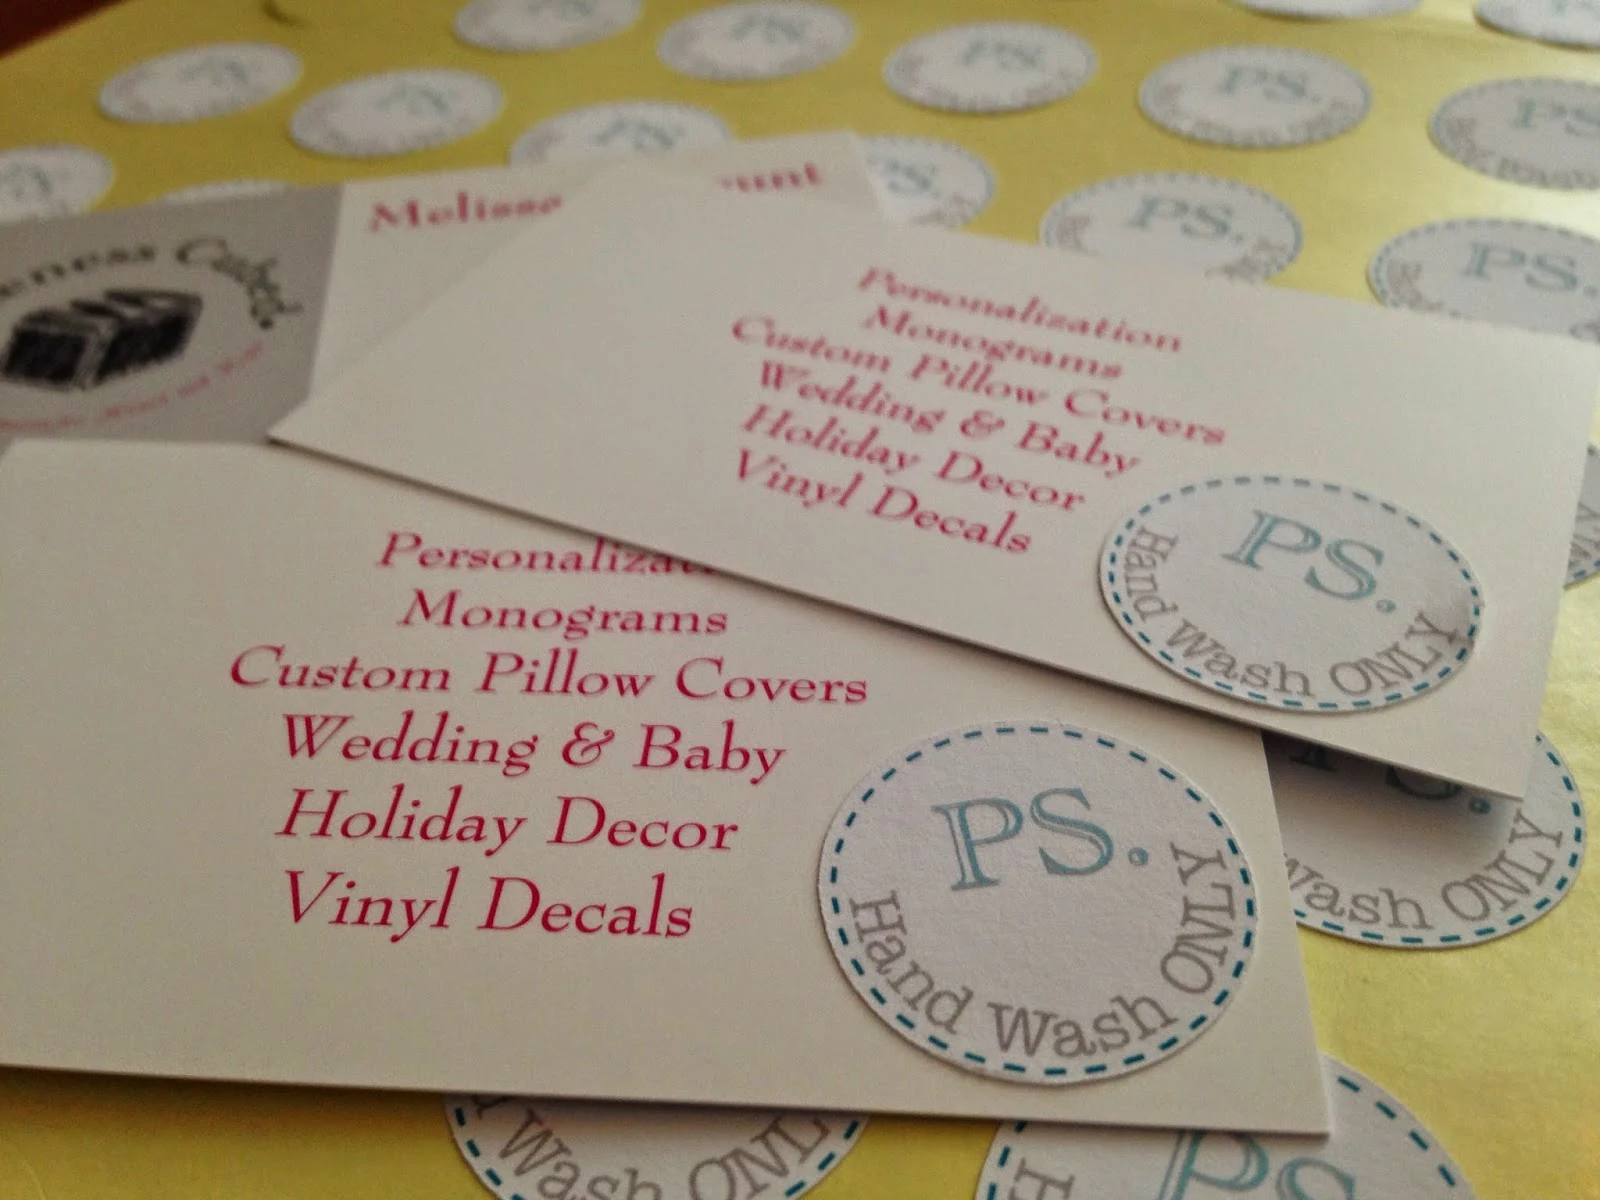
Speaking of stickers, I also created stickers to put on items that are hand wash only...for instance, when someone buys a mug with vinyl on it, I'll slap a sticker on it or the card I include in all purchases to remind them that the item should not be placed in the dishwasher.
If you accept custom orders, create a custom order form - and again keep it in line with your branding so everything's uniform. I did all my designing for the custom order form - which of course includes my logo - in Silhouette Studio and then just printed off about 30 copies. I put them on a clipboard that I will have hanging up with a cover sheet that lets everyone know I welcome custom orders. (It does double duty though by letting people know that we also accept credit cards using Square.)
As I mentioned in Part 2 of the Craft Show Series, I have infused my logo and branding wherever possible including on the price tags.
Details aren't just in the things the customer will see, but also in what they DON'T see. If you have helpers, teach them to use your credit card reader before you go to the show so they're not fumbling through during the first few sales. Square makes it easy to pre-load all of your items and inventory into the device so there's no need to even punch in a price...just select the item and slide.
Also don't feel like you have set out ALL your inventory. I may have 20 of an item..but I only put three or four out and keep the rest boxed up under the table. It's all about supply and demand. Replenish your table as items sell. Plus, keeping the table neat and tidy with some room between items helps to not make shoppers feel overwhelmed.
I know I'm missing some things...as a seller or a buyer what details do you find important when selling at a craft fair? Leave a comment below.
PS. Next week I'll be sharing the final part of the Craft Show series with details from the show and important take aways.
Note: This post may contain affiliate links. By clicking on them and purchasing products through my links, I receive a small commission. That's what helps fund Silhouette School so I can keep buying new Silhouette-related products to show you how to get the most out of your machine!
Thanks for coming to class today at Silhouette School. If you like what you see, I'd love for you to pin it!


.png)


This is a great series, thank you! Did you ever write a follow up? How did the show go and did you see any boost in your online sales afterwards? Anything you would do differently next time?
ReplyDeleteOh my gosh, you know I never did! I got swamped right then with holiday related orders and never followed through. I will have to do that. I don't think it was the right crowd for me to be honest. I do better on Etsy and locally taking custom orders. Not sure I will do another one...or at least not that one.
DeleteThank you for your post. I know now how I want to design my custom order pad. I'll design it with Canva. Love the cover page idea.
ReplyDelete