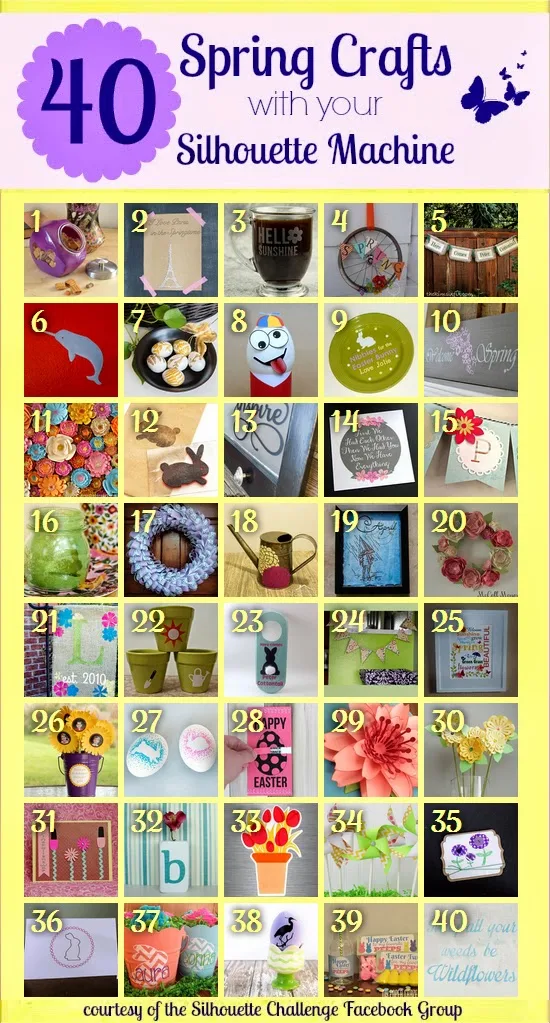
Was the weekend weather a-maz-ing where you are? Here in Delaware we had two gorgeous spring days. They were much needed after the brutal winter we were handed, I might add. So in honor of all things spring I am sharing a tutorial on putting together a fun spring banner, today. But that's not all...I also have 39 other awesome spring Silhouette projects from some of my blogging buddies further down in the post.
A few weeks back I received a question from a reader on the Silhouette School Facebook page who asked for a quick tutorial on turning the free shape of the week - this spring banner - into an actual banner.
The first thing to do is to download the design from the Silhouette Online Store and open it up in Silhouette Studio. Here's the step by step tutorial on doing so if you need it. If you didn't grab it when it was free, you can still get it for just $.99. The 'Spring Banner' design is #57012
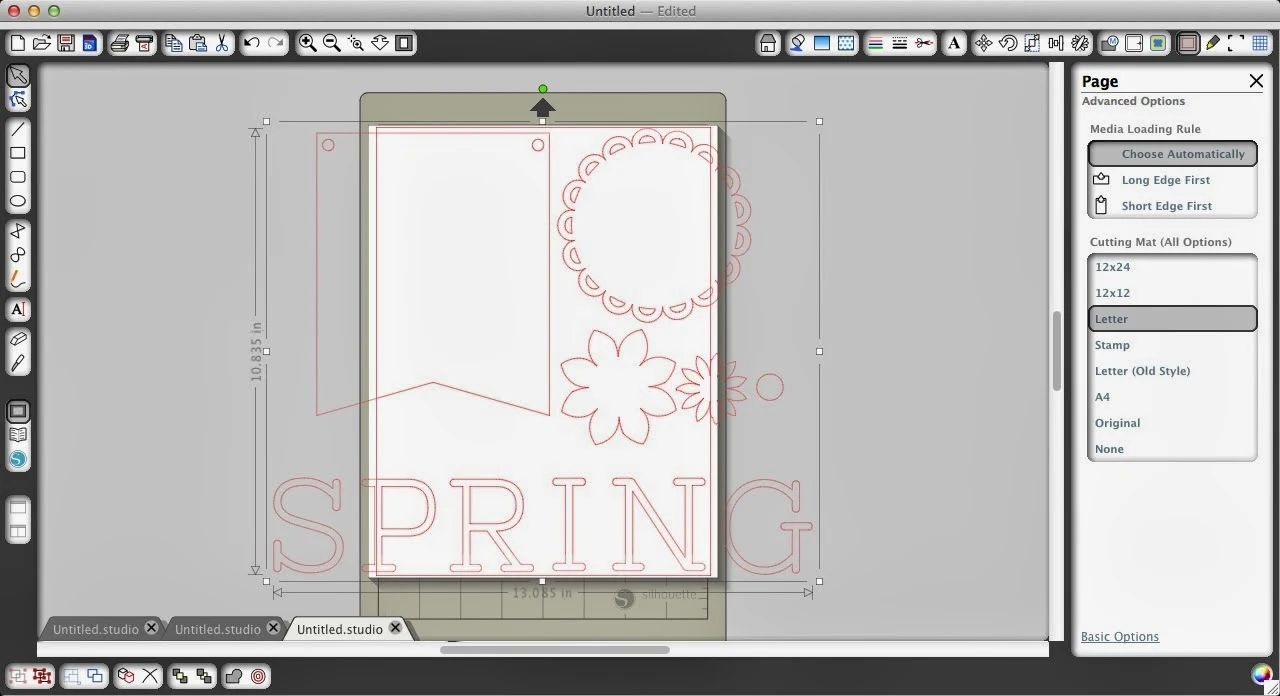
The pieces here are pretty big, as you can see, and since you need six flags and six 'doiles' and six letters you will either need to resize them or spread them out onto more than one work area. It all depends on how big you want your bunting to be in the end. I did both - resize and spread out - after bringing the original design into Silhouette Studio.
I started by resizing one of the flags. Next I grabbed what I'm calling the doily and resized that. I drug it over top the flag to make sure the size worked after it was cut. I repeated that same step with the text and flowers, as well.
Now it's time to duplicate (Right Click > duplicate). I duplicated the flag and doily each six times and then moved all of the flags into another work area. They pretty much took up my entire (Portrait) mat.
I then positioned the doilies and the text on the same mat. I exposed my cutting mat to make sure different designs didn't share a square since I planned to make one single cut on all different papers for each design. I only wanted two flowers so I only duplicated the flowers once.
The next step is to get your paper set on your cutting mat. The flags were easy since they were all printing on the same paper in one single cut.
The second set of designs was a little more involved. I explain exactly how to make a single cut on different paper here so head over there for tips and tricks if you need it.
Once everything is cut it's time to put it all together.
I started by stringing the flags onto a strand of bakers twine. Next I used a glue stick to put on the doilies then I added the letters and finally I put the flowers together.
And here she is hanging up...
We're not done with the goodies yet, folks! Today I am super excited to share with you a whole bunch of Spring-inspired Silhouette projects.
My Silhouette Challenge buddies and I are all sharing projects on our blogs today, so peruse the projects below for a wealth of Silhouette inspiration!

1. Dream a Little Bigger // 2. So Much Better With Age // 3. Adventures in All Things Food // 4. Creative Carnival // 5. The Kim Six Fix // 6. feto soap // 7. One Dog Woof // 8. The Experimental Home // 9. From Wine to Whine // 10. Architecture of a Mom // 11. Grey Luster Girl // 12. Minted Strawberry // 13. Designed Decor // 14. Tried & True // 15. Silhouette School // 16. Bringing Creativity 2 Life // 17. Weekend Craft // 18. Practically Functional // 19. Please Excuse My Craftermath... // 20. McCall Manor // 21. unOriginal Mom // 22. Creative Ramblings // 23. A Tossed Salad Life // 24. A Glimpse Into Barb's Life // 25. Kate's Paper Creations // 26. Simply Kelly Designs // 27. Cutesy Crafts // 28. Persia Lou // 29. Whats Next Ma // 30. Two Purple Couches // 31. The Frill of Life // 32. Nearly Handmade // 33. Get Silvered // 34. Ginger Snap Crafts // 35. Life After Laundry // 36. The Sensory Emporium // 37. Monograms & Cake // 38. The Thinking Closet // 39. My Paper Craze // 40. Chicken Scratch NY
Thanks for coming to class today at Silhouette School. If you like what you see, I'd love for you to pin it!


.png)


.png)


No comments
Thanks for leaving a comment! We get several hundred comments a day. While we appreciate every single one of them it's nearly impossible to respond back to all of them, all the time. So... if you could help me by treating these comments like a forum where readers help readers.
In addition, don't forget to look for specific answers by using the Search Box on the blog. If you're still not having any luck, feel free to email me with your question.