Printing and cutting on the Silhouette CAMEO 5 ES mat is not much different than printing and cutting with an adhesive mat.
If this is your first time making stickers with the Electrostatic mat, or doing another print and cut, follow along for tips on how to best print and cut with the ES mat.
This tutorial assumes you are already familiar with how to print and cut with Silhouette and that your ES mat has already been set up and you're familiar, in general, with how to use it.
To print and cut with the Silhouette ES mat, you want to start in Silhouette Studio Send panel making sure your software recognizes the connected Portrait 4, CAMEO 5, or Curio 2.
Then move over to the Page setup panel and change the Cutting Mat to "Electrostatic Mat."
From here you an add the images, designs, registration marks and cut lines like you normally would.
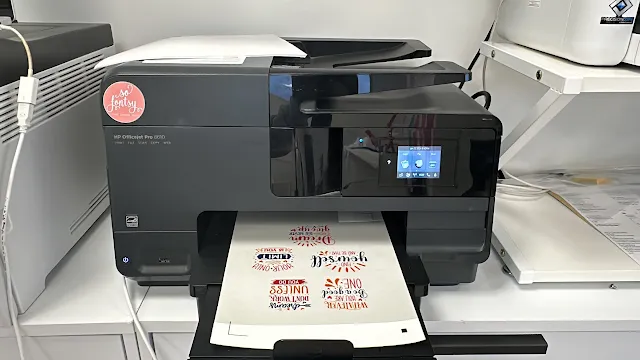
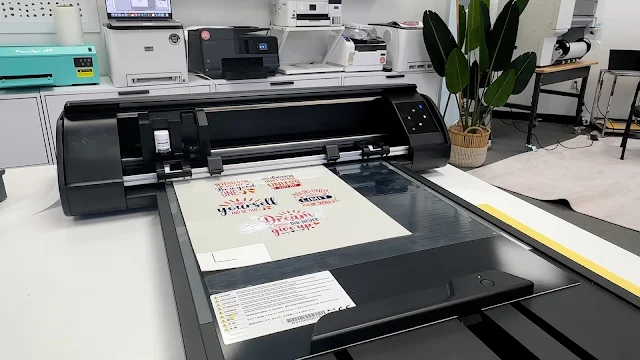
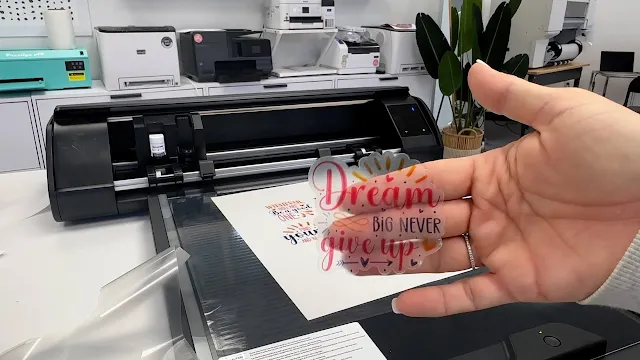
You'll also continue on printing like you normally do. Here I was printing on clear sticker paper, which is why you see the white squares on the corner. That's just a hack to help avoid registration mark failure.
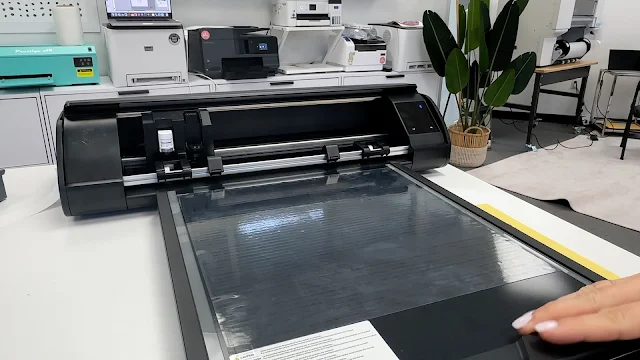
Once you have the printed sheet, turn on the ES mat and wait 30 seconds or so for the charge to build.
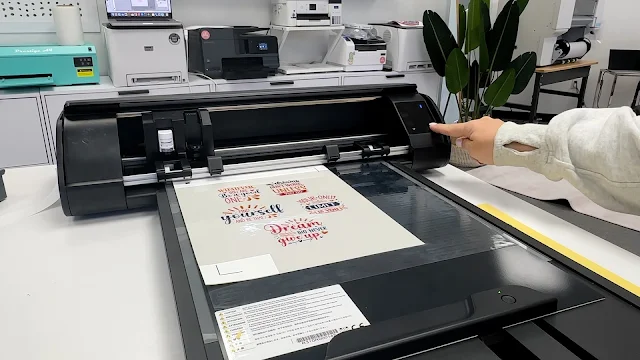
Make sure the sheet is being held in place securely by the electrostatic charge and then gently push the base toward the rollers until you feel resistance.
In the Send panel in Silhouette Studio press Send. The CAMEO 5 will look for the three registration marks before beginning to cut.







.png)


No comments
Thanks for leaving a comment! We get several hundred comments a day. While we appreciate every single one of them it's nearly impossible to respond back to all of them, all the time. So... if you could help me by treating these comments like a forum where readers help readers.
In addition, don't forget to look for specific answers by using the Search Box on the blog. If you're still not having any luck, feel free to email me with your question.