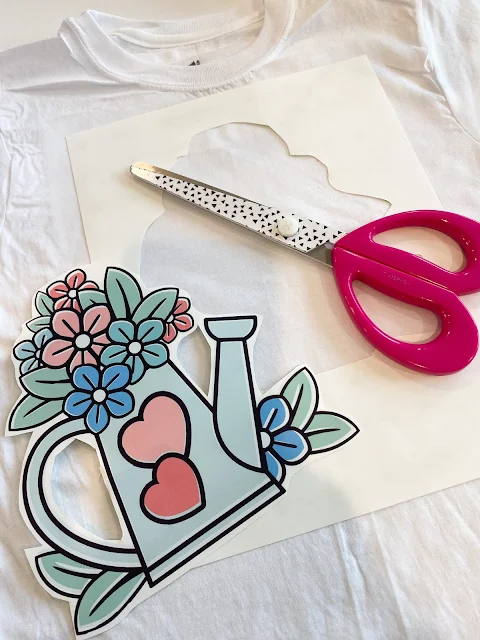
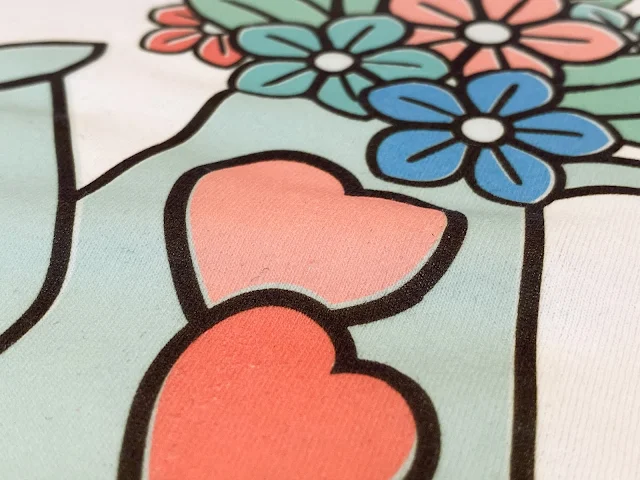
Inkjet printable heat transfer is an easy, fast alternative to heat transfer vinyl for designs that would otherwise require a lot of cutting and layering of various colors.
With inkjet printable HTV you can simply print a design to your home printer from Silhouette Studio and then press it onto the shirt. You don't even need to cut. This beginner tutorial will walk you through how to use Starcraft Inkjet Printable for lights.
The process to use Starcraft Inkjet Printable for light color fabrics is different than if your design is going on a dark surface. If you have a dark shirt you would want to use Starcraft Inkjet Printable for darks and follow this tutorial.
Inkjet printable HTV for lights is a great low cost option for users who don't have a sublimation printer or a direct to garment printer. Most people have an inkjet printer at home or you can get one for very low cost.
To start, go to the Design area in Silhouette Studio and from Page Setup change the Media Size to Letter.
Then create or open your design in Silhouette Studio. I am using this watering can from So Fontsy's massive and limited time Bundle of Bundles.
I drag and dropped the simple outlined design right into Silhouette Studio.
The whole purpose of printable HTV is full color so I want to fill the design with colors by right clicking > Release Compound Path.
The design will turn into a solid color design until I select the entire design and change the color to white and the line color to black.
Now I can click each individual piece or multiple pieces at the same time and pick a color from the Fill color panel to fill my design with color.
After filling all areas, it looks like what you see on the right side.
When the design is ready to be cut, right click and select Flip Horizontally. Because you are going to flip the printed design onto your shirt you need to print in reverse so it presses correctly.
Size the design so it fits on the surface where you are going to press it.
Load a sheet of the Starcraft Printable HTV into your home printer. I recommend removing all other paper from the printer's sheet feeding tray.
From Silhouette Studio click the Print icon along the top tool bar. A preview panel will appear.
Make sure the correct printer is selected and then adjust the settings so you get the best possible print. When you're ready click Print to send the design to be printed.
You can trim around the design if you want but it's not absolutely. necessary - it does however, limit the amount of "film" that's left on the shirt in the unprinted areas.
Place the printed image, print side down onto the surface. With your heat press set to 375 for 30 seconds use firm pressure to press the image directly onto the shirt.
As soon as the time is complete, peel the paper backing off the shirt quickly while it's still hot.
If you let it cool at all you risk leaving paper bits behind or the ink coming off with the paper instead of being left on the shirt.
And that's all there is to using Starcraft Inkjet Printable HTV on lights!
Want to know more about all the printers I have and how I use them with Silhouette? Check out the best printers to use with Silhouette!
Get Silhouette School lessons delivered to your email inbox! Select Once Daily or Weekly.


.png)


Can you use a recolored image to print as well, or does it have to be a fill in outline?
ReplyDeletePre-colored image (not recolored)
Delete