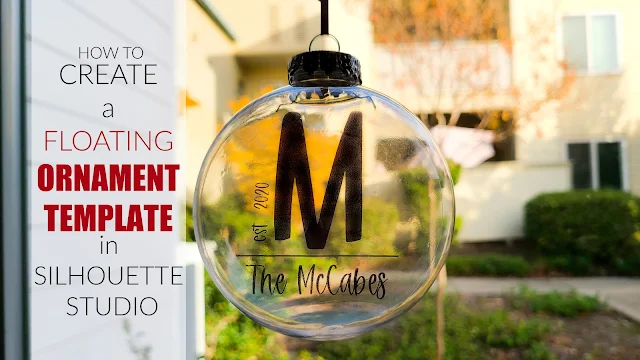
If you've ever wondered how in the world you can make "floating" designs inside an ornament, then wonder no longer!
It's actually extremely easy to create and customize your own floating designs for baubles of any size. All you need to know is how to make your own template for them. Keep reading to learn how to create your own floating ornament template for any size bauble ornament.
Measure the Ornament
Start by measuring around the ornament with a tape measure. Start the tape measure at the base of one side of the "neck" of the ornament and run the tape measure to the base of the other side of the neck.
Next, measure the width of the opening at the top of the ornament and take note of it.
Grab your calculator & open Silhouette Studio
Don't worry, there's only one calculation you need to make, and it's not complicated. All you have to do is take the measurement you took around the ornament and divide it by 3.14.
So, in my calculator I typed in 11.125 ÷ 3.14. The answer is 3.542.
Move into Silhouette Studio and draw a circle to that size. Hold Shift on your keyboard while using the Draw an Ellipse tool to create a perfect circle.
Next, use the Draw a Rectangle tool to draw a rectangle that has the same width as the measurement of the ornament's opening. For example, the measurement I took was 7/8th of an inch. Google tells me 7/8" in a decimal is 0.875 inches. So, make the rectangle 0.875 inches wide.
Adjust the height of the rectangle to about 2 inches tall. You need to make the rectangle taller than the "neck" of the ornament, and 2 inches is just about right.
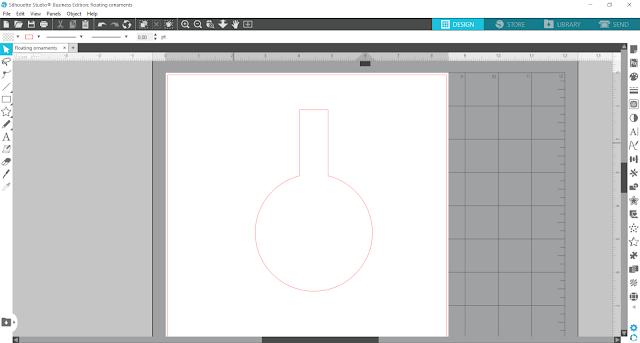
Move the rectangle to the top of the circle and make sure its corners overlap into the circle. Highlight both shapes and click the Align Center tool to get the rectangle perfectly centered on top of the circle, then weld.
You should get a design that look something like this:
Add a Custom Design
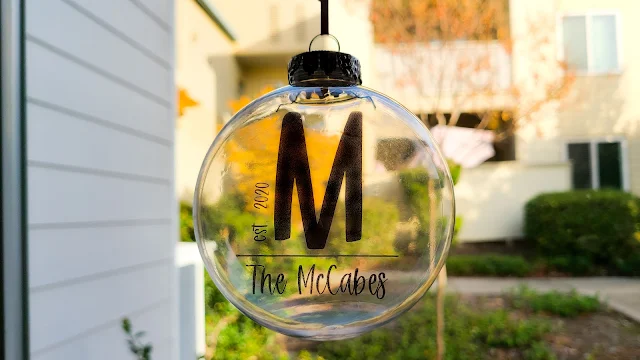
Now you can add your own custom design! I used several fonts from So Fontsy's Handwritten Font Bundle to create this beautiful custom family ornament.
The Handwritten Font Bundle is available over at So Fontsy. It's a bundle of 20 fonts for 91% off! But it won't be on sale for long, so grab it quick, before it's gone!
Print and Cut on Transparency Sheets
In Silhouette Studio set up your work area for Print and Cut. If you're looking for lots of tips and tricks on Print and Cut, check out this blog post with the 11 best Silhouette Print and Cut tutorials.
Print the document onto a transparency film. Be sure to let the document dry completely before handling it to avoid smudges.
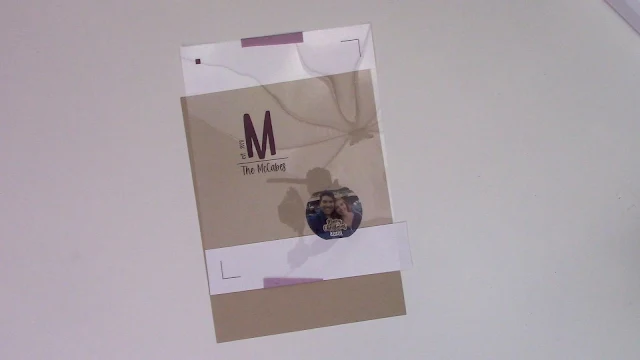
Because I expected my Silhouette CAMEO 4 to have issues reading the registration marks on the clear, glossy transparency, I taped two small strips of white copy paper behind the registration marks. I taped a strip of paper underneath the transparency along the top edge and another strip underneath the transparency along the bottom edge.
Put the transparency on your cutting mat. Just for a little insurance, I put a small strip of tape along the top and bottom of the transparency just to make sure that it wouldn't move during cutting.
Load your cutting mat into the Silhouette and press Send in Silhouette Studio. I used the default "Acetate Sheets (Thin)" cut settings in Silhouette Studio and got the perfect cut!
How to assemble the ornament
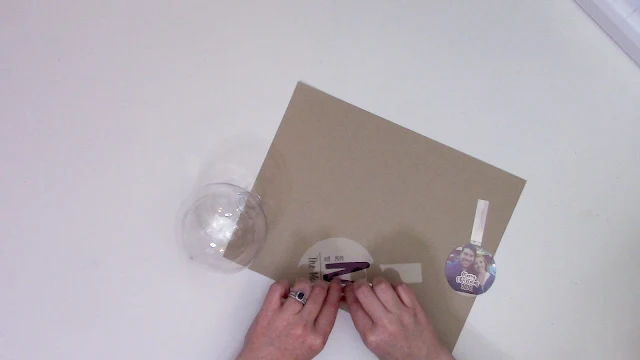
Getting the ornament cutout into the actual ornament isn't a hard as you may think. All you have to do is roll up the transparency starting from one side of the ornament to the other side. It's kind of like you're making it into a little tube.
Next, insert the bottom of the rolled transparency tube into the opening of the ornament and begin to push it into the ornament.
As the rolled transparency gets pushed through the "neck" of the ornament into the bulb, it will start to unroll itself!
Once it's completely opened in the ornament, hold onto the long rectangle of transparency coming out of the top to adjust the positioning.
You'll still have the long rectangle hanging out the top of the ornament, so you'll need to take a pair of scissors to trim off the excess.
Then, you can put the ornament's top back on and add any ribbon or twine as embellishment!
Floating ornaments are as simple as that! Just think of all the special custom ornaments you could make, especially with some beautiful fonts like those in the Handwritten Font Bundle!
Get Silhouette School lessons delivered to your email inbox! Select Once Daily or Weekly.












.png)


How much of an adjustment is necessary to make those *outside* dimensions fit *inside* the ornament?
ReplyDeleteHow thick was your transparency film? I tried this a few years back and it looked great the first year. The 2nd year I took it out to hang, the film had curled. I wonder if I needed something thicker?
ReplyDelete