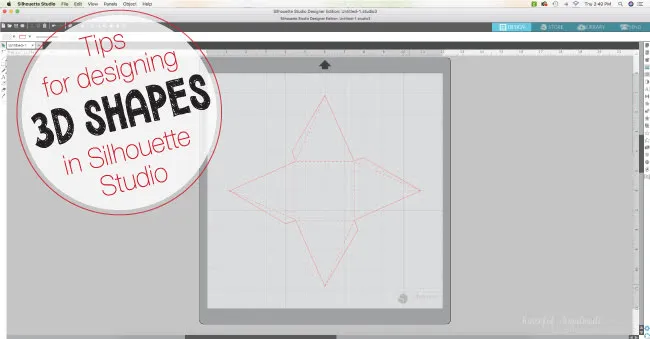
Silhouette School monthly contributor Kati from Houseful of Handmade is here today to share some tips on designing your own 3D shapes.
I am a huge fan of using my Silhouette for creating fun and unique 3D projects. Whether I am making cookie gift boxes to deliver goodies at Christmas or paper tea cups for a simple spring tablescape, I love creating 3D designs. But sometimes anything more than a square box can be intimidating.
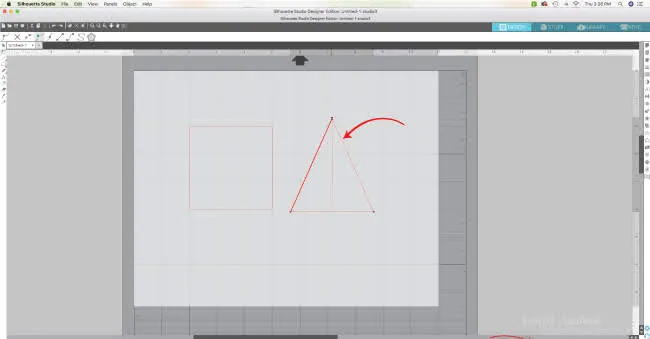
I always start with the bottom of my 3D shape. For this advanced Silhouette tutorial we will be doing a pyramid box so the bottom is a square.
The next step is the most important. Pretend you cut your 3D object in half and you are looking at the center of the flat slice. Now draw that object. This is where you decide how tall your 3D shape will be. I made my pyramid box 3" wide at the bottom and 3" tall.
Now you think you can just add these 3" tall triangles to the edges of your bottom square and be good with it, but then you will not have the correct height on the shape. It would not be super important on this shape, but would mean other shapes will not come together properly.
You actually need to look at the flat slice as a 3D object. The actually height of the triangle sides to give you a 3" tall pyramid should be equal to the side of the slice shape.
I like to draw a line along this line. Then rotate this line so it is straight up and down and centered on the triangle slice shape.
Now you will need to pull the point of the triangle to the top of the line (using the Edit Points tool). This will give you the correct size of the pyramid size for the desired height.
Next you can position the sides onto the base of the shape. Then use the weld tool to make it into one shape.
Now you want to add your fold lines. Currently the only folding is the bottom. Create another square, position it in the center, and set it to a dashed line (or score line if you have a score blade).
Before you can check your design, you will want to add flaps to connect the 3D design. Create a small shape next to the side that you want to connect to the other side.
To make sure your flap does not get in the way of the shape, rotate it to the area it will connect to. Use the keyboard shortcut O to change the rotation point of your shape to make it easier. Adjust if needed, then rotate it back to the original location.
Add flaps to all the sides needed to connect and merge them into the full shape as before. Add the fold lines to these new areas and now you are ready to cut it our and test it!
Don't be frustrated if you have to go back and tweak your 3D designs multiple times to get them perfect. Just remember to try to look at the complex shape in flat slices to make it easier than thinking about it in 3D. With a little practice you can be designing impressive 3D shapes like this Anthropologie knock off mirror made out of paper or this sweet 3D Heart Valentine!
And don't forget to stop by Houseful of Handmade for lots of fun 3D Paper Craft tutorials.
Note: This post may contain affiliate links. By clicking on them and purchasing products through my links, I receive a small commission. That's what helps fund Silhouette School so I can keep buying new Silhouette-related products to show you how to get the most out of your machine!
Get Silhouette School lessons delivered to your email inbox! Select Once Daily or Weekly.


.png)


No comments
Thanks for leaving a comment! We get several hundred comments a day. While we appreciate every single one of them it's nearly impossible to respond back to all of them, all the time. So... if you could help me by treating these comments like a forum where readers help readers.
In addition, don't forget to look for specific answers by using the Search Box on the blog. If you're still not having any luck, feel free to email me with your question.