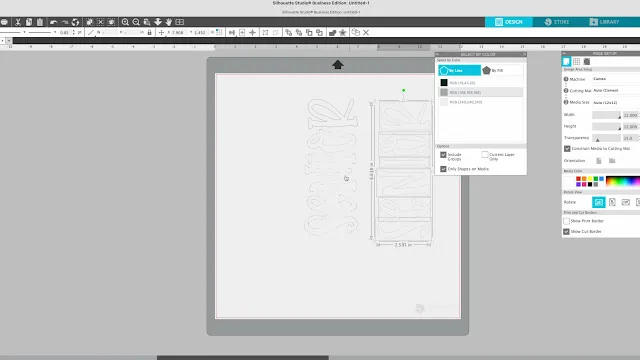
If you have embroidery files (like PES files), you can actually open them in Silhouette Studio and use them to cut precise fabric pieces with your Silhouette CAMEO.
You will need Designer Edition Plus or Business Edition in order to open embroidery files in Silhouette Studio.
With that upgraded version, launch Studio and then go to File > Open. Navigate to the PES file and select it. (You can also navigate to the file and drag and drop it directly into Silhouette Studio.)
It will open in Silhouette Studio with all of the embroidery stitches.
Most of them you won't need so you can select and move them away before deleting them.
The tack down or placement stitch is the layer you'll use as a cut line.
Once you find the tack down layer, delete the other layers of stitches and just keep the single cut line.
I'll be honest - it can be a little messy separating all of these layers so I have some tricks for how to do this quickly and efficiently. This step-by-step embroidery video tutorial makes it super easy to understand, even if you've never worked with embroidery files before!
Note: This post may contain affiliate links. By clicking on them and purchasing products through my links, I receive a small commission. That's what helps fund Silhouette School so I can keep buying new Silhouette-related products to show you how to get the most out of your machine!


.png)


No comments
Thanks for leaving a comment! We get several hundred comments a day. While we appreciate every single one of them it's nearly impossible to respond back to all of them, all the time. So... if you could help me by treating these comments like a forum where readers help readers.
In addition, don't forget to look for specific answers by using the Search Box on the blog. If you're still not having any luck, feel free to email me with your question.