Copyright Silhouette School 2016. Powered by Blogger.


20 Silhouette Tutorials You Can't Afford to Miss

Silhouette Cameo, Silhouette Studio, Silhouette tutorial
It's so hard to believe another month has come and gone here at Silhouette School.  Far and away March 2015 was our biggest month ever on the blog.  The response to The Ultimate Silhouette Guide has blown me away with more than 2,000 copies selling in just under three weeks...and more Silhouette users purchasing the eBook every single day.  Plus we've topped more than 3 millions reader since the blog's launch just 14 months ago!

For me, now basically a full-time blogger, April will be just as huge.  Towards the end of the month I will be attending my first ever blog conference.  I'll be heading out to Salt Lake City four four days of all bloggy business with some of my blogger friends from all over the country.  I can't wait to learn even more about blogging so I can take Silhouette School to the next level. You'll want to be sure you're following along on Instagram since I'll be sharing pics from the trip there.

But before we look ahead to April, let's take a look back at all that we learned about in March!  Here are 20 Silhouette tutorials you don't want to miss!

Thanks for coming to class today at Silhouette School.  If you like what you see, I'd love for you to pin it!
Pin It!


 photo 2b820f06-c93b-4b24-929c-96287390140f_zpsf3cd3a23.jpguse twiter photo Twitter_48x48_zps4e06061c.pnguse twiter photo Twitter_48x48_zps4e06061c.pngUse Feed photo Feed_48x48_zps63f27a4f.png photo 2b820f06-c93b-4b24-929c-96287390140f_zpsf3cd3a23.jpgUse Feed photo Feed_48x48_zps63f27a4f.pngUse Feed photo Feed_48x48_zps63f27a4f.png

Get Silhouette School Tutorials
Delivered to Your Email:

How to Add HTV to Shoes! (Silhouette Tutorial)

HTV, heat transfer vinyl, shoes, Silhouette tutorial

So you all about went crazy when I posted a sneak peek of this project on Instagram and Facebook a week or so ago...and now you are about to flip when I tell you that it literally took me about 5 minutes to add this glitter HTV to my new Target shoes!

First of all you need to find these adorable shoes...sounds easier than it is. They're apparently in high demand.  You can use any canvas show really as long as it has a nice flat area or a tongue that's large enough to host some HTV.

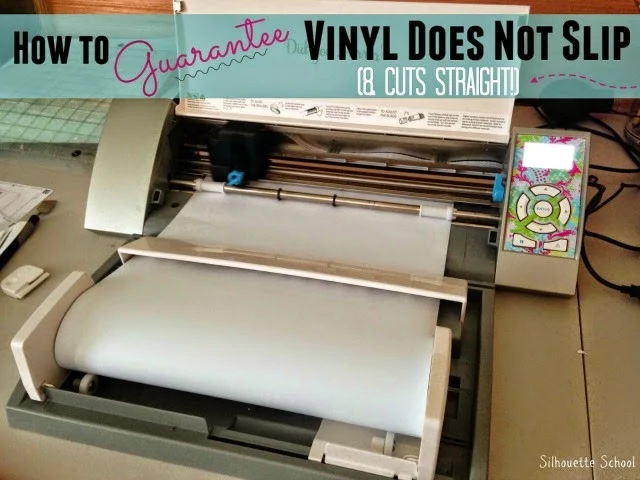
Silhouette Not Cutting Vinyl Straight? Troubleshooting and Tips to Fix It!

If you've ever gone to cut a piece of vinyl longer than the mat only for it to slip half way through you know how frustrating it can be to waste so.much.vinyl.

Silhouette Cameo, vinyl, roller feeder, silhouette 101, silhouette america blogThis is the main reason I always say use the mat, when you can.  (I suggest a 24" CAMEO mat if you're a CAMEO owners. I have the Portrait also, and while there is no 24" mat on the market for the smaller machine, I have successfully taped two Portrait mats together to use it for larger cuts. ) Sometimes, on very long cuts, however, it's still not possible to use a mat.   When you don't use a mat, there's a high risk of the vinyl slipping.

5 Minute Custom Coasters: Silhouette Tutorial

Silhouette tutorial, custom coasters, DIY, do it yourself
Looking for a quick, easy, inexpensive and custom gift?  I have the perfect idea for you today: custom coasters!  Seriously these took me like 5 minutes to make...

First, you need to get yourself some blank coasters.   I got these clear 3.5" square inch acrylic coasters from Punch Place Plus. They come in a pack of four with the 16 rubber bumpers for...wait for it: $4.49.  You can find them by clicking the "Acrylic, Plastic, Glass, Metal Blanks section on the left sidebar of PPP or by searching "Acrylic Coasters" in the search bar here.

In Silhouette Studio you can create whatever type of design you want. I have a thing for monograms and gold right now so I went in that direction.  I simply typed out a capital V and then copy and pasted it four times. I then selected each V individually and changed the font until I found four V's I liked.

Designing Your Own Shapes in Silhouette Studio: Tips for Beginners

Silhouette Studio, tips, beginners, designing your own shapes

Today's is perhaps one of the most important lessons I've ever shared on Silhouette School...I'm not even exaggerating.  Today I'm going to give you some tips on creating your own designs in Silhouette Studio.

Now why would you want to do this when you can just buy a design from the Design Store for .99 or trace a shape you find on the good 'ol www?  The biggest reason is that if you want to sell something with a design on it (or the design itself as a decal) you need to have a commercial license for it and that costs money.  But if you create your own designs they're YOURS and you're free to use them however you want.

Now I'm not saying you need to go out and create every single design, but honestly and truly there are so many that you can make your self in Silhouette Studio by simply combining a few - or one - basic shapes. I should also mention I'm not a graphic designer.  I was a news producer by trade before I started this whole mom blogger gig thing... so don't go thinking I have anything up on ya!

Secret to Print and Cut Registration Marks on Dark or Patterned Paper

Silhouette Studio, Silhouette tutorial, registration marks, print and cut tip

I hear this a lot from people...."My Silhouette has trouble detecting registration marks on dark and/or patterned paper." No worries, print and cutters, there is a secret tool that will help solve the failed registration marks detection issues you're experiencing.  I tested this out on some dark patterned paper just to demonstrate how well this method works. 

Creating Single Line Rhinestone Text Designs in Silhouette Studio

Silhouette Studio, Silhouette tutorial, single line text, rhinestone
Today I'm answering a "student" question on the blog...it comes from a Shari who's stumped over how to create a single line rhinestone design.
"I want to do some rhinestone lettering in "single line" lettering.   Everything I try comes out with double or an outline of the letter."
Oh I feel your pain, Shari! Just like sketching, rhinestone text designs sometimes get lost in translation. 

Silhouette Project Idea: Easter Bunny Table Runner (Pier 1 Knockoff)

Silhouette project, Silhouette idea, easter bunny, table runner

If you follow Silhouette School on Instagram you may have seen me drooling over the adorable burlap Easter Bunny table runner in the spring Pier 1 circular (which will set you back between $40 and $50).   I promised to make a DIY with my Silhouette I've done it. It was seriously so easy that even my six year old was able to help me with almost the whole project. 

I started by cutting a long piece of burlap. I cut it about 16 inches wide and 36" longer than my table so there would be plenty to hang off each end. If you don't know the secret to cutting burlap straight and without fraying, than you need to hop on over to my DIY blog Two It Yourself and check out this life hack. Seriously, you'll thank me.

How to Cut Drop Cloth with Silhouette

Silhouette Cameo, cut drop cloth, Silhouette tutorial
I have a secret weapon in my craft room...it's called drop cloth. As in the kind you use when you're painting.  Only...I use it for everything because it looks kinda like canvas or linen only a whole.lot.cheaper.  I have made pillow covers out of drop cloth, tea towels, even an upholstered drop cloth king size head board.   But I recently discovered that the Silhouette can cut drop cloth material which basically has me singing, "A whoooollllee new world!!!"  This is serious stuff, people! 

The first thing to know is that not all drop cloths are created equal.  Some have a stiffer feel while others a bit softer and better for things like pillows.   I purchased this Paint Essentials brand drop cloth from Amazon and it's on the more rigid side which makes it perfect for cutting.

The first thing you want to do is cut the piece of drop cloth down to size.

Iron a piece of fabric interfacing or HeatN' Bond to the back of the fabric. This does two things: 1) it makes the fabric even stiffer which is easier for cutting and 2) it allows it to be ironed onto another piece of fabric.

Trim the fabric and the interfacing down so they're the same size.

Peel the paper backing off of the interfacing.  You can see there's a bit of a sheen on the back of the fabric now...that's because the sticky part of the interfacing is left on the material. That's what you want.

Silhouette Cameo, cut drop cloth, Silhouette tutorial

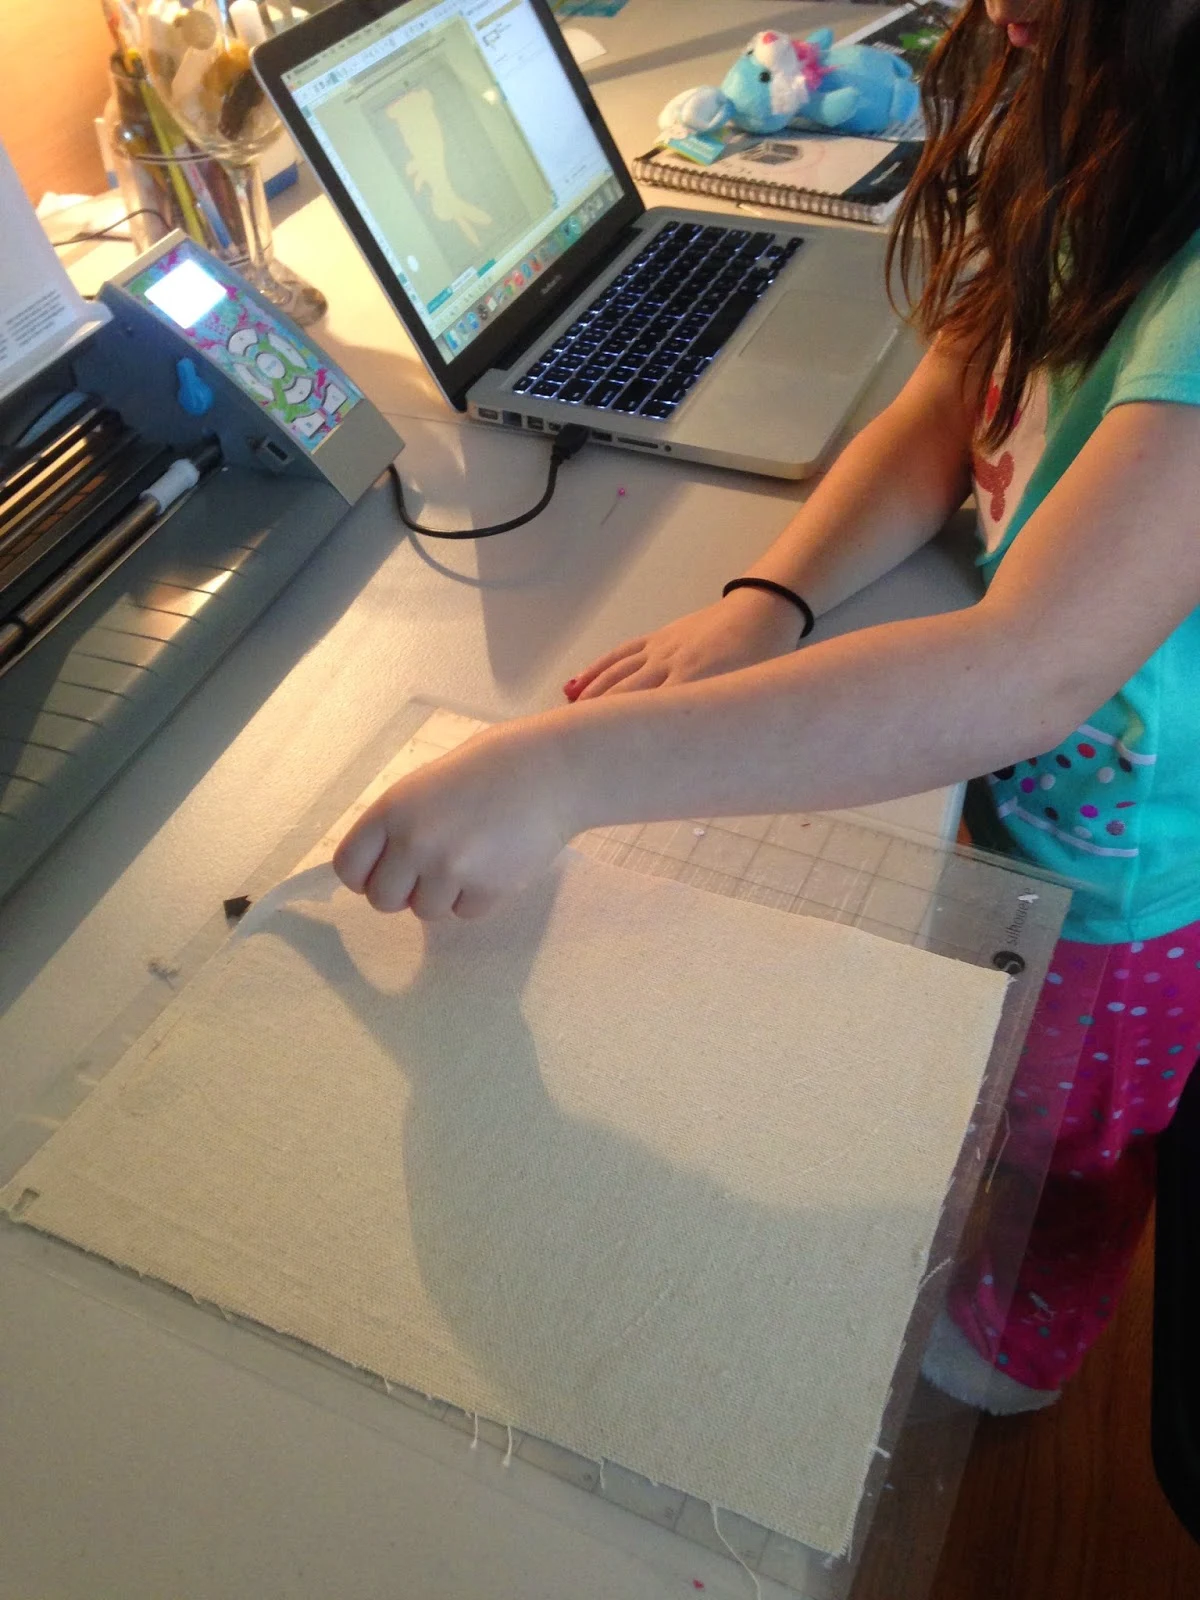
Now place the fabric onto your Silhouette cutting mat with the interfacing side down and touching the mat.

Silhouette Cameo, cut drop cloth, Silhouette tutorial, Silhouette cutting mat

Load the mat into the machine. Grab your fabric blade and adjust the depth to a six.

In Silhouette Studio, once your design is all ready to be cut, click on the Cut Style tool.  From the list of materials, pick "Fabrics - Thick Like Canvas.   The recommended blade depth will be 5, but I think 6 is a better cut.  Check the box to double cut.

Silhouette Cameo, cut drop cloth, Silhouette tutorial, cut settings

Do a test cut...don't skip it. If you do skip it, don't get mad at me if the fabric doesn't cut successfully.  Check the cut and if it's good to go...send to Silhouette to cut.

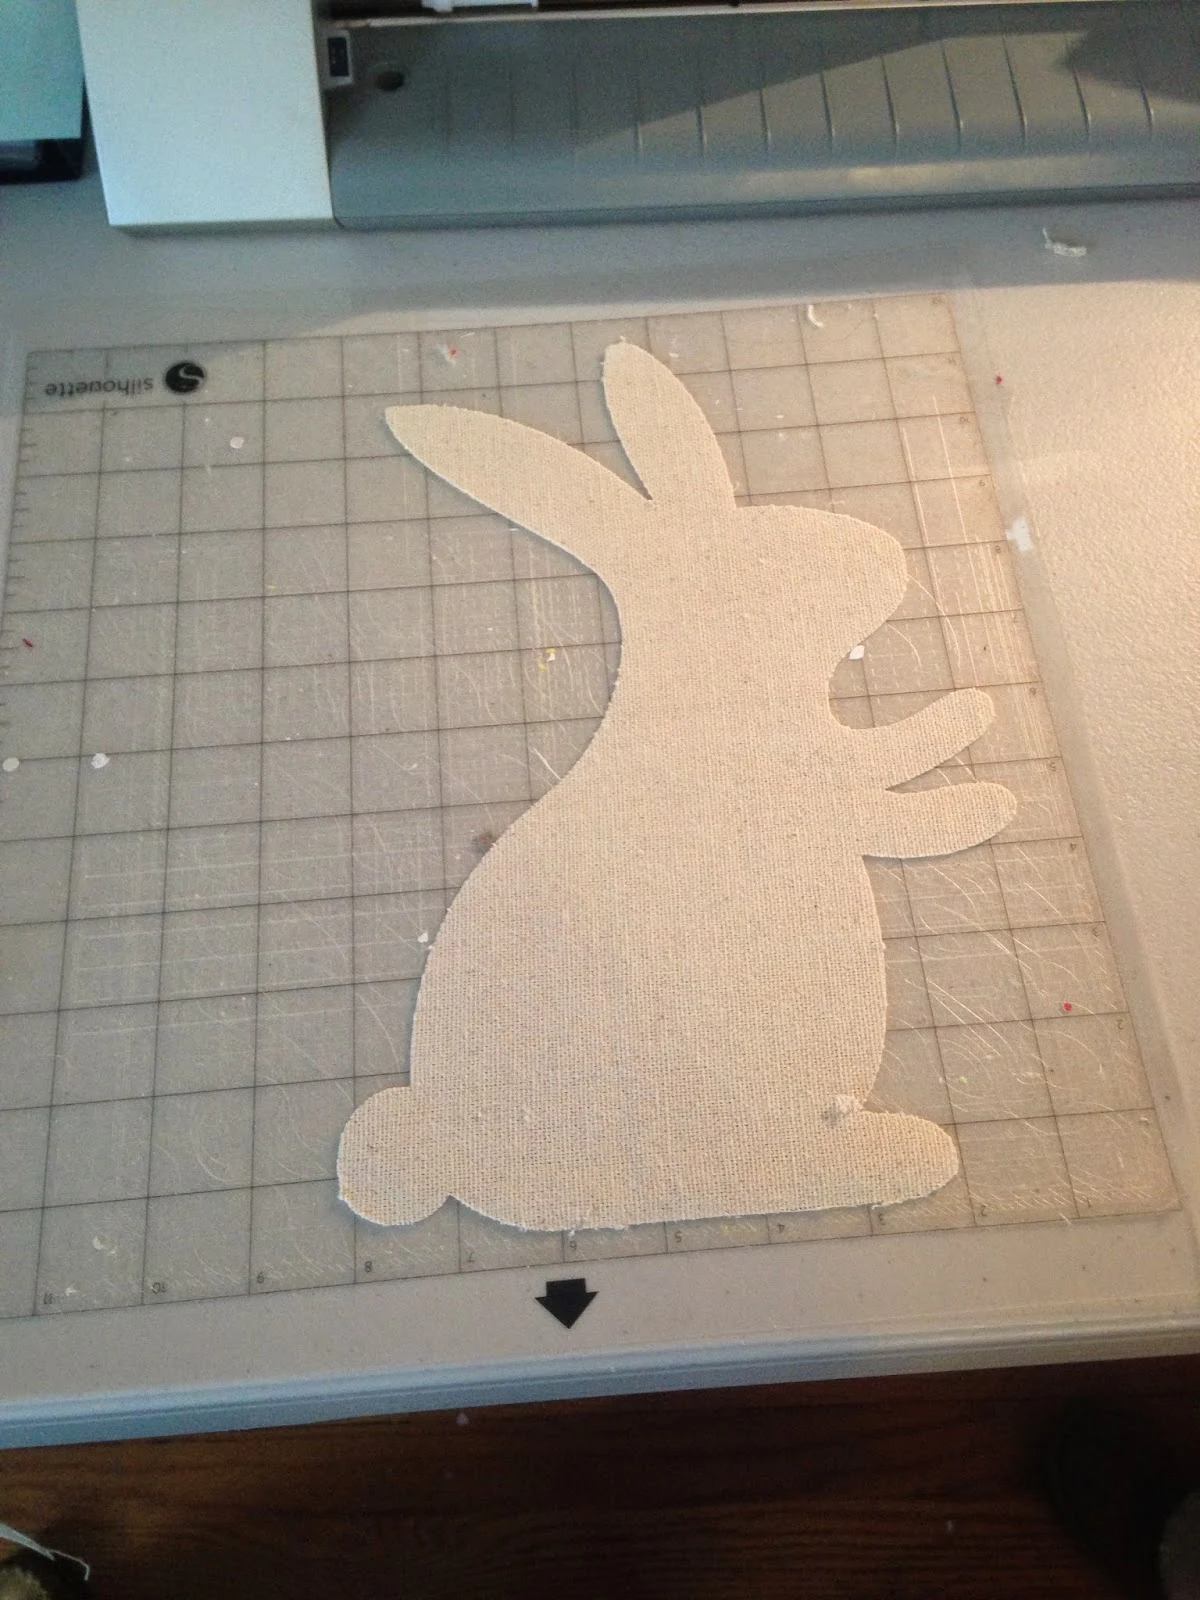
Weed off the excess fabric (or have your assistant do it) and you'll have your drop cloth design all ready to be pressed onto another surface!

Silhouette Cameo, cut drop cloth, Silhouette tutorial, weeding

Stay tuned...I'll be sharing a full tutorial on what I made with this drop cloth bunny in just a few days!

Silhouette Cameo, cut drop cloth, Silhouette tutorial, bunny

Note: This post may contain affiliate links. By clicking on them and purchasing products through my links, I receive a small commission. That's what helps fund Silhouette School so I can keep buying new Silhouette-related products to show you how to get the most out of your machine! 

Thanks for coming to class today at Silhouette School.  If you like what you see, I'd love for you to pin it!
Pin It!


 photo 2b820f06-c93b-4b24-929c-96287390140f_zpsf3cd3a23.jpguse twiter photo Twitter_48x48_zps4e06061c.pnguse twiter photo Twitter_48x48_zps4e06061c.pngUse Feed photo Feed_48x48_zps63f27a4f.png photo 2b820f06-c93b-4b24-929c-96287390140f_zpsf3cd3a23.jpgUse Feed photo Feed_48x48_zps63f27a4f.pngUse Feed photo Feed_48x48_zps63f27a4f.png

Get Silhouette School Tutorials
Delivered to Your Email:

The Ultimate Silhouette Guide ebook RELEASE!

They Ultimate Silhouette Guide, Silhouette Cameo, Silhouette Studio, Silhouette tutorial
UPDATE: A second edition of the Ultimate Silhouette Guide has been released using Silhouette Studio V4 (current version of the software).  Please be sure you purchase the correct guide. If you're not sure, email melissa@silhouetteschoolblog.com
_________

It's finally here...it's finally here!!!  I am finally ready to share my third baby with you: "The Ultimate Silhouette Guide: Tutorials, Tips and Troubleshooting (to get the most out of your machine)".

For months and months and months I've been plugging away on the ebook, what you might consider the 'Silhouette CAMEO Dummies book' and I know so many have of you have waited so long for the ebook.  Shingles, wrist injuries, the blog, a growing Etsy business and everyday life as a work at home mom delayed the release by more than three months, but today I could not be more ecstatic to finally say it's officially on SALE!!!

The nine day pre-order period left me completely floored and humbled to say the least.  I have poured so much time, knowledge, and love into this book and for nearly 700 copies to sell on pre-order is so overwhelming it brought me to tears.  I cannot fully put into words how much your trust in me and loyalty to Silhouette School means.  It's truly overwhelming and I thank each and everyone of you who have ever read a tutorial, shared a post, tagged a friend and ordered The Ultimate Silhouette Guide from the bottom of my heart!!! 

If you are one of those who ordered (THANK YOU!!!), please check your email (and spam folders) for the digital download link...it was sent out last night!

If you are still on the fence about the ebook, delivered as a digital download book in PDF format, here's a quick glance at what you're getting when you purchase:
  • You'll learn the ins and outs of Silhouette crafting from an expert user and the blogger behind one of the most successful Silhouette blogs on the web 
  • Four pages of detailed labels and descriptions of all tool bar buttons and icons in Silhouette Studio
  • Recommended supplies, tools and materials including the best places to purchase them
  • I’ll share a little known FREE commercial-use script monogram font that can be used for commercial use - a tip I’ve never revealed until now
  • An in depth section on the absolute best way to organize your Silhouette Studio library  using keywords, categories and folders
  • A glossary of Silhouette 'lingo' so you have a firm understanding of the terminology
  • A complete list of cut settings for 40+ different materials
  • Extensive troubleshooting section to get you back on track
  • An ad-free guide means 100% information on every single page.
  • Easily printable in full color or black and white
  • Interactive table of contents which allows you to get where you want to go with just the click of the mouse
  • Comparison between the Silhouette America machines to help you decide which machine is best for you
  • Step by step unpacking, set up and what to know before making your first cut
Head over to the official website for The Ultimate Silhouette School eBook for much, much more including another peek inside, FAQs and reviews from other crafty Silhouette bloggers!  

Pin It!


 photo 2b820f06-c93b-4b24-929c-96287390140f_zpsf3cd3a23.jpguse twiter photo Twitter_48x48_zps4e06061c.pnguse twiter photo Twitter_48x48_zps4e06061c.pngUse Feed photo Feed_48x48_zps63f27a4f.png photo 2b820f06-c93b-4b24-929c-96287390140f_zpsf3cd3a23.jpgUse Feed photo Feed_48x48_zps63f27a4f.pngUse Feed photo Feed_48x48_zps63f27a4f.png

Get Silhouette School Tutorials
Delivered to Your Email:

Adding a Watermark to Silhouette Studio Mockups

Watermark, Silhouette Studio, mock-ups
If you use your Silhouette to create items that you sell, chances are you've needed to make a mockup for a client at one time or another.

It's best to add a watermark to mockups to protect yourself and your business - you don't want the client taking the design elsewhere to have it created or have a rough draft of a printable printed before fully paying (you are asking for at least a partial deposit up front, right?).
   
It takes just a few minutes to make the initial watermark, and after that you can save it to your Silhouette Studio library so it will be just a single click any time you want to add it.

Opening Silhouette Design Store Preview Images in Silhouette Studio


Silhouette Studio, Silhouette tutorial, design preview
Did you ever purchase a design from the Silhouette Design Store and when it comes into Silhouette Studio it looks absolutely NOTHING like the preview image in the store?  First off - it's not in color, but instead a bunch of cut lines and secondly it's about 18 different pieces and who knows what goes where.

Being able to look at that preview image while working in Silhouette Studio is extremely helpful.  Unfortunately there's no easy way to do this without flipping back and forth between windows....until now.   

Increasing the Silhouette Studio Tool Icon Size

Silhouette Studio, increase tool icon size, Silhouette tutorial
Did you know there's a way to increase the size of the tool bar icons in Silhouette Studio? There totally is and it's really simple to do. There are so many icons it can sometimes by tough to see, especially if you're working on a smaller monitor.  Increasing the size of the icons, therefore, can be really helpful. 

How to Move Silhouette CAMEO Rollers (Easily)

Silhouette Cameo, rollers, move
So if you've ever tried to move the Silhouette CAMEO rollers to cut something smaller than the standard 12" mat (ie the stamp mat or vinyl without a mat) you know it can be a challenge.  Moving the rollers on the CAMEO is not an easy task..usually.   But I have a few tips to make the task easier - and a waring of what NOT to do unless you want to risk buying yourself a new machine!

The first thing you want to do to move the Silhouette CAMEO rollers is to flip open the top of the machine.

On the right side, there's a blue lever. Flip it down. This moves the roller bar up slightly making it easier to grab the white roller.

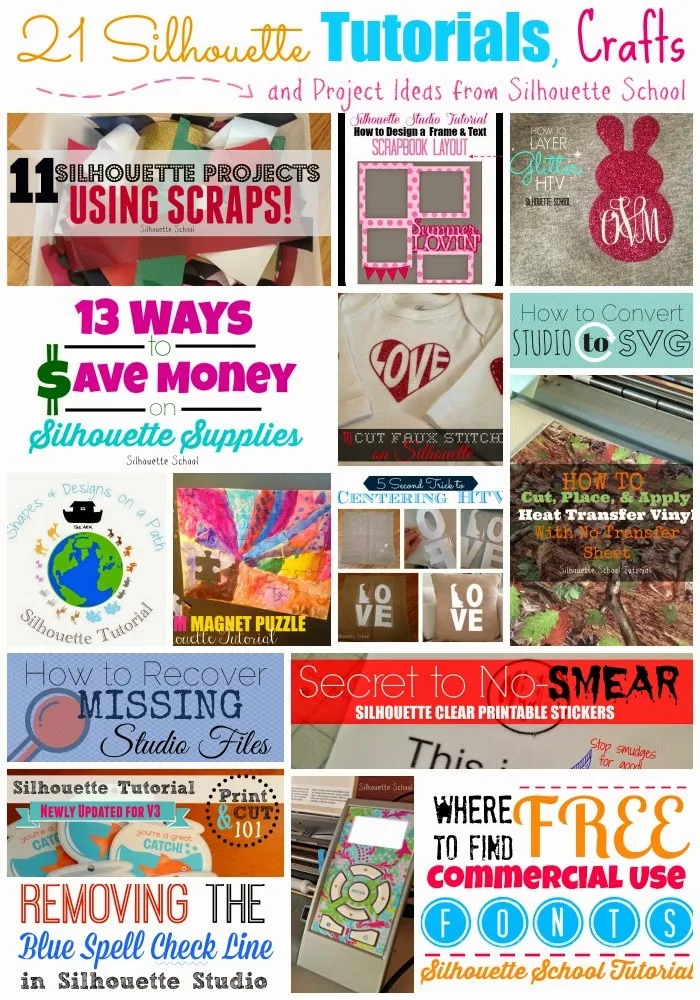
21 Silhouette Tutorials, Project Ideas, and Fun Stuff!

Silhouette tutorials, Silhouette Studio, Silhouette Cameo, Silhouette School
Ohhhhh there is a light at the end of the winter tunnel and it's called MARCH!!! Spring is a comin' my friends!

Equally as exciting is all that we covered here on Silhouette School in February.  So in case you played hookey, had a sick day, a snow day or some other unexcused absence (kidding), here's a quick wrap up of the 21 Silhouette Tutorials, Project Ideas and fun stuff we covered last month!