Copyright Silhouette School 2016. Powered by Blogger.


How to Make Double-Sided Gift Tags with Silhouette (2 Ways)

Double-sided, double sided, gift tags, Silhouette tutorial, Silhouette StudioToday I'm answering another reader question on the blog - this one has to do with how to make double sided designs using the Silhouette.  Specifically the Silhouette School reader wanted to know how to make double-sided  Christmas tags with a design on one side and the To/From on the other side.  There are actually two ways to do this - one uses just one piece of paper and the other is two that are then put together.

For the first method, the key here is going to be PixScan mat.  If you still haven't invested in a PixScan mat, I would suggest it and I honestly can't say that about every Silhouette product...ahem.

Happy Thanksgiving! I'm Thankful for YOU!

Silhouette School Blog, Happy Thanksgiving
Click to download the free Thanksgiving printable
On this Thanksgiving day, I am not sharing a regular Silhouette lesson. I'm not sharing a tip or trick or hack or workaround. I'm sharing my heartfelt thanks.

I have tears in my eyes as I share just how thankful I am at what you all have made Silhouette School. Do you know that Silhouette School is read by 'students' on 6 continents and EVERY single state in the country? Do you know that in less than a year's time we have been visited by more than 1.25 MILLION readers. Do you know that our social media sites grow at a rate of 500 new friends a week...

I write the tutorials, but you do so much of the work. You have shared Silhouette School with your friends, with strangers, with strangers at the craft store who you've talked into buying a Silhouette (seriously!) , with those who need a tutorial or a little help because they're stuck. You've left links to tutorials all over the world wide web that you have found helpful and left me comments, emails and messages letting me know that all the work that goes on behind the scenes is worth it.

This started off as a little tiny blog...one that actually almost never was. I nearly launched a Dollar Store crafts blog instead....but at the last minute changed courses realizing, as I learned my Silhouette machine, there was a need for Silhouette tutorials that are easy to follow, easy to understand, easy to learn from and (I hope) fun to read.

I am so thankful that you all have pushed me to make this the best Silhouette learning site out there. Thank you for supporting the blog by trusting me, my recommendations and my tutorials.

I've said it a million times over, but I really do thank you from the bottom of my heart because our school is thriving and growing each and every day and so much of that is credited to you and you and you. This 'little' blog allows me the great joy and privilege to stay home with my young children as they grow and figure out the world before I send them off into the world...

I wish you nothing but the best this Thanksgiving Day. May you enjoy time with friends and family and loved ones and take some time to unplug....because for this one day I will NOT be posting on Facebook (with the exception of this one post). I will not be checking Facebook or answering emails.  Instead I will be counting my blessings - you among them - without any distractions.

Until tomorrow, when I'm back with another awesome tut...Happy Thanksgiving!
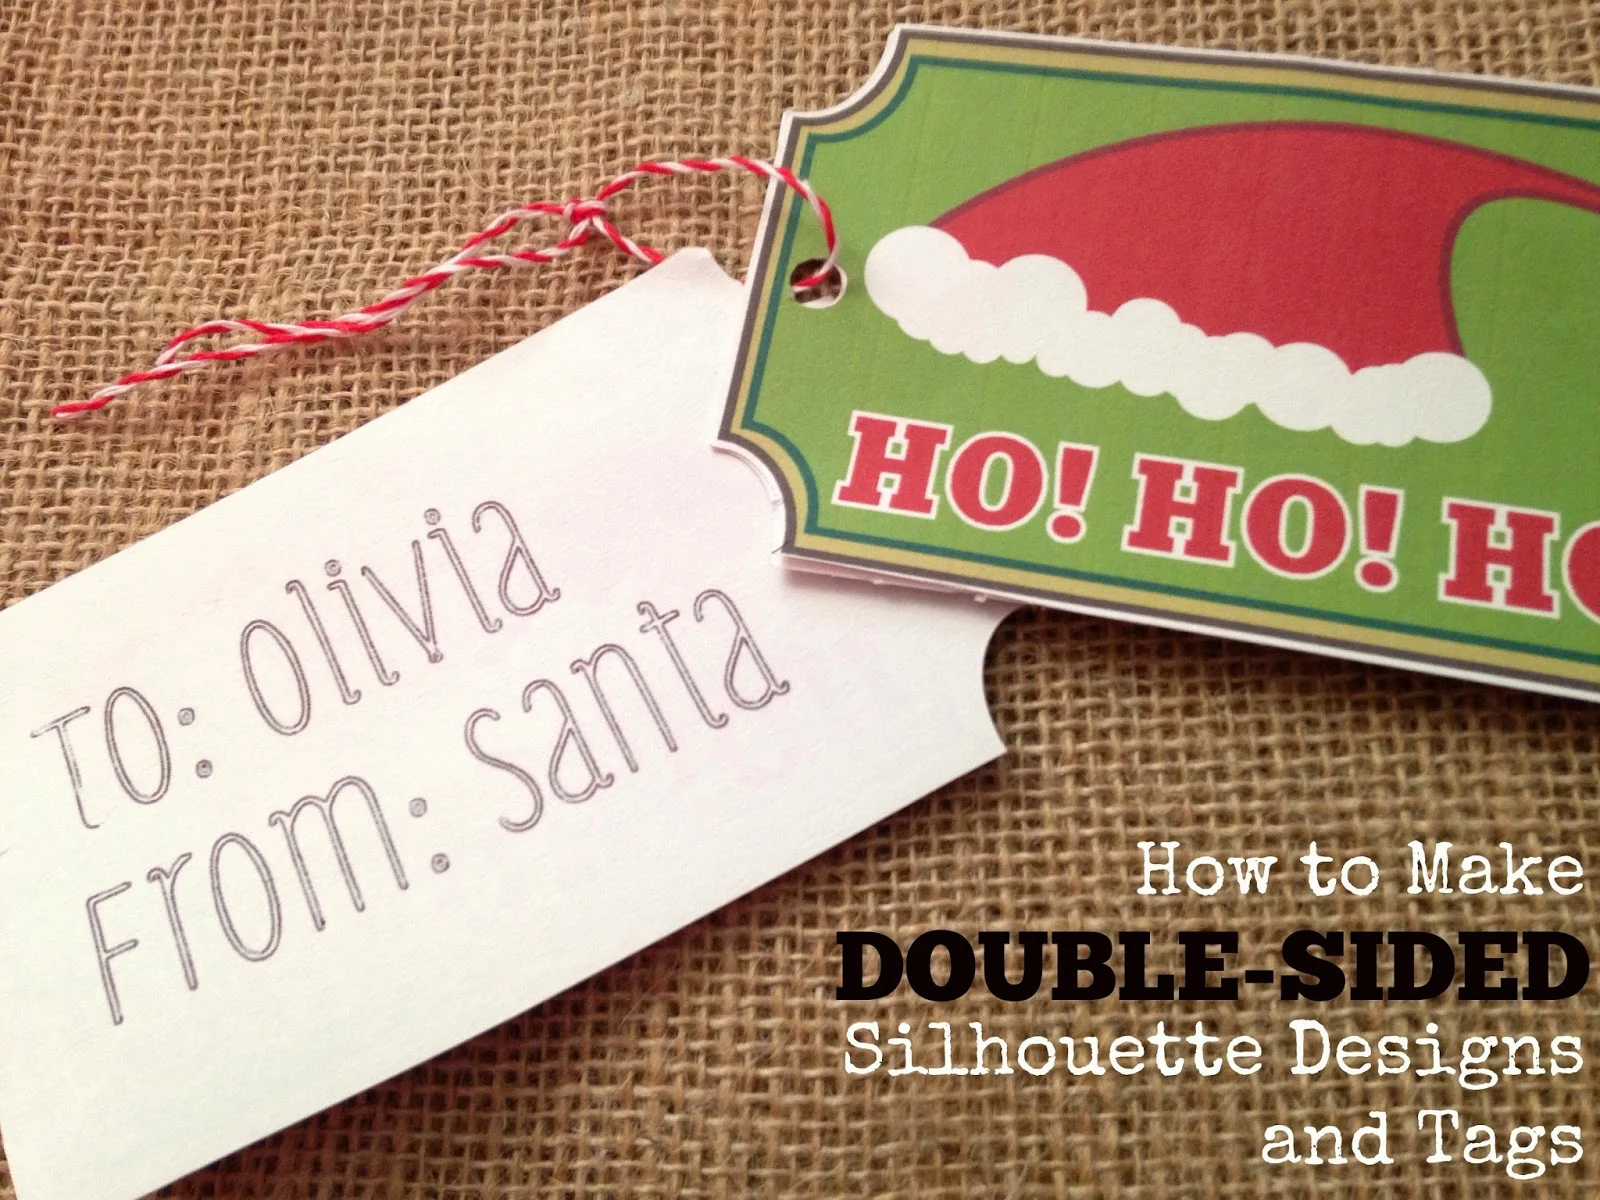

 photo 2b820f06-c93b-4b24-929c-96287390140f_zpsf3cd3a23.jpguse twiter photo Twitter_48x48_zps4e06061c.pnguse twiter photo Twitter_48x48_zps4e06061c.pngUse Feed photo Feed_48x48_zps63f27a4f.png photo 2b820f06-c93b-4b24-929c-96287390140f_zpsf3cd3a23.jpgUse Feed photo Feed_48x48_zps63f27a4f.pngUse Feed photo Feed_48x48_zps63f27a4f.png

19 Craft Supplies and Silhouette Accessories You Need on Your Christmas List

Silhouette accessories, craft supplies
Black Friday is well um..this week! (How did that happen?!)  I hope you've been 'Nice' this year because I've got a LONG list of Silhouette-related crafting items you're gonna want to put on your holiday wish list!   I've put some of my favorite items on the list along with some must-haves that Silhouette School readers say they just can't craft live without.
To make your shopping easy (you're welcome ;) ) I've put them all into one spot so you can literally just send this post as a little nudge to your other half for easy shopping or do a little pre-holiday shopping for yourself.
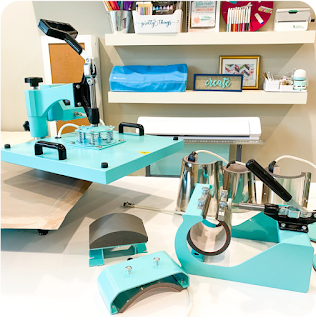
  1. Heat Press - If you are a serious Silhouette users who uses HTV regularly or sells your creations at all a Heat press is a MUST HAVE! Put it at the top of your list...like so ;).  Here's the exact press I got...and my review and tutorial on how to use it! 
  2. Silhouette Tote Bag - It's perfect for traveling to craft shows or crafting parties, crops, and for storing your machine while it's not in use.  It has wheels for easy carting and enough room for not only your Silhouette but a laptop, tools, and mat as well.
  3. Samantha Font - My favorite go-to font and one that, once you've figured out with the help of my How to Use the Samantha Font in Silhouette tutorial, will quickly become yours too! Grab it while it's on sale for just $37 for the whole family! 
  4. Guillotine Cutter - A must have for any serious scrapbooker or paper crafter!  Nothing makes trimming multiple sheets of paper/cardstock/construction paper/cards easier, faster and more precious.  Guillotine cutters come in various sizes for whatever your paper crafting needs may be.

How to Cut Machine Embroidery Applique Patterns with Silhouette

Ask you and you shall receive...after months of people asking me how to cut embroidery applique patterns with Silhouette, I'm finally giving the people what they want.  


This tutorial explains how to cut machine embroidery applique patterns with Silhouette. 

DIY Lighted Sign with Silhouette Tutorial

DIY, do it yourself, lighted sign, Silhouette, Silhouette Studio, Silhouette tutorial
So for more than a year now I've been wanting to make a DIY lighted sign. You know like a marquee.
I knew there had to be a way to make a lighted sign with my Silhouette, I just wasn't really sure how....until NOW! Woohoo..I am so stinkin' excited to share this with you because it's soooooo stinkin' easy..plus it's a total Silhouette hack and I love hacks!

I will warn you up front you need Silhouette Studio Designer Edition for this because you need the rhinestone tool..yes, you heard that right.  But I'm sure you'll be totally convinced that DE is worth the $30 or whatever after you see how how awesome and easy this is.

Craft Show Series Part 3: Don't Forget the Details

Craft show, details
Today's my first craft show (I'll be Instagramming it so follow Silhouette School on IG for behind the scenes updates) so I thought it would be appropriate time to share the third installment of the Craft Show Series.  Let's just make one thing clear: I'm a nervous wreck.  I'm a bundle of nerves even though I've done all the things I've said here to do to NOT be a nervous wreck.  I can't help it - it's my first time selling at a show. I've sold plenty on Etsy and to family and friends and friends of friends...but never to complete strangers in person.

Since I don't usually keep inventory, for months I've been crafting and creating and sewing prepping for my first show.  Pricing, branding and advertising have been in the works for some time, too.  But at some point though I had to stop all that and think about the details...because the details are almost as important as the products and the price.

Oversized Wood Christmas Sign (Pottery Barn Knockoff)

Pottery Barn knockoff, oversized wood sign, Silhouette tutorial, Silhouette Studio
Today's lesson is on making an over-sized wood Christmas sign...but before we get into it, this lesson involves a little back story.

So I have this blog...not Silhouette  School...another blog. I know, I know.  It's a DIY blog called Two It Yourself and it has taken a major backseat over the last 9 months or so since Silhouette School just kind of took on a life of its own...and, well, I only have so many hours in a day (and no clone...yet).

Anyway, this little blog is getting major traffic right now on one post about an over-sized wood Christmas sign that I made last year....before I had my Silhouette.   It's kinda hard to believe I've only my Sil for a year, but it's true my dear husband gave it to me for Christmas in 2013.

Anyway back to the sign...my "Be Merry" sign was inspired by a similar one I saw in the Pottery Barn catalog that had a price tag I just couldn't swallow.   So I rather  painstakingly made my own...this would have been about 10 times easier and 10 times faster had I had a Silhouette at the time.  Since I do now, I thought I'd re-post my Wood Christmas Sign tutorial making it Silhouette-friendly.

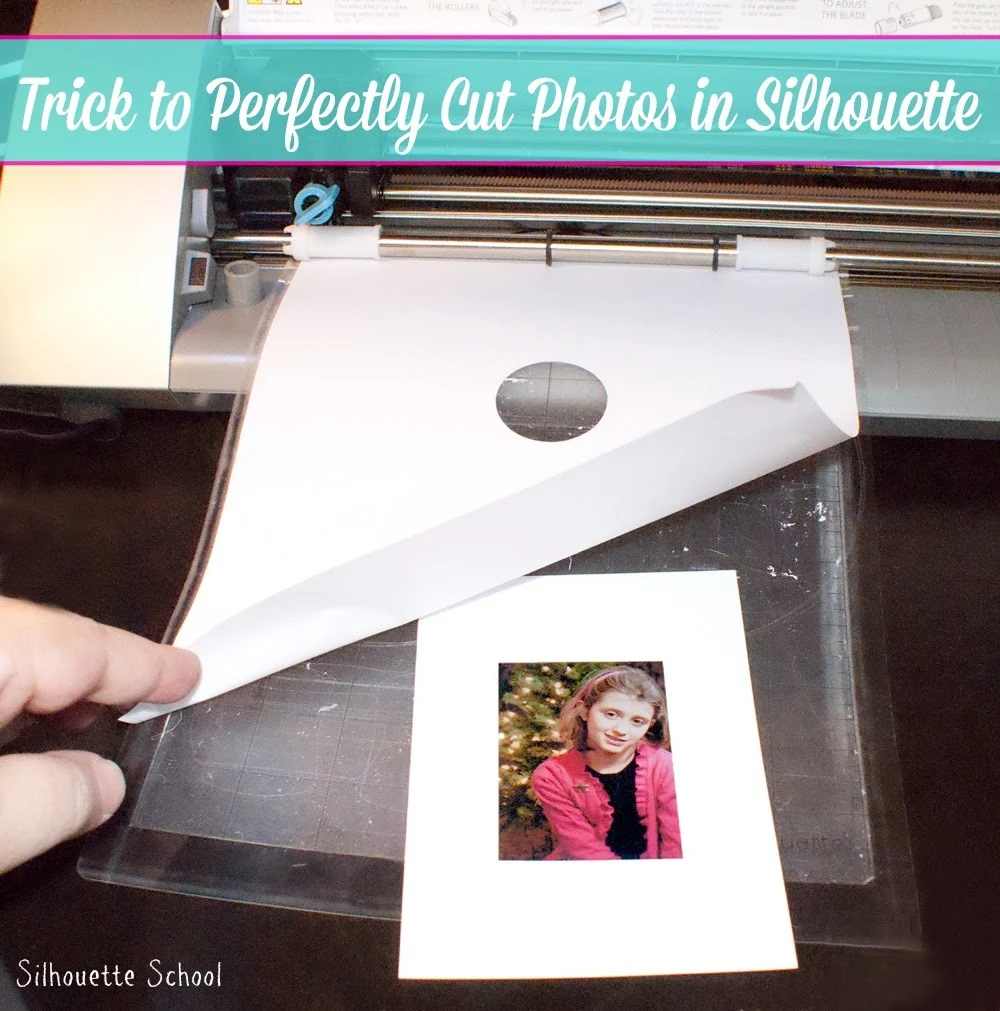
Trick to Silhouette Cutting Photos Perfectly (Even Without PixScan)

Silhouette, cutting photos, Silhouette tip

Did you ever try to cut out part of a photo only for it to be a smidge off and bam there goes your little girl's chin or ear or whatever? It's tough to do...but with this little trick, things just got a whole lot easier! Plus, you don't even need Pixscan for the perfectly precise cut.  I'm going to demonstrate this by making a photo ornament with some flat acrylic blank ornaments from Punch Place Plus. 

Cut and then weed the ‘Naughty or Nice’ design (download it free here).  

How to Cut Craft Foam with Silhouette

Cut, craft foam, Silhouette, Silhouette tutorialGood news, guys! Today we have not one, but two very special guest bloggers with us on Silhouette School. I'm handing over the reigns to my friends Becky and Glenna from My Paper Craze. They're gonna show us something I know a lot of you have been dying to know..how to cut craft foam with your Silhouette.  I'll let this mother-daughter team take it from here! 

Hi there! We're Becky and Glenna from My Paper Craze and we're honored to share a Silhouette tutorial with you today! 

We love learning new crafts and tips from Silhouette School, so we thought we would take the time to share a tutorial of our own: HOW TO CUT CRAFT FOAM WITH A SILHOUETTE!

DIY Santa Sacks (Silhouette Tutorial)

Silhouette tutorial, santa sack, heat transfer vinyl, HTV, Silhouette Studio
I've promised you a Santa sacks tutorial and today I'm gonna deliver. Pun intended ;)

Santa Sacks are hugely popular this time of year.  If you're unfamiliar, they're personalized bags from "Santa" that can be filled with gifts and left under the tree. For me, it's just another way to keep my 3 and 6 year old's believing in Santa.

I've seen people making the Santa Sacks on pillow cases - great idea. I prefer, however, the heavy duty cotton laundry bags. I get these extra large (36 x 24") cotton laundry bags - they're sold on Amazon for about $8.

Now there are approximately 20,456 different ways you could decorate these Santa sacks and today I'm going to show you just two. I look for inspiration on Pinterest, Pottery Barn, catalogs, and google image searches and then come up with designs that way combining my favorite elements.

As I shared Friday on the blog, I do all my designing in Silhouette Studio using mock ups.  (If you haven't read through that tutorial yet, I suggest you do since it will be very helpful with this project.) It's a great way to create and see what the finished product will look like before actually cutting anything. It also helps get the sizing and layout exactly right.

Silhouette Pen Holder Review and Tutorial

Silhouette pen holder, Silhouette tutorial, review
I've had the new Silhouette Pen Holders sitting in my craft room for more than a month now and finally I got around to testing them out.    The Pen Holders - released by Silhouette America in August - allow users to sketch with their own pens and not just the Silhouette brand sketch pens.  So if you have a favorite gel pen or a skinny marker or even a pencil you can use one of the three size pen holders to do that.

The instructions that come with the pen holders...well, let's just say they stumped me.

What you are supposed to do is grab your pen or pencil and slip the small piece (blue and marked with an S), medium (white 'M') or large (gray 'L') called a "threaded collet" (see why I was left scratching my head?!) into the piece that best fits your writing tool.

Using Mockups for Designing, Creating, and Layout in Silhouette Studio

Mock-ups, mock ups, Silhouette Studio, designing, creating, layoutSeveral months ago I shared a tutorial on creating mock ups in Silhouette Studio. Mockups make it easy to show clients what a finished project will look like before you make even one cut.  I use mockups all the time to show customers what their ideas will look like when they come to life. But I also use mock ups a lot when designing so that my design is perfectly sized and laid out when I go to cut.

For example, I created a pair of Santa sacks for a friend (the full tutorial will be on the blog MONDAY!!!).  She was not particular about the design, but for layout and design purposes I went ahead and made mock ups to make sure everything would be sized correctly.  In the original mockups tutorial I showed you how to take photos of your 'blanks' and bring them into studio to use for mock ups.

But you can actually cheat for certain items like wood signs, plates, and other objects that are common shapes like circles, shapes and rectangles.

I used the Draw a Rectangle tool to draw out my bag.  The Scale tool (in blue along the top tool bar) is where you can specify the exact dimensions of the bag. I even fill it in with a color that's close.

Cutting Leather with Silhouette Tutorial (and a Bow Leather Cuff)

Silhouette tutorial, cutting leather, bow leather cuff
OMG!!! Did you guys know you can cut leather with your Silhouette? Seriously...nothing is better than finding a new medium the Silhouette can cut beautifully!  And that cuff...oh boy I'm in love!!!

Okay sorry, sorry I'll try to temper my enthusiasm here, but I have to hurry up and get this tutorial written so I can go cut some more leather.  Can you tell my mind is racing with like 1000 ideas a minute?!

First up - where to get leather. I got this scrap piece of lambskin leather from the Leather Hide Store.  Yeah they're an awesome wholesale supplier of leather so go check them out.

eBook Update...

Hey guys..Melissa here. This post is one I've been thinking about for weeks...months actually. It's been stirring around in my head about how and what to say about this.  And so I'm just going to say the truth and the truth is life is busy.

I've built Silhouette School on honest reviews and pride myself on the "customer service" part of it...being in touch with all of you and offering quick and useful help where and when I can.   I've made you a promise and I will keep it - in due time.   It was my hope and my full intention to get the ebook out in December.  I have so much to say and so much to show you. I know so many of you are looking forward to it and need it to help you with using your machines.  But it's just not going to happen in December.  Setback after setback have....well, set me back.

This is not intended to be anything more than a simple explanation, one I think you all deserve, of why there is a delay.  I can only hope that each and every one of you can understand that while this is my business and I love EVERY second of it, my first 'job' is mom those will always and obviously be my first loves. :)

Let me take a quick minute to explain briefly what has gone into all of this because there is a lot that goes on behind the scenes of Silhouette School to keep it running smoothly as I shared, in probably way too much detail, in my first 'behind the scenes' update.  First there were legal delays in getting the book off the ground.  Then writing started and for nearly a week I didn't stop writing.  Of course, on top of writing the ebook I was also writing daily tutorials.  It took a huge toll on my wrist enough that I needed X-rays and thankfully only a brace and a warning from my doctor who said, "Wear a brace and lay off...you've irritated it and it's going to be painful until you rest it...significantly."   I did take about a week break from the book and my wrist got better.

Custom Ring Holder (And 20+ DIY Gifts)

DIY, do it yourself, ring dish, Silhouette tutorial

It's Silhouette Challenge time again and this month's theme is DIY Gifts. It's something that's near and dear to my heart as it's what my Etsy and customization business is based on handmade, custom gifts.  Today I thought I'd share a really easy tutorial on making DIY ring holders. These are the perfect gifts for ladies for pretty much any occasion - bridesmaids gifts, teacher gifts, a co-worker holiday gift exchange, a neighbor...

While these are transformed into beautiful ring dishes in just a few minutes, they don't start off that way.  In fact Target, which sells them for about $2 a piece, has them labeled as dip dishes (the nerve!)

Cutting Sugar Sheets with Silhouette (Including Cut Settings)

Sugar sheets, cutting, Silhouette, Silhouette tutorial, cut settings
I'm well aware that today's tutorial on how to cut sugar sheets or icing decorations with Silhouette is going to be a controversial one.   So for all the haters who are gonna tell me it's not food safe, it's gonna gunk up the machine, it just ain't gonna work - you certainly have a point.  There are risks involved here...more so than cutting paper or vinyl or cardstock or cereal boxes...so carry on at your own risk.

With that said - let's have some fun!  First of all sugar sheets are very thin icing-like sheets that can be used to decorate cookies, cakes or cupcakes.  They are actually thin enough to be cut with the Silhouette machines and the machine does a nice job.

Because you will potentially be eating the design, you want to be very aware of what the sugar sheets are coming in contact with.  I used a brand new blade and covered the one exposed side of the sugar sheets.

Craft Show Tips for Beginners Series (Part 2...Pricing, Branding, and Advertising)

Craft show tip, beginners, pricing, advertising, branding
Alright I'm back with more craft show tips for beginners.   Since we got down the basics on picking the right first show; what to make, craft and sell; how much inventory you'll need; and making a mock set up now we're ready to talk pricing, branding and advertising.

Alright let's discuss pricing first. It's one of the most commonly asked questions by crafters who sell their creations.  There are equations and even smartphone apps for figuring out what a fair price is to sell crafts and homemade goods.  Plug your costs and time spent into either a number will be spit back at you suggesting a price.

Another way to price items is to look on sites like Etsy to see what similar items sell for. Just be sure you're comparing apples to apples.  The problem with Etsy is that you will find that prices are all over the place for certain items - just because someone else sold a similar item for just over what it cost you to make it, doesn't means you should set that as your price, too.   Just remember you do not and should definitely work for free -- your time is valuable. Don't sell your items at cost....then you're basically saying your time is not valuable at all....you're also driving the local market down and not only hurting yourself, but other local crafters who can't compete.   Would you work for someone else for $0 an hour? Then why work for yourself for that?

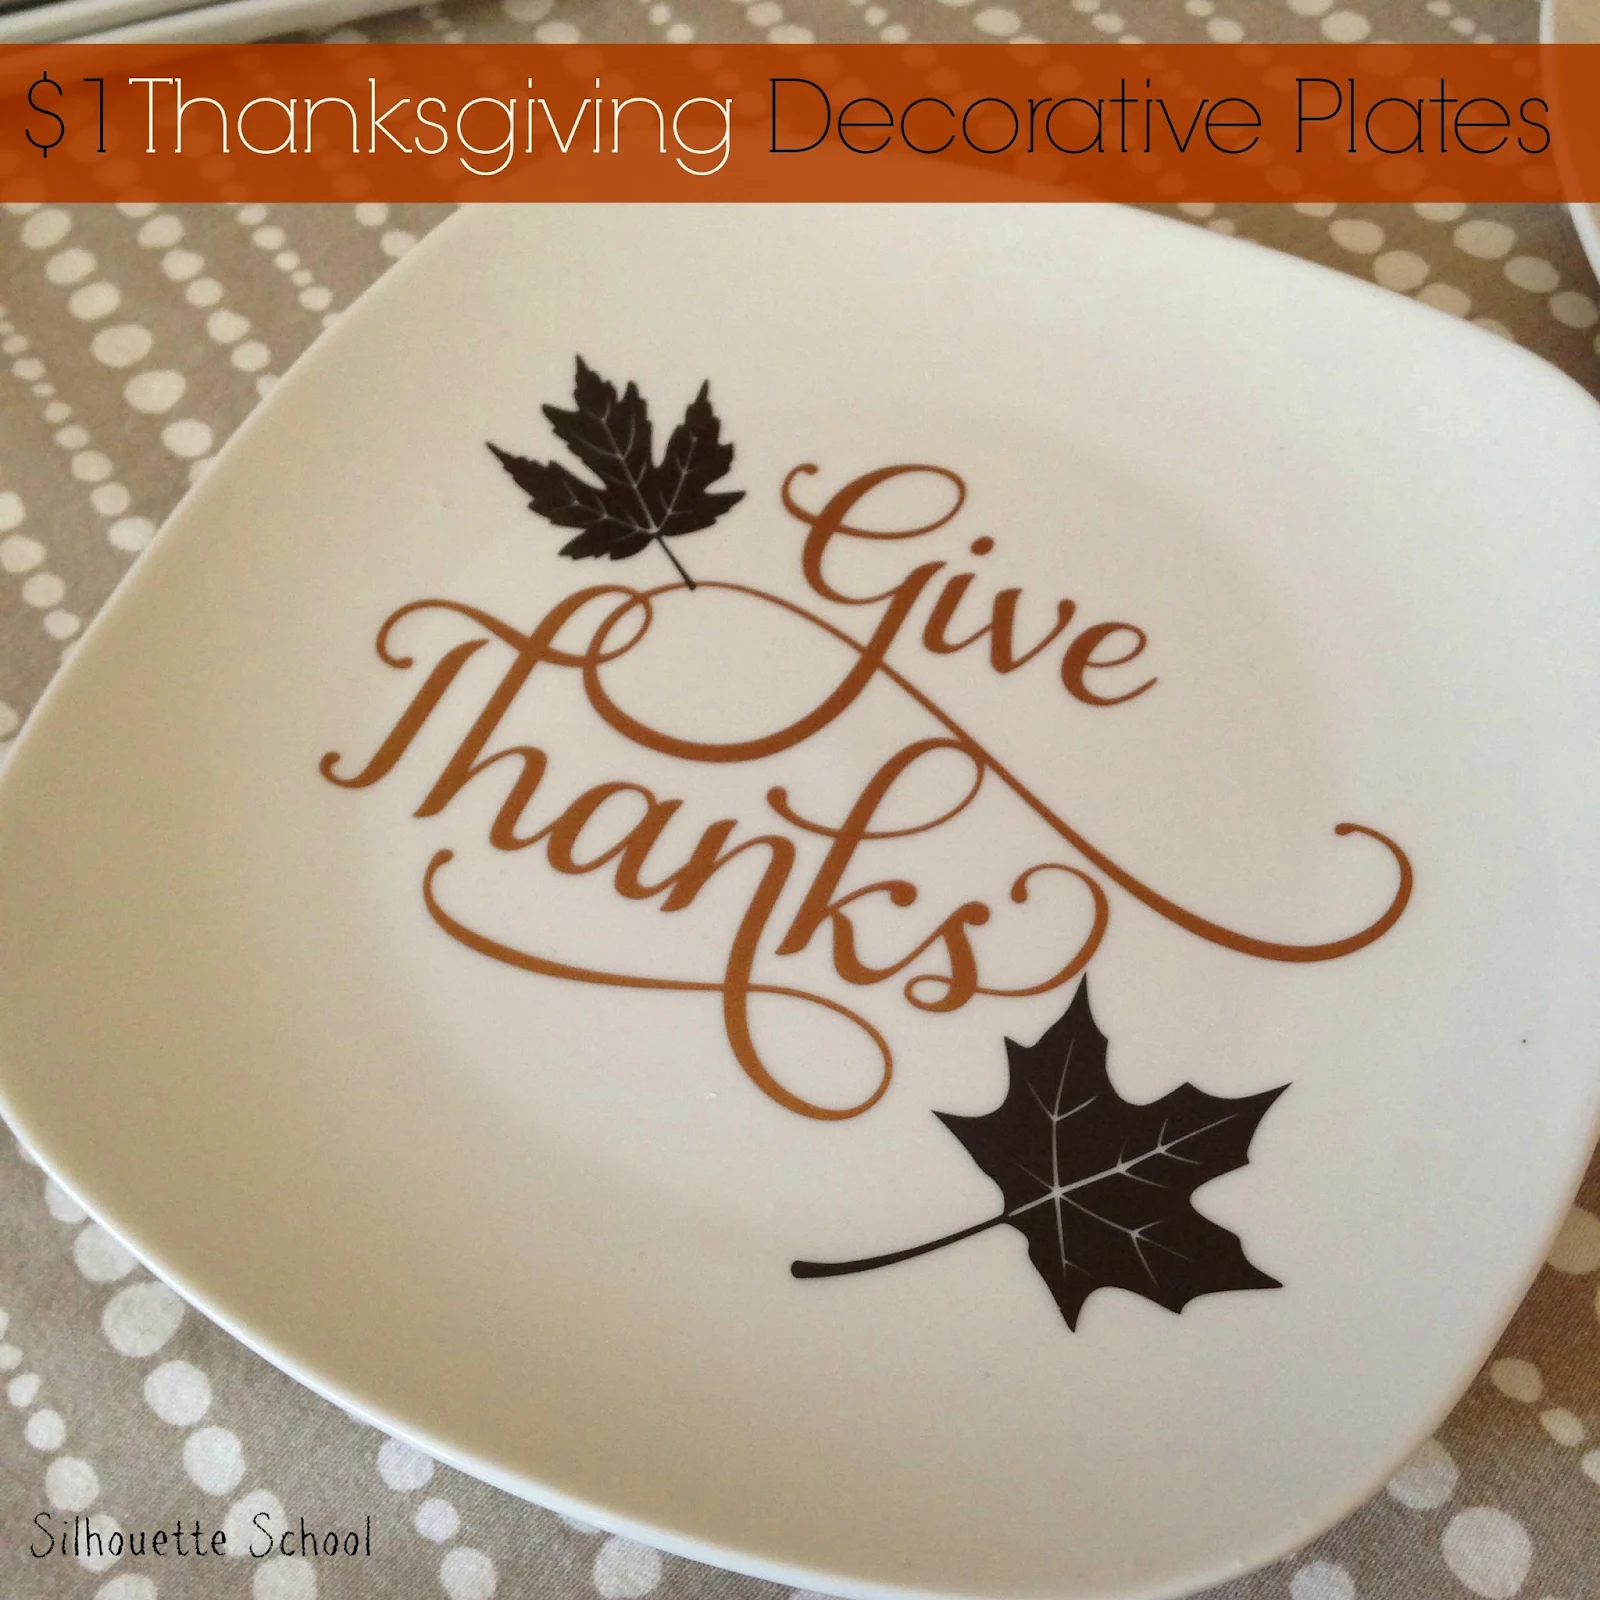
$1 DIY Thanksgiving Decorative Plates (And a Giveaway)

DIY, do it yourself, $1, thanksgiving, decorative plates

When it comes to holidays I like to decorate on a budget. I usually hit up the dollar store and look for things that don't scream DOLLAR STORE! For example, I grabbed a few of these white plates for a buck each (of course) and in just a few minutes turned them into pretty Thanksgiving decorative plates that can be displayed on the kitchen counter or on a dining room hutch or china cabinet. You can make some too.

21 Amazing Silhouette Tips, Tricks and Tutorials (October Wrap Up)

Silhouette tutorial, tips, tricks, shortcuts, Silhouette Cameo, Silhouette Studio

Well goodbye, October...hello month that (finally) gives me an excuse to deck the halls!!! Wow that went fast...I guess it's because we've been busy having fun, fun, fun learning here at Silhouette School.  In October, we had three awesome giveaways (more of where that came from this month!), learned how use the beautiful Samantha font in Silhouette Studio, got tips on putting vinyl on wine glasses,  learned how to engrave, and shared tips for HTV decal placement...and so.much.more!

In case you missed any of the tutorials (perhaps you were in a Halloween candy coma) here's a big ol' wrap up of all 21 lessons we covered this month.  This is one to pin, for sure!
Note: This post may contain affiliate links. By clicking on them and purchasing products through my links, I receive a small commission. That's what helps fund Silhouette School so I can keep buying new Silhouette-related products to show you how to get the most out of your machine! 

Thanks for coming to class today at Silhouette School.  If you like what you see, I'd love for you to pin it!


 photo 2b820f06-c93b-4b24-929c-96287390140f_zpsf3cd3a23.jpguse twiter photo Twitter_48x48_zps4e06061c.pnguse twiter photo Twitter_48x48_zps4e06061c.pngUse Feed photo Feed_48x48_zps63f27a4f.png photo 2b820f06-c93b-4b24-929c-96287390140f_zpsf3cd3a23.jpgUse Feed photo Feed_48x48_zps63f27a4f.pngUse Feed photo Feed_48x48_zps63f27a4f.png